Stratocaster Loose Switch Wire Reattachment
ID: 206897
Description: If your Stratocaster electric guitar has...
Steps:
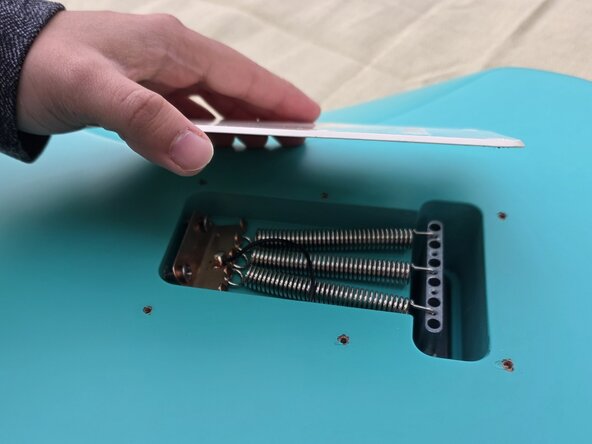
- Remove the screws from the backplate on the back of the guitar.
- Fully remove the backplate and set it aside.
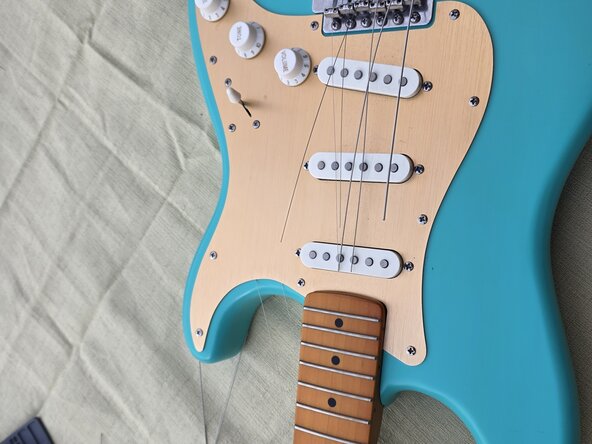
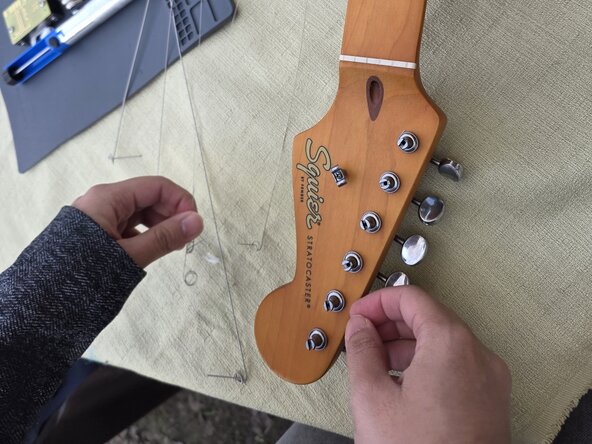
- Fully loosen all guitar strings by turning the tuning pegs towards the body when held in the orientation of the picture.
- Insert a finger under the strings to create some slack.
- Use pliers to cut through each of the strings.
- Remove the strings from the guitar tuning pegs.
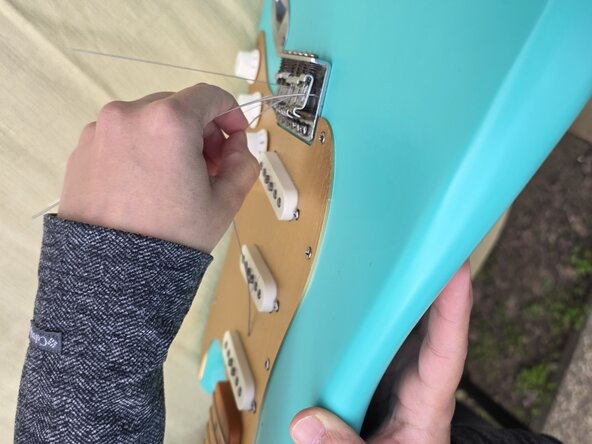
- From the front, push in the guitar strings until they peek out of the back.
- From the back, pull the guitar strings all the way out.
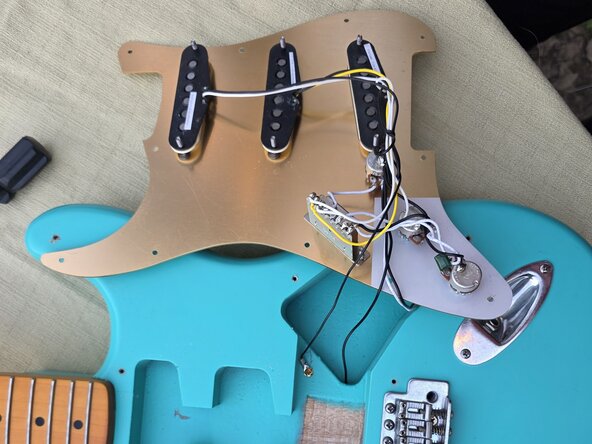
- Remove all of the screws from the front panel.
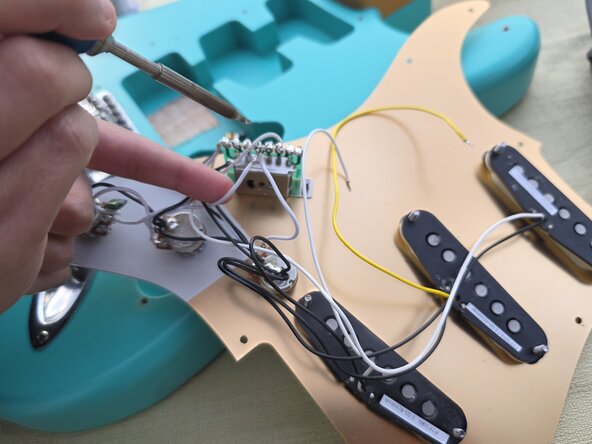
- Fully remove the front panel to reveal wires and the switch circuit board.
- Identify the loose string and which lug (point on the switch) it needs to be reattached to. It will be the one that doesnt have a string attached.
- Re-solder the loose wire to the switch.
- Place the front panel back in its original position.
- Screw in all of the screws to reattach and secure the front panel.
- From the back of the guitar, insert new guitar strings one-by-one, in order from thickest to thinnest.
- From the front, pull the string all the way through until it catches.
- One-by-one, pull each guitar string taut and cut off any excess string. Be sure to leave enough string to work with for the next step.
- Insert the loose end of the guitar string into the corresponding tuning post.
- Hold the string in place while turning the tuning peg to tighten and secure the guitar string.
- Repeat for all 6 strings.
- Place the backplate back in its original place.
- Reattach all of the screws.