How to Fix a Loose Tape Measure Lock
ID: 206907
Description: Amazon Basics Self-Locking Tape Measure, Model...
Steps:
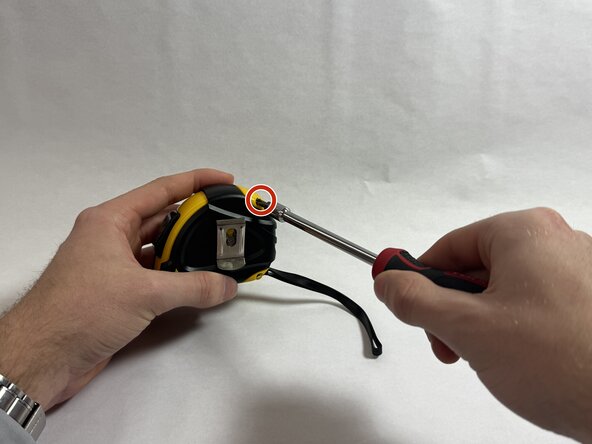
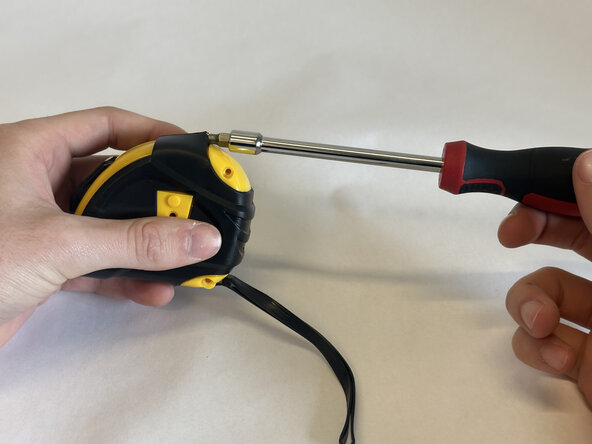
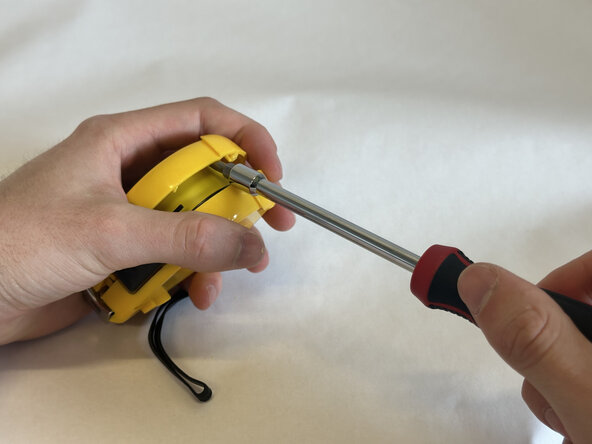
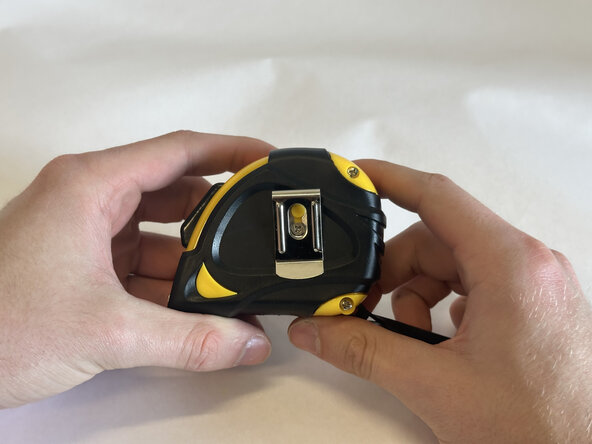
- Remove the top and bottom screws from your tape measure using a Phillips head screwdriver.
- The longer screw will be on the top, and the shorter screw will be on the bottom.
- Remove the screw that fastens the clip with your Phillips head screwdriver and place the clip to the side.
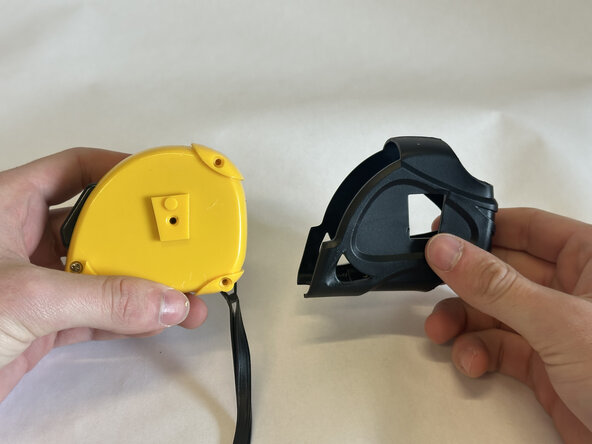
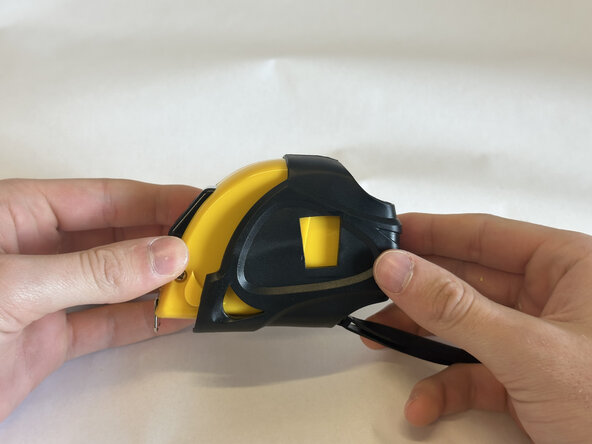
- Loosen the rubber housing from its contact points with a spudger and remove it from the back of the tape measure.
- This may require some force.
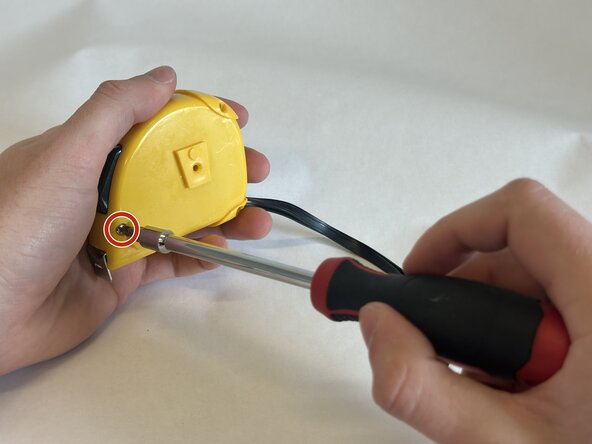
- Remove the bottom screw with your Phillips head screwdriver.
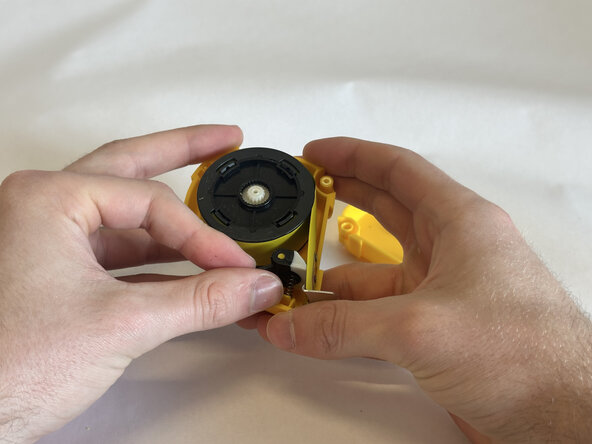
- Pry open the yellow casing using your flathead screwdriver and lay down the halves so the internal components are facing up.
- Carefully remove the button and tooth, and remove the spring from the tooth.
- There may also be a small black piece that falls out; set it aside for later reassembly.
- Use a nail file or 220-400 grit sandpaper to roughen the surface of the pad using around 5 passes.
- Too many passes can shorten the pad/tooth, worsening contact with the blade.
- Place the tooth back into its housing while also pressing the spring into place.
- Apply pressure to the tooth and press the button back into place.
- When leaving it untouched, the tooth should be applying pressure to the blade.
- Slightly retract the tape while holding the internal components in place.
- Press the small remaining black piece back into place.
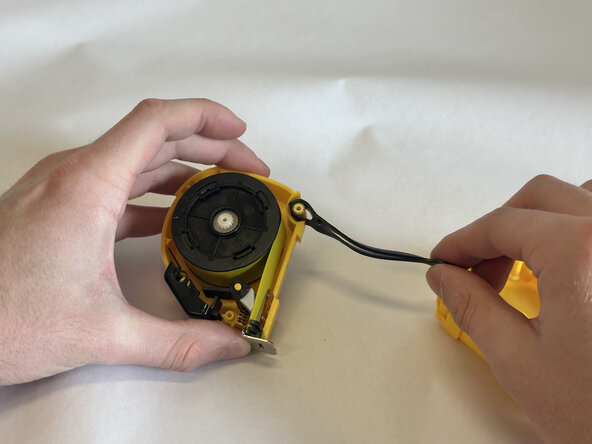
- Reattach the band to its loop, then place the empty shell of the tape measure on top of the side housing the mechanism.
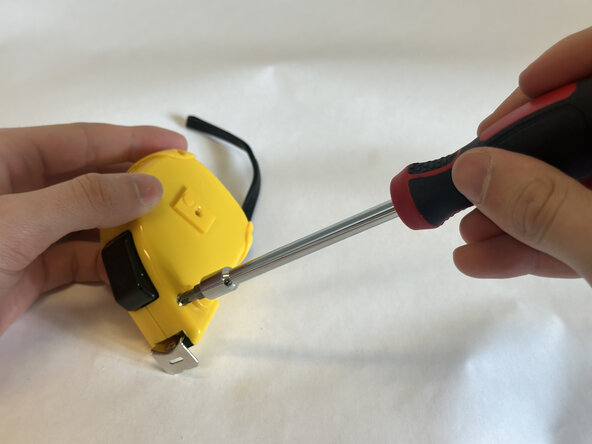
- Screw in the front-bottom screw using your Phillips head screwdriver, recalling the order in which you removed them.
- Reattach the rubber housing and press it into place such that it is flush with the yellow housing.
- Reattach the clip using your Phillips head screwdriver.
- Reinsert the larger of the two remaining screws in the top hole.
- Reinsert the remaining screw in the bottom hole, and you have a repaired tape measure!