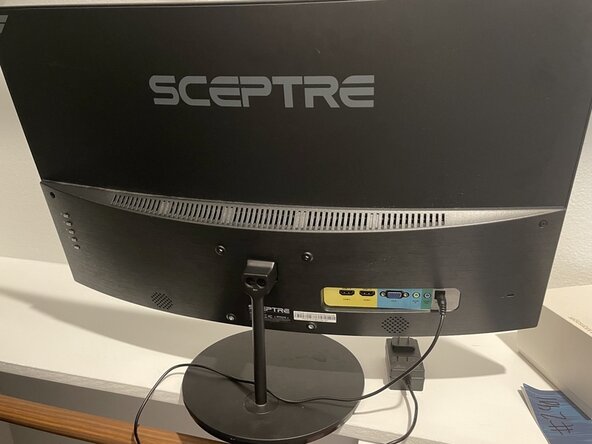
Sceptre 27-inch Model C275W-1920RND Monitor Motherboard Replacement
ID: 212096
Description: Use this guide to replace a malfunctioning or...
Steps:
- Unplug the 12V DC power adapter and any HDMI/VGA cables
- Wait 60 seconds for internal capacitors to discharge.
- Document the model number and power requirements (12V, 3.33A) on the rear label to ensure the replacement part will be compatible.
- Before opening the device, ensure it is completely powered down.
- Remove the two Phillips screws at the neck of the monitor.
- Slide the stand assembly upward and away from the chassis but on a soft surface.
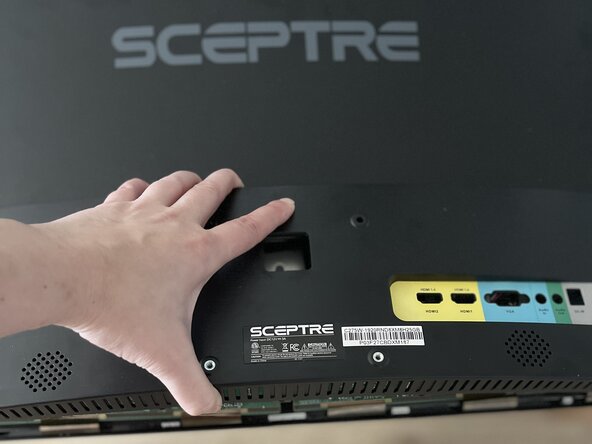
- On some variations of this model, a plastic "beauty cover" may need to be popped off first to see the screws.
- Lay the monitor face-down on a soft, flat surface.
- As shown in this guide, a clean carpeted floor can be used to provide the necessary cushioning for the curved panel if the original packing foam is unavailable.
- Do not apply pressure to the center of the screen; support the device only by its outer plastic frame.
- Apply steady, upward pressure to the rear cover while bracing the front bezel near the bottom corner where the plastic has more flex.
- Use a spudger to open the rear housing to prevent damaging the internal components.
- Once the back cover is loose, lift it slightly (about 2 inches).
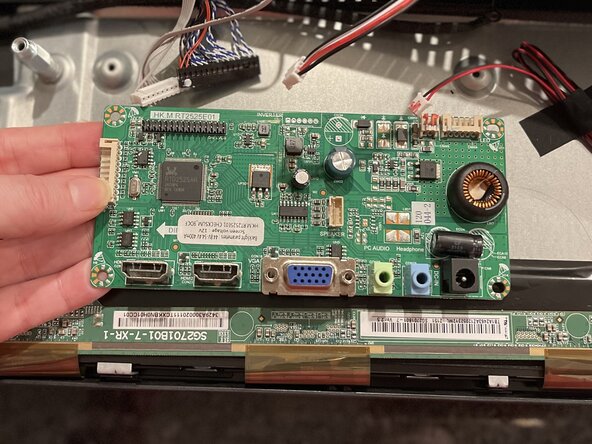
- Remove the four screws from the corners of the motherboard using a Phillips #1 screwdriver.
- Disconnect the LVDS ribbon cable by releasing the locking tab and gently pulling the cable straight out of the connector.
- Disconnect the backlight cable. If the connector has a locking tab, depress it while pulling the connector straight out of the socket.
- If the connector is stuck, gently wiggle it from side to side while pulling. Do not pull on the wires.
- Disconnect the speaker connector by using a spudger or your fingertips to slowly work the connector out of its socket, alternating pressure on each side.
- Use tweezers to grip the plastic edges of the connector if needed. Avoid pulling on the wires, as they can separate from the connector.
- Lift the motherboard straight up, ensuring no cables catch on the sharp corners of the PCB.