Oster 5-Speed Countertop Blender Motor Carbon Brushes Replacement
ID: 212098
Description: Oster 5-Speed Countertop Blender is a kitchen...
Steps:
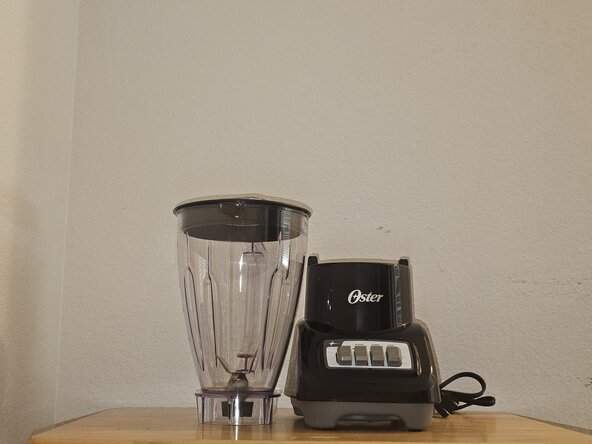
- Unplug the blender from the power source and remove the glass pitcher and blade assembly for safety.
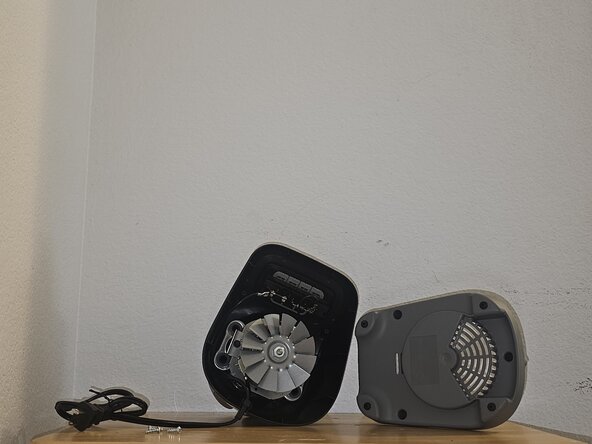
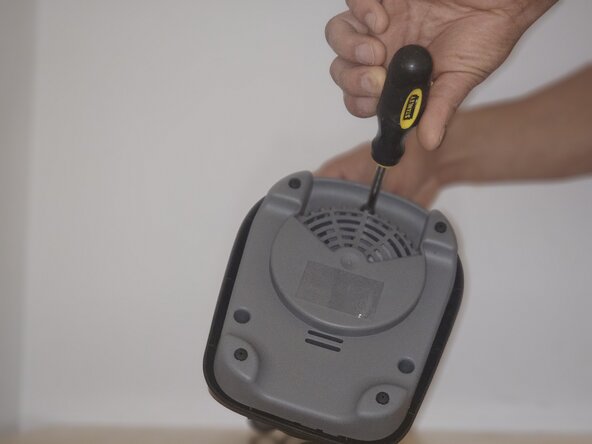
- Flip the base over and use a Phillips #2 screwdriver to remove the three 15 mm Phillips screws from the baseplate, exposing the internal motor assembly.
- Make sure to secure the baseplate and screws somewhere safe.
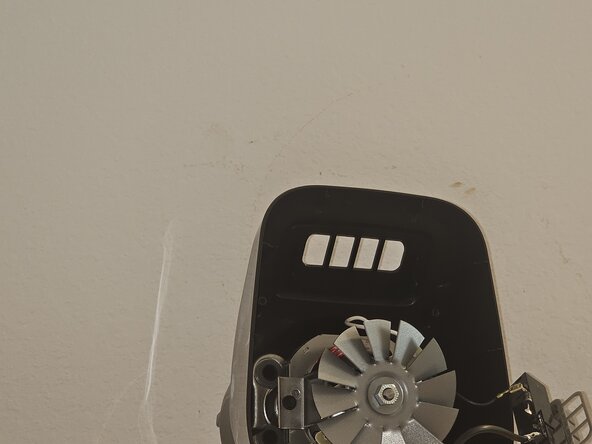
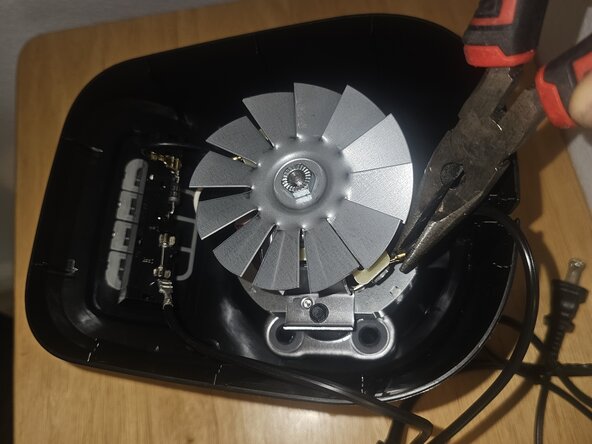
- Grasp the two brass brush-holder sleeves positioned on opposite sides of the main motor frame
- (Visible near the metal cooling fan).
- They are the square, gold-colored tubes that have black electrical wires clipped to them.
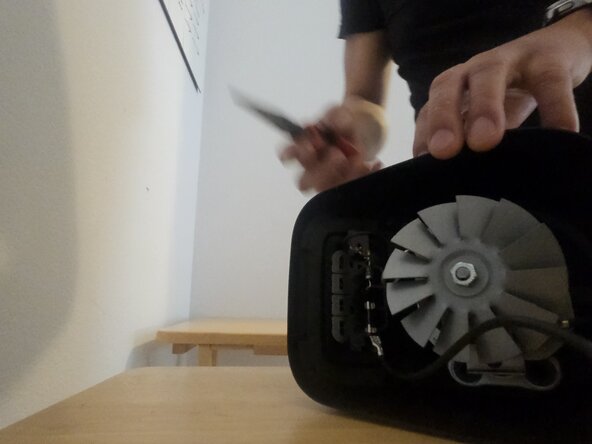
- Place the tip of your needle-nose pliers onto the small metal retention tab bent over the end of the brass sleeve.
- Do not disconnect the black wire lead.
- Use your needle-nose pliers to carefully grip and unbend this tab until it is completely flush with the sleeve opening.
- Use your needle nose pliers to finish unbending the retention tab until it is completely flush with the sleeve opening.
- Once the tab is clear, maintain extreme caution as the spring tension will release automatically and may cause the spring to jump out.
- Pro-Tip: Use your other hand to maintain a steady grasp on the motor housing, being extremely careful to avoid the metal fan blades.
- Carefully slide the spring and carbon block assembly the rest of the way out of the sleeve.
- Slide the new replacement carbon brushes into the slots, ensuring the springs compress smoothly and seat correctly inside the caps.
- Making sure the carbon block is fully inserted into the housing slot and the copper spring is standing straight up.
- Use a flathead screwdriver to press directly on the end of the new spring, compressing it fully back into the brass sleeve and slide the retention tab back in.
- Dont forget to use your needle-nose pliers to carefully grasp the small metal retention tab and bend it back in place.
- Repeat Steps 3-8 for the second carbon brush on the opposite side of the motor.
- Once both are secure, place the plastic bottom plate back onto the bottom of the blender.
- Ensuring the ventilation slots align correctly with the motor housing.
- Insert and hand-tighten the security screws to secure the baseplate.
- Before attaching the heavy glass pitcher, plug the blender in and run it on the lowest speed setting for 10–15 seconds.
- This allows the newly squared edges of the carbon brushes to slightly wear down and conform to the curve of the motor's commutator.