Storm Door Latch Replacement
ID: 212103
Description: This guide is a step by step instruction on how...
Steps:
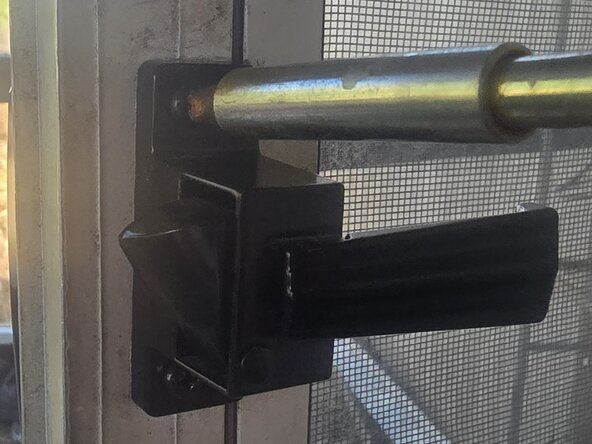
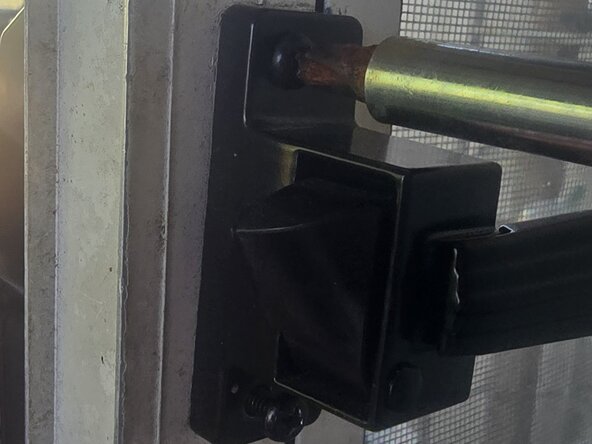
- To start, unscrew your old storm door latch. This will require a standard Phillips head screw driver.
- Arrange your replacement parts in an orderly fashion. Assure you have all pieces from your replacement kit.
- Align your new handle and latch on either side of your door. Be certain that your screw holes are aligned on both sides.
- Partially secure screws to hold handles in position. Hand tighten the screws to hold pin, latch, and handle in the correct position for your door.
- Assure the pin is in the correct position. The pin should be in the center of your handle and latch. This will allow the button to be pressed and depressed.
- Finish securing screws once the pin is in the correct position. Ensure the button can be pressed.
- Once assembled, press the button on the handle to make sure the handle and latch work effectively.