Shure SM7B Grille and Windscreen Replacement
ID: 212129
Description: This guide provides a step-by-step walkthrough...
Steps:
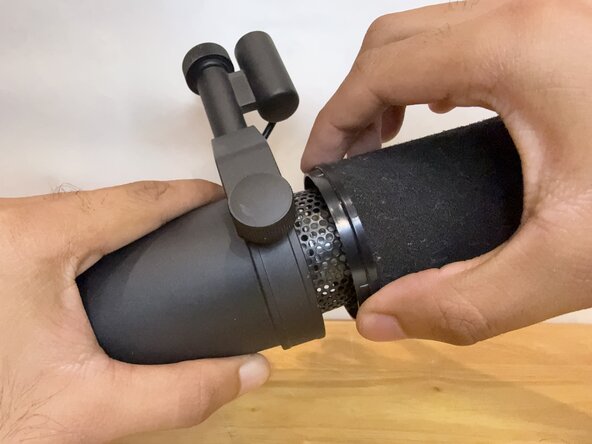
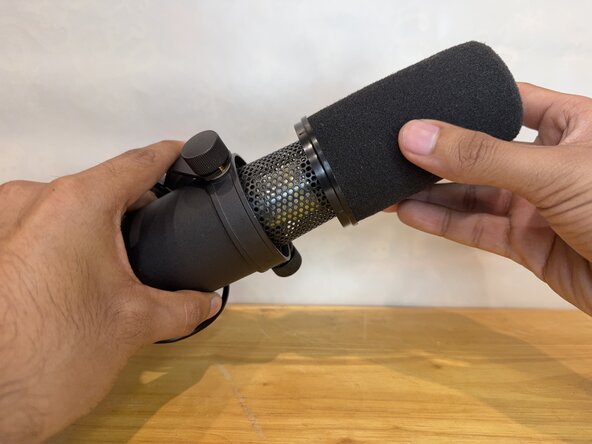
- With one hand, grip the base of the microphone, and with the other, grip the plastic ring at the base of the windscreen.
- Firmly pull the windscreen off the microphone; there should be little resistance when attempting this, and the windscreen will slide off the metal grille.
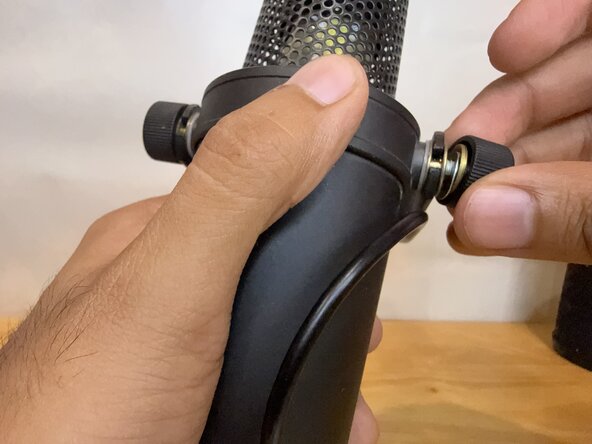
- Remove the screw covers by twisting them counterclockwise.
- Remove the washers from the mounting screw.
- Remove the retaining ring from the mounting screw.
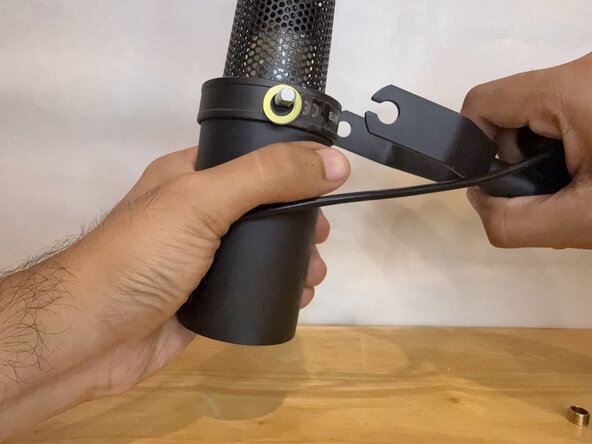
- Remove the yoke bracket.
- Remove the washers.
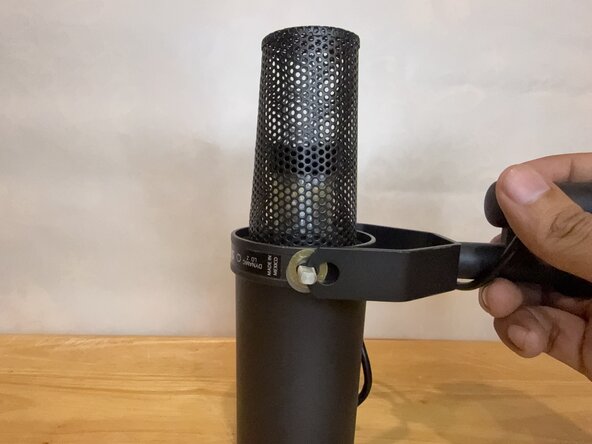
- Removing the yoke bracket without aligning the slotted opening with the mounting screw is not possible.
- Remove the three mounting screws.
- Remove the grille.
- Once the replacement grille is attached, reinstall the mounting screws.
- Reinstall the washers.
- Reinstall the yoke mount.
- Reinstall the retaining ring.
- Reinstalling the yoke mount after the retaining ring is not possible; the retaining ring must be reinstalled after the yoke mount.
- Reinstall the washers in the proper order.
- Reinstall the screw covers.
- Slide the new windscreen onto the grille.
- Grip the plastic ring at the base of the windscreen and firmly press it into place on the microphone.
- You will have successfully installed the new windscreen when you hear a click sound.