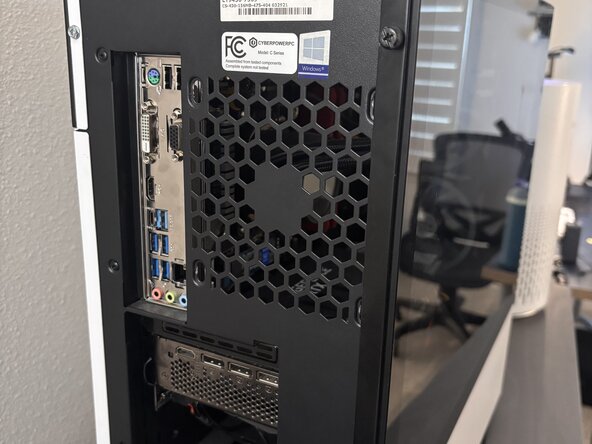
CyberPower ET9430-7569 CMOS Battery Replacement
ID: 212304
Description: If your desktop computer is experiencing...
Steps:
- Power off the computer.
- Disconnect all cables from the system.
- Loosen and remove the two screws securing the left side of the glass panel by hand.
- Optional: Use a Phillips screwdriver if the screws cannot be loosened by hand.
- Loosen the side panel.
- Lift the panel slightly to disengage it from the case.
- Slide the panel to the left, slowly remove it from the case.
- Press down on the plastic locking tab on top of the connector to unlock the cable.
- Remove the power cables slowly to avoid damaging the connectors.
- Remove the 3-4 screws on the left side of the GPU using a Phillips screwdriver.
- Press the PCle retention clip down toward the motherboard to unlock the GPU. While holding the clip down, carefully pull the GPU straight out of the slot.
- Do not tilt the GPU during removal to prevent damage.
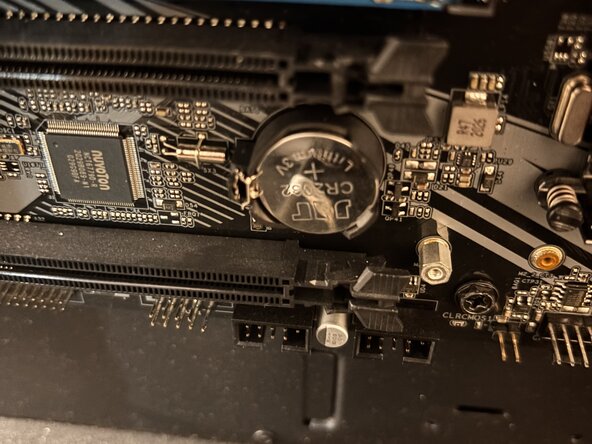
- Gently push the retaining clip away from the CMOS battery to release it.
- The battery will pop up slightly—remove it carefully by hand.
- Avoid using metal tools directly on the motherboard to prevent damage. Use a small tip plastic tool instead.
- Insert the new battery with the positive (+) side facing up until it clicks into place.
- When you're all done, make sure that the PCIe retention clip holding the GPU in place is still pushed back before inserting your GPU back in.
- Reinstall the screws that hold the GPU.
- Plug the power cables back in.
- There's only one way to insert them, so no need to worry about putting them in the wrong way.