Gamesir X4 Aileron Battery Replacement
ID: 212774
Description: Replacing the battery is the next step in the...
Steps:
- Use a hairdryer to heat the rubber grips to soften the adhesive securing them to the back cover.
- Using a Jimmy and your hands to pry and remove rubber covering from the back plate.
- The rubber may become deformed and challenging to reinstall.
- Use a Jimmy to pry up and remove the small back cover off to gain access to the screws.
- There is a small hole at the bottom side of the panel that can be used as leverage for prying it open.
- Slowly work your way around with the Jimmy to work the panel off.
- Use your hand/Jimmy to take the sticker off of the front of each controller to access the screws behind it.
- Use a Phillips screwdriver to remove all six 7.2 mm screws. securing the back cover.
- There are two screws under the small back cover and four screws under the sticker on to the front.
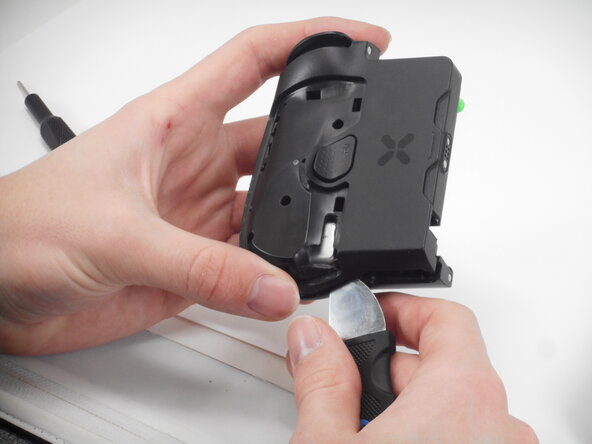
- Use a Jimmy to pry the entire controller in half to separate the 2 components. Slowly work your way around the controller, working the Jimmy through the separate the halves.
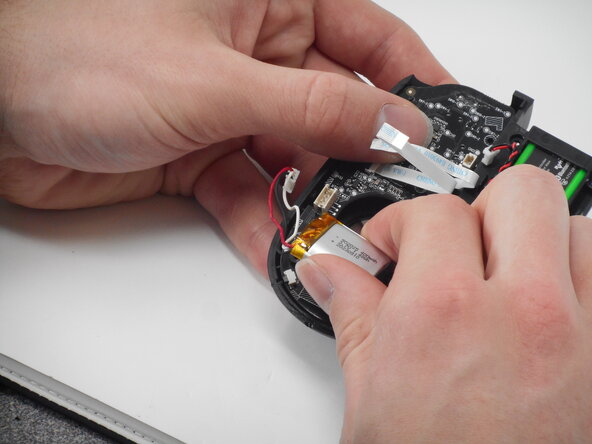
- Take care not to strain or damage the connected ribbon cable.
- Flip up the black locking flap securing the ribbon cable.
- Disconnect the ribbon cable.
- Repeat all above steps for other side of the controller if needed.
- Disconnect the battery connector by lifting it straight up and out of its socket.
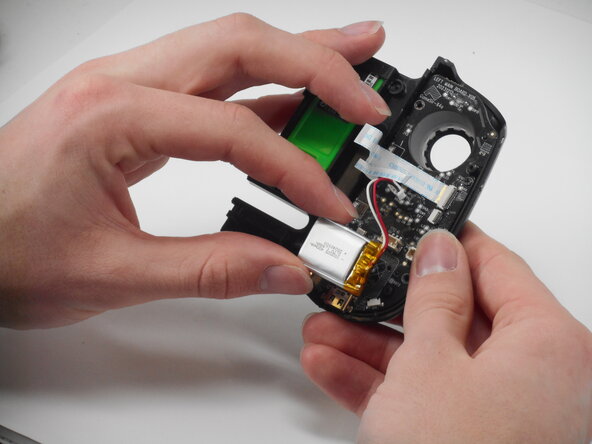
- Pull out the battery by hand.
- The battery is secured with a mild adhesive.
- Repeat the procedure for the other side if necessary.