2012-2014 Audi A6 Tail Light Replacement
ID: 212779
Description: This guide shows how to remove and replace the...
Steps:
- Open the trunk.
- Remove the access cover.
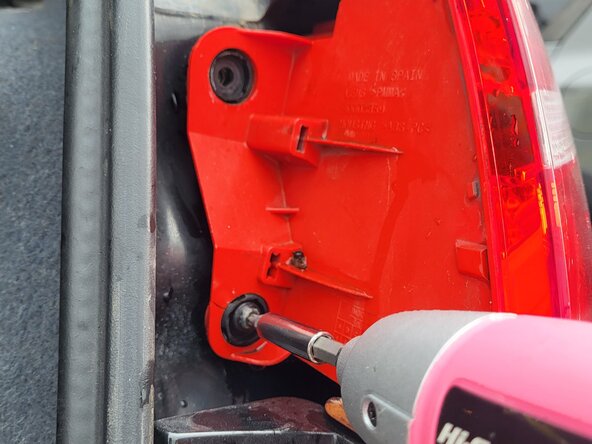
- Locate the two T25 Torx screws securing the tail light.
- Use a T25 Torx bit to loosen the upper screw securing the tail light.
- Repeat for the lower screw.
- Remove both screws completely and set them aside in a safe place.
- Do not drop the screws inside the trunk or body panel. Keep them in a safe place for reinstallation.
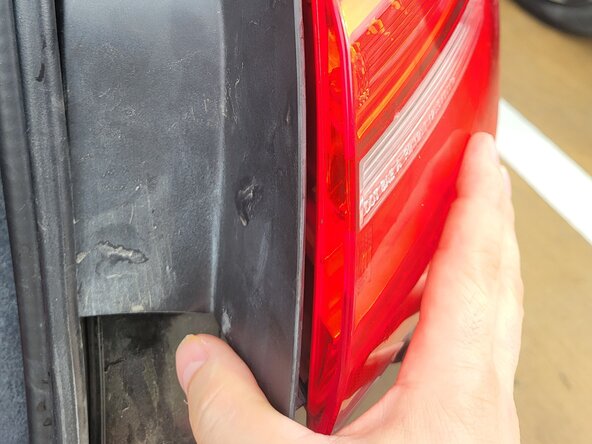
- Grasp the tail light assembly firmly with both hands.
- Pull the tail light straight outward from the vehicle to release it from the mounting clips.
- Pull the tail light straight out. Do not twist or force it, as this may damage the mounting tabs or wiring.
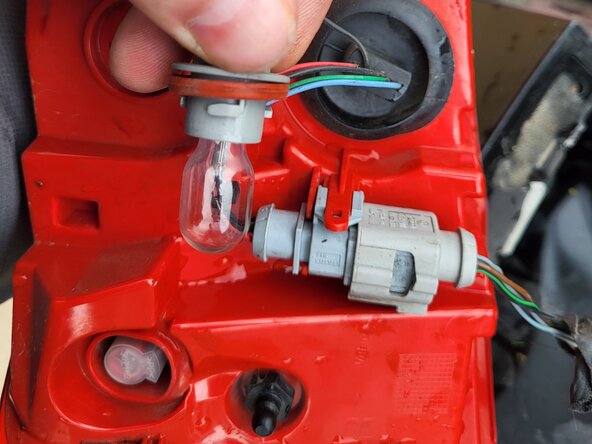
- Locate the tail light bulb socket on the back of the assembly.
- Grip the socket firmly and rotate it counterclockwise.
- Pull the socket straight out to remove it from the housing.
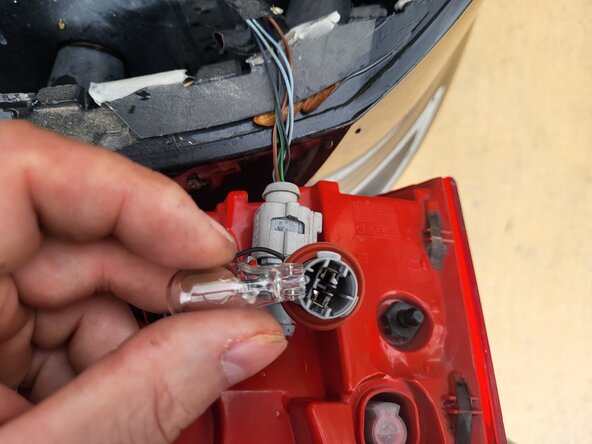
- Pull the old bulb straight out of the socket.
- Insert the new bulb into the socket, aligning it properly.
- Press the bulb firmly into place until fully seated.
- Insert the bulb socket back into the tail light housing.
- Rotate the socket clockwise until it locks into place.
- Align the tail light assembly with the vehicle’s mounting points.
- Press the tail light firmly into position until fully seated.
- Make sure the tail light is fully seated before tightening screws.
- Reinstall the two T25 Torx screws and tighten securely.
- Snap the plastic access cover back into place.