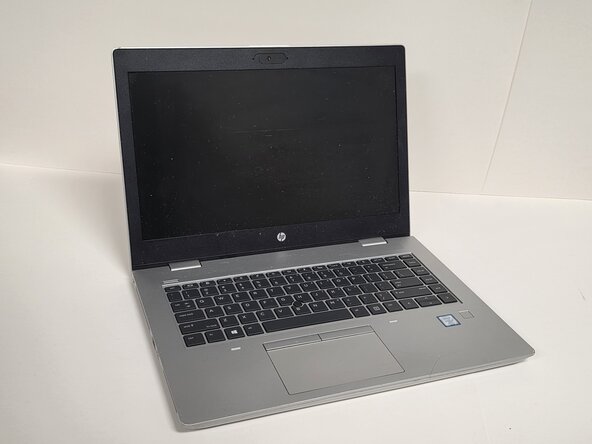
HP ProBook 640 G5 SSD Replacement
ID: 212974
Description: Use this guide to replace a faulty or damaged...
Steps:
- Always make sure the HP ProBook 640 G5 is completely powered off and unplugged before beginning this repair. Attempting to open the laptop while it has power may cause electrical damage or personal injury.
- Shut down the HP ProBook 640 G5 completely.
- Disconnect the power adapter and all connected peripherals.
- Press and hold the power button for 5 seconds to discharge remaining electricity.
- Flip the laptop over so the bottom is facing up.
- Loosen eight silver 6mm screws using a Phillips #0 screwdriver.
- These screws are captive, so they will loosen but remain attached to the cover.
- Remove two black 6mm screws using a TR7 Torx screwdriver.
- Insert a plastic opening tool into the seam and gently pry around the edges.
- Lift the bottom cover away from the laptop.
- Avoid touching the gold contacts on the SSD. Handle components by the edges to prevent damage from static electricity or oils from your fingers.
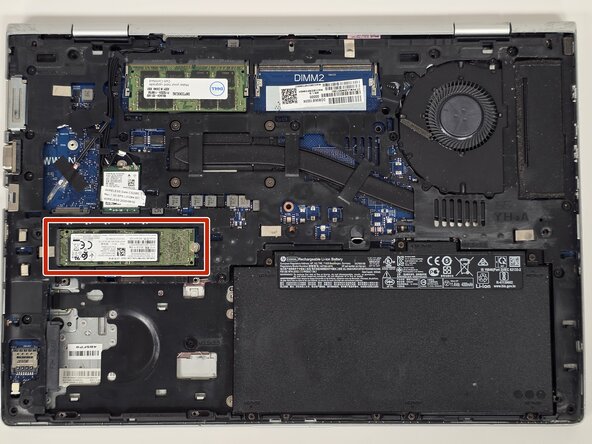
- Locate the SSD on the motherboard (typically a small rectangular module secured by a single screw).
- Remove the single 3 mm screw securing the SSD using a Phillips #1 screwdriver.
- Hold the SSD by the edges and gently remove it from the slot.