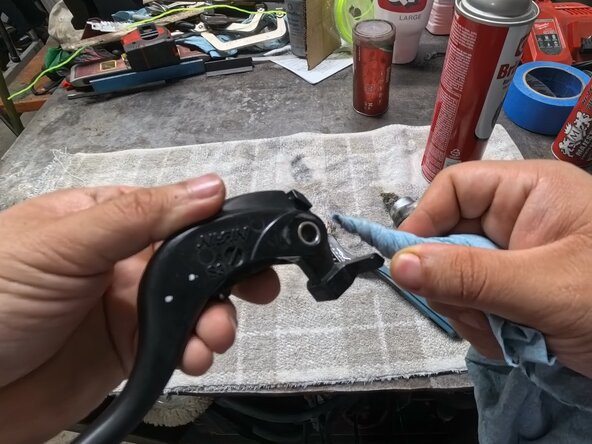
How to Clean and Regrease a Rusty Brake Lever on a 2025 Kawasaki Ninja ZX-6R (636)
ID: 212989
Description: The brake lever is essential for motorcycle...
Steps:
- The brake lever will be on the right side of the motorcycle.
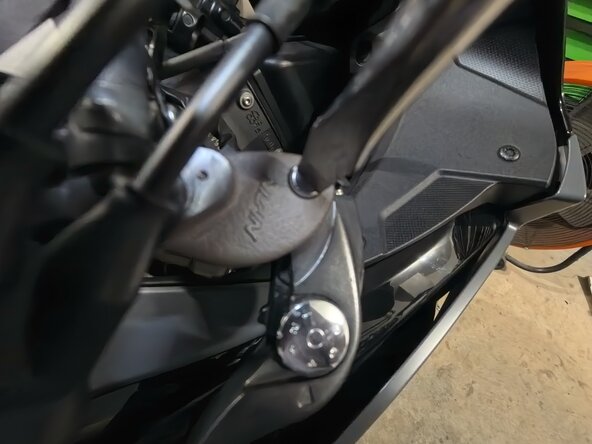
- Use a 10 mm wrench to loosen the locking nut that is holding the lever bolt underneath the lever itself.
- Use your hands to remove the locking nut after loosening it.
- This is a tight space, and may be easier to remove by hand.
- Use a large flathead screwdriver to remove the lever bolt on top of the lever.
- Hold the lever in place with your right hand. With your left hand, wiggle the lever bolt and pull upward until it is removed.
- Pull the lever away from the front master cylinder.
- Gently remove the lever. If you feel any resistance, lightly wiggle the lever while pulling to free it.
- Use a wire brush to clean any rust or debris from the top of the master cylinder where the lever bolt is inserted.
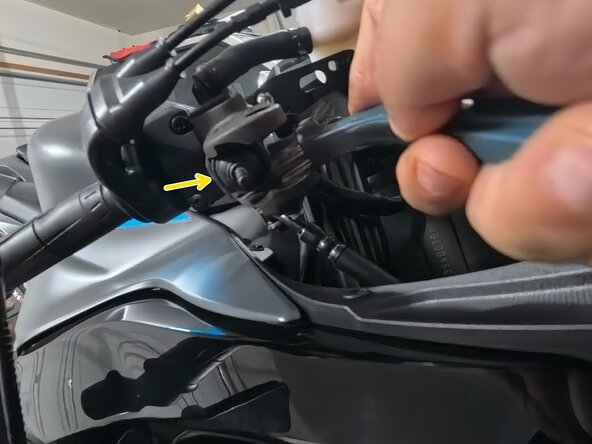
- Clean the inside of the master cylinder.
- Avoid brushing the brake piston rubber housing shown by the yellow arrow, as doing so may damage it.
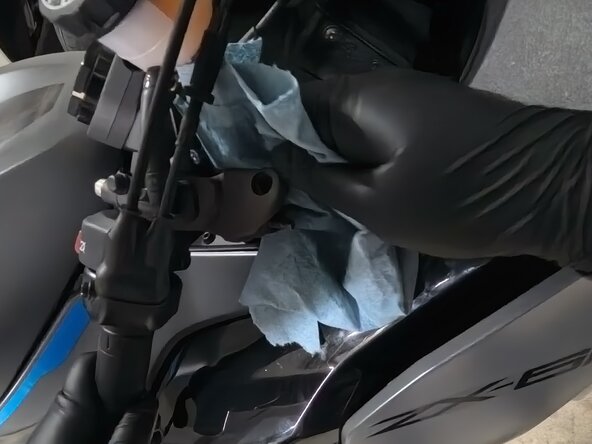
- Spray some brake cleaner on a shop rag and clean the master cylinder with it.
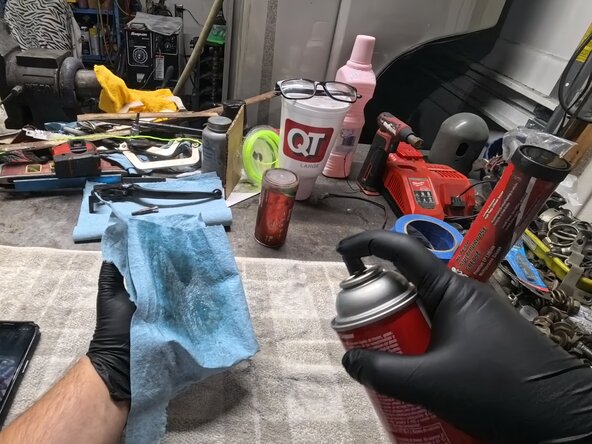
- Spray the brake lever with brake cleaner.
- Clean any rust or dirt that you see on the top and bottom of the brake lever with the wire brush.
- Use the small end of the wire brush to clean inside the silver sleeve in the brake lever.
- Be sure to wear gloves for the cleaning process.
- Spray more brake cleaner on the shop rag and wipe down the lever.
- Fold the rag into a cone shape and clean the silver sleeve until the interior is mostly clean.
- Spray the rag with brake cleaner to clean the lever bolt and wipe it down.
- Brush any rust off the lever bolt with the wire brush.
- Apply a thin layer of grease to the lever bolt.
- Do not apply any grease to the threads on the lever bolt.
- Align the small hole in the brake lever with the brake piston on the master cylinder.
- Place the lever back into the front master cylinder and align the bolt holes to the lever.
- Ensure the lever is properly seated with the brake piston, and check that the small brake leaf makes contact with the brake light actuator (shown in the third image, highlighted by the orange circle).
- Re-install the lever bolt by wiggling and pressing down on the lever bolt until the bolt is properly seated.
- Lever bolt seated properly.
- Lever bolt not seated properly.
- Tighten the lever bolt with the large flathead screwdriver.
- With your hand install the locking nut back onto the lever bolt.
- Use a 10 mm wrench to tighten the locking nut until it is snug.
- Do not overtighten.
- Before you take your bike back on the road you MUST perform a safety test.
- Level the bike off of its kick stand and push it back and forth and stopping it using the front brake. make sure the bike comes to a stop accordingly shown in picture one.
- Turn on the bike and apply the front brake, then check that the brake light actuates properly.
- You don't have to run the engine to test the brake light.