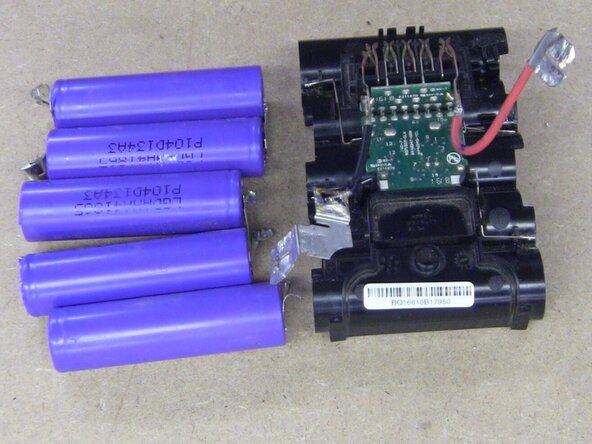
Power Tools Internal battery Replacement
ID: 213369
Description: The battery that I am using is a DeWalt 20V Max...
Steps:
- Start by removing the 4 screws using the TR10H
- Set the screws aside
- Pry the two shells apart. It may be difficult to open, and it may require that you use a flat-head screwdriver to help pry it open.
- There is a spring inside that is used for the locking mechanism, which is not secured and will fall out when the device is opened. Marked in orange
- Remove the battery from the bottom shell. There may be glue, or it may be difficult to remove; use the pliers to help remove the battery pack. Areas that pliers can safely hold onto the pack are marked in green.
- USE caution not to puncture the batteries, as they can release toxic fumes or may start a fire
- Use a multimeter to determine if any battery cells can be reused. But since the terminals read zero, which means that my cells no longer have voltage.
- If your cells have voltage, the safe operating range of 18650 batteries is 2.9V and 3.8V
- Use caution when desoldering. Excessive heat to the batteries, even at zero voltage, can still release toxic fumes and cause a fire.
- Use proper ventilation and a work station. A recommendation is to use a chisel tip for the soldering iron to heat the solder. And use a copper wick to remove the solder.
- The main power lead (Red and Black wire) solder joint may use a solder that requires greater heat than the solder iron can provide. Use pliers to remove the nickel strip from the battery
- Since the Main leads are not in a desirable condition, I will cut and add a new nickel strip to the main power leads
- Start by noting the polarity of the batteries and how they are connected
- Then, by carefully removing the nickel strip from the batteries using pliers
- Dispose of the batteries following your area's battery disposal procedures.
- Add the new batteries in the polarity that you noted
- Use safety glass when spot welding, as sparks may fly
- Set your spot welder to the appropriate settings when welding the batteries, as the heat can puncture them
- Since the batteries that I'm using have a separate cable, you may have to cut a smaller nickel strip to reconnect the cable marked in red
- To reconnect the main power leads, add a new nickel strip by spot welding the strip to the power lead. Shown in orange
- Re-solder the cables removed in step 5
- Place the battery pack into the case, the 4 screws, and the spring
- And test to see if it charges ( My battery shows blinking, so I know it is charging)