HP Pavilion 15-cs3079nr Display Assembly Replacement
ID: 213428
Description: Common display issues for the HP Pavilion-cs307...
Steps:
- Power the device off before disassembly.
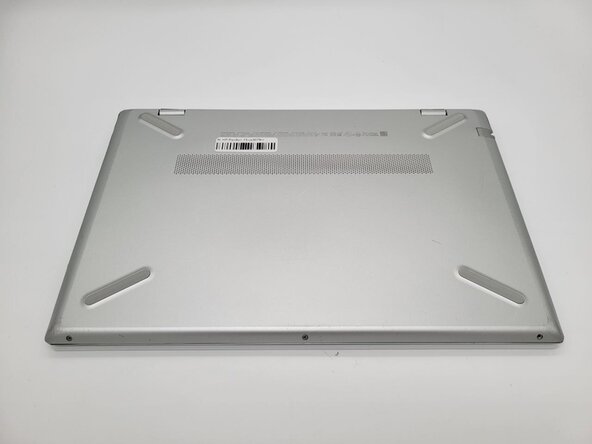
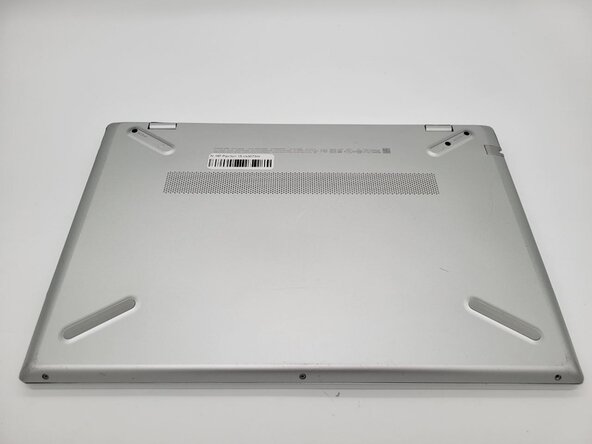
- Close the device and flip it so the bottom panel faces up.
- Remove the two silicon feet near the hinges with a spudger.
- If you intend to reuse the feet, heat them with a hairdryer prior to removal and take care not to bend, warp, or stretch them.
- Use a Phillips #0 screwdriver to remove the three 7 mm screws from the recesses.
- Use a Phillips #0 screwdriver to remove the three silver 5 mm case screws from the front of the device.
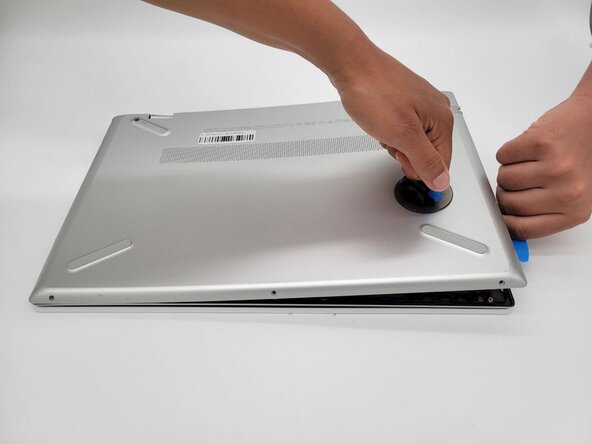
- Place the suction handle on the case.
- Insert an opening pick between the case sections and work around the perimeter of the device to separate the lower case from the chassis.
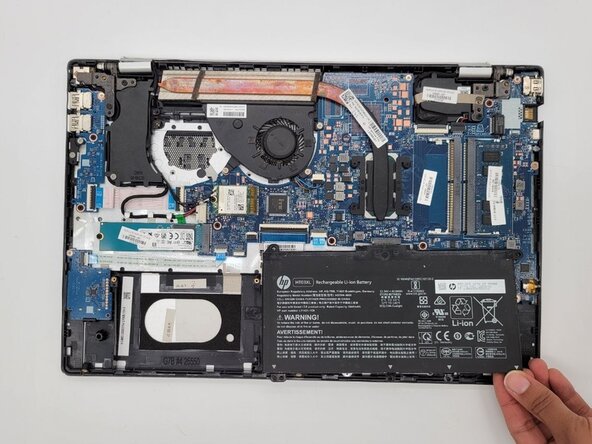
- Use a Phillips #0 screwdriver to remove the three 4.5 mm screws securing the battery.
- The number of screws on your device might differ from the example images. Ensure all screws are removed before moving on.
- Carefully lift and remove the battery.
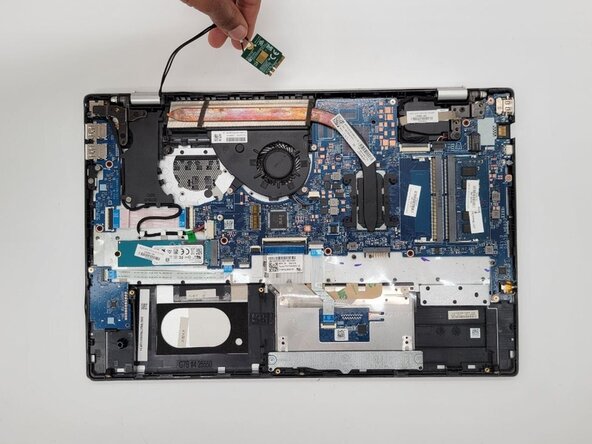
- Remove the single Phillips screw securing the Wi-Fi card.
- Disconnect the card from the board and set aside.
- Take note: This component will stay connected to the Display Panel.
- Use a spudger to flip up the display cable connector locking flap.
- Unseat and disconnect the cable.
- Take note: This cable will stay connected to the display.
- Use a Phillips #0 screwdriver to remove the two 6 mm screws securing the right hinge.
- Lift the hinge to its furthest point.
- Use a Phillips #0 screwdriver to remove the two 6 mm screws securing the left hinge.
- Lift the hinge to its furthest point.
- Lift and remove the motherboard case section from the display panel component.
- The hinges may be closely fitted, be careful to avoid damaging component connections.