Dell Precision 3541 SSD Replacement
ID: 213468
Description: This guide is meant to walk you through the...
Steps:
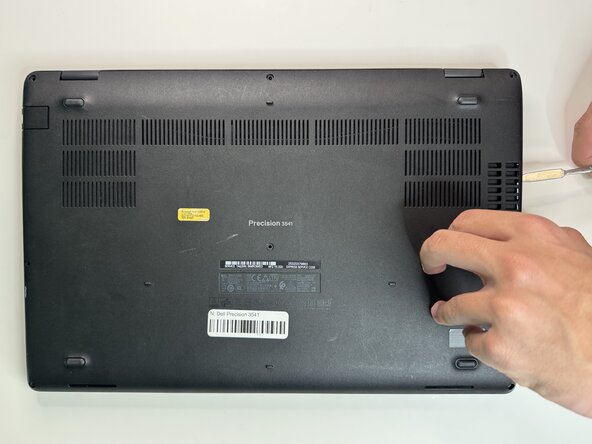
- The first step for SSD replacement is to remove the base cover which is the bottom panel of the device. You will find a total of eight small screws, three on each side, and two in the middle of the panel. Once all screws are removed, it may be helpful to use a flat, pointy tool such as a paint key, to pop the panel off of the device.
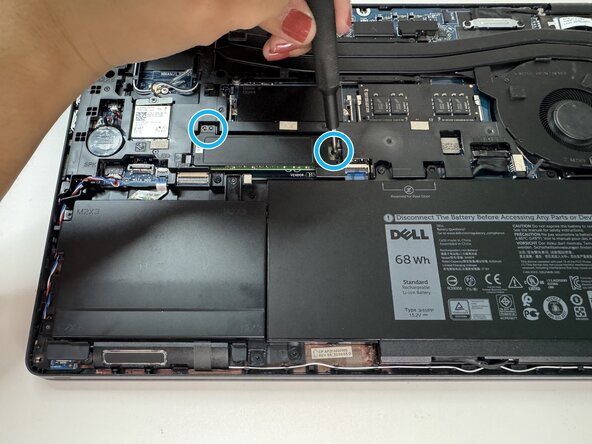
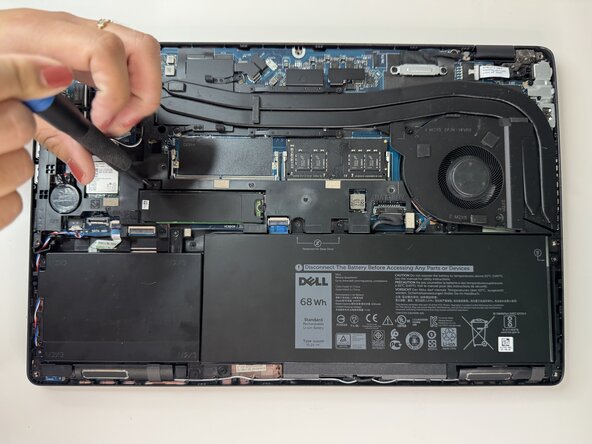
- Now, you can locate the SSD. It is a rectangular component, about 3 inches in length. It will be embedded into the left-ward side of the underbody, almost exactly in the center latitudinally. The SSD drive will have two screws holding it in place, one on the top left, and another on the right side. Once unscrewed, the SSD can be carefully removed.