HP ProBook 440 G6 Solid State Drive (SSD) Replacement
ID: 213585
Description: Does your SSD need an inspection or a replaceme...
Steps:
- Using a Phillips #0 Screwdriver, remove the two 5 mm screws on the front-facing side of the lower case.
- Using a Phillips #0 Screwdriver, remove the remaining five 5 mm Phillips screws securing the lower case.
- The two screws in the front of the backplate are of a differing size to the other five.
- Starting under the display, carefully use a plastic prying tool (iFixit opening tool) to disengage the retaining clips.
- You may hear soft clicking sounds as the clips come undone.
- Once a corner or edge starts to lift, slowly slide the tool along the edge to loosen more of the bottom panel.
- Keep working around the edges until all the clips are loose.
- Gently lift the rear of the cover to disengage it from the computer.
- Carefully remove the bottom cover from the computer.
- Using a Phillips #0 Screwdriver, remove the two 4mm Phillips screws that secure the battery to the computer.
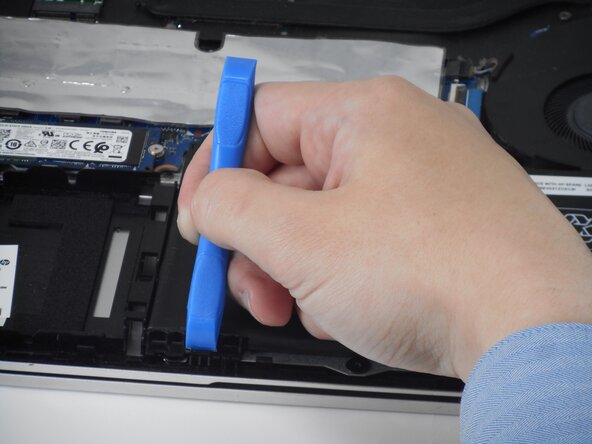
- Use a tool to push the tab back on the bottom left of the battery.
- Lift the top of the battery.
- Lift the battery out of the computer.
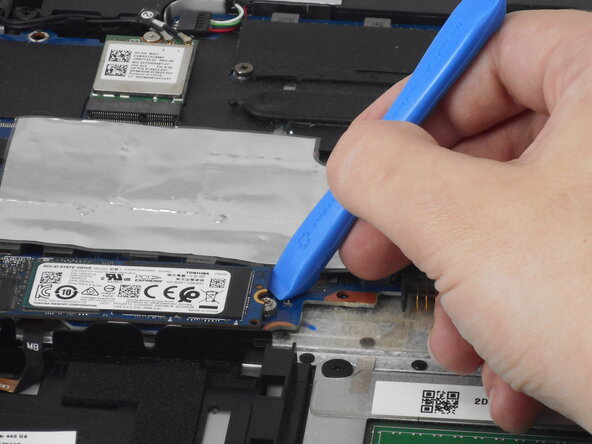
- Use a Phillips #0 screwdriver, remove the single 2.5 mm Phillips screw that secures the SSD to the computer.
- After removing the screw, the SSD will likely spring up at an angle but it may not. If it doesn't, carefully pry under it at an angle.
- Carefully remove the solid-state drive by pulling the module away from the slot at an angle.