Blink Outdoor 4 Motherboard Replacement
ID: 213621
Description: This guide provides step-by-step instructions...
Steps:
- If the mounting bracket is attached, remove it from the back of the device.
- Flip the camera upside down.
- The word 'Blink' should be at the top.
- Insert the swivel multi-tool that was included in the Blink Outdoor 4 box into the small notch located inside the silver circle in the center of the device.
- Twist to the left until you hear a click.
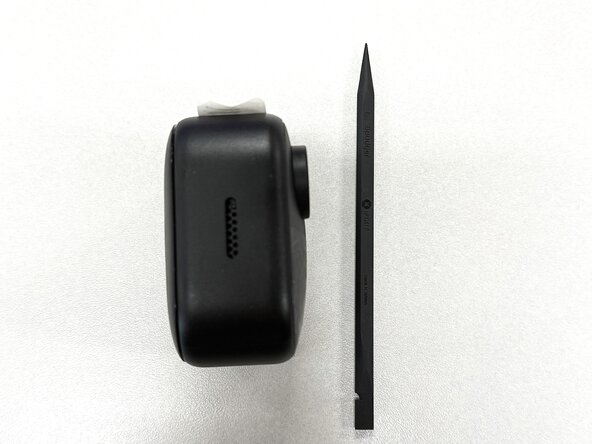
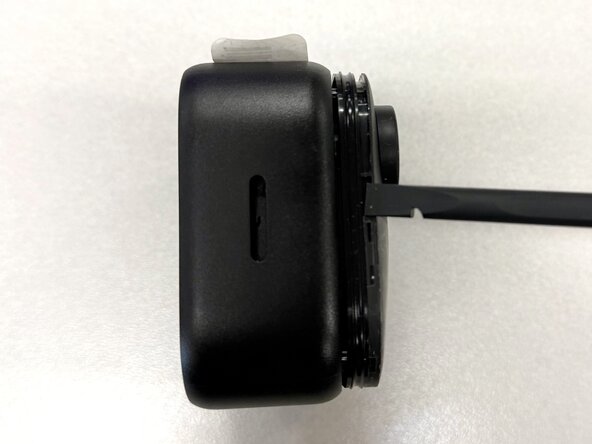
- Insert a spudger between the back casing and the device, then gently pry the casing loose.
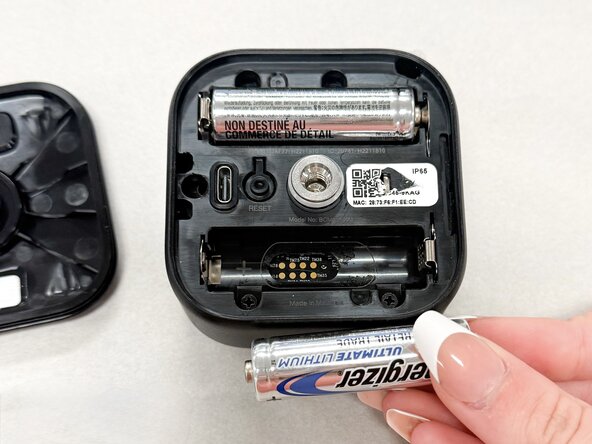
- Remove the two AA batteries and set them aside.
- Use a Phillips #1 screwdriver to remove four screws near the battery compartments.
- Make sure to keep track of the screws for reassembly.
- Turn the device on its side.
- Use a plastic spudger to gently pry off the front cover of the device.
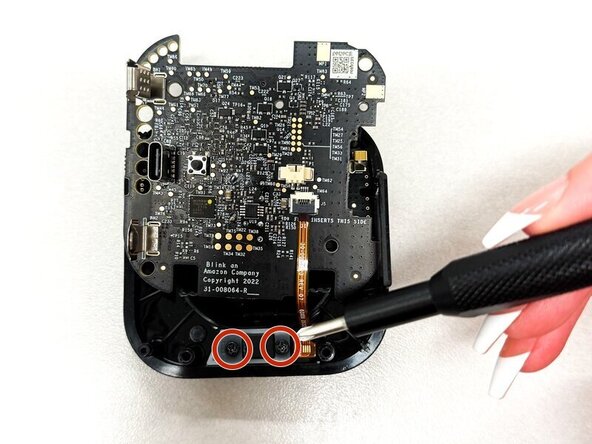
- Use a Phillips #00 screwdriver to remove the two small black screws in the upper right corner of the board.
- Make sure to keep the screws for reassembly.
- Gently lift the motherboard out of the device by its edges.
- Do not pull on the board because it's attached to some cables from underneath and it could damage the device.
- Use the point of a spudger to push on alternating sides of the white camera connector to "walk" it out of its socket.
- It may take a lot of alternating before the connector comes out. Be patient, and don't pull on the cables.
- Remove the camera from the device.
- Place the motherboard on top of the base of the device.
- Use a Phillips #0 screwdriver to remove two screws from the white bracket.
- Remove the black and white brackets.
- Use a spudger or a clean fingernail to flip up the black locking flap—this is the unlocked position.
- Use the widest tool possible to avoid damaging the delicate hinge pins.
- Gently pull the orange microphone cable out of its motherboard socket using tweezers or your fingers to remove the microphone.
- The motherboard should now be completely disconnected from other components and can be replaced.