Hyundai Accent Ignition Coils Replacement
ID: 215544
Description: Like most modern cars, each cylinder has its...
Steps:
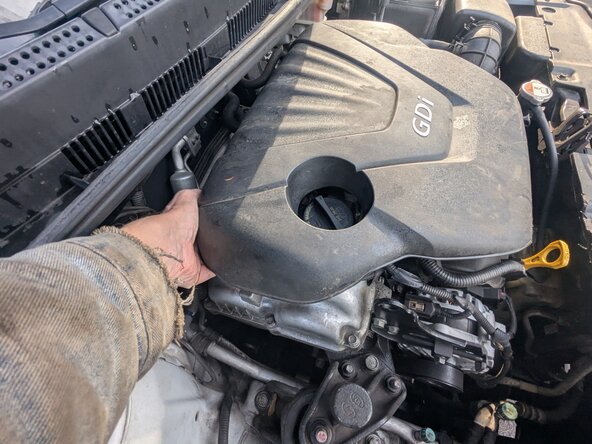
- Grasp the engine cover by the front edge.
- Give it a firm yank upward.
- Grab the rear edge of the cover.
- Yank it upward.
- The engine cover has been removed.
- We're starting with the #4 cylinder here, but it doesn't actually matter where you start.
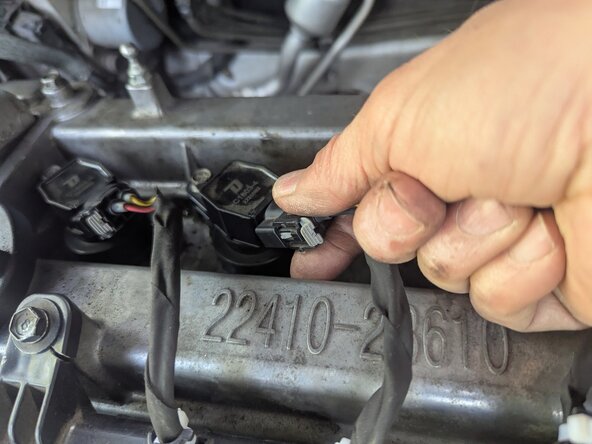
- Slide the gray locking clip away from the coil to unlock the connector.
- With the locking tab released, grasp the connector and pull it straight off.
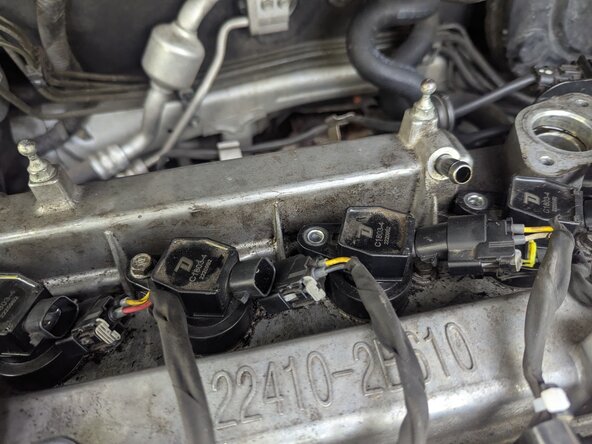
- Moving along to cylinder #3, release the connector lock and unplug the coil.
- Repeat for cylinder #2.
- And, as you probably guessed, we finish up with cylinder #1.
- Using a 10 mm socket, remove the bolt securing the #4 coil.
- For reassembly, the tightening torque is 9.8 ~ 11.8 Nm (1.0 ~ 1.2 kgf.m, 7.2 ~ 8.7 lb-ft)
- Note that most non-professional torque wrenches are not very accurate below about 15 ft/lbs, so it is recommended to use an in/lb wrench, in which case the torque settings to use would be from 86 to 104 lb-in.
- Repeat for cylinder #3.
- Moving along to cylinder #2, rinse and repeat.
- And we finish up back on cylinder #1.
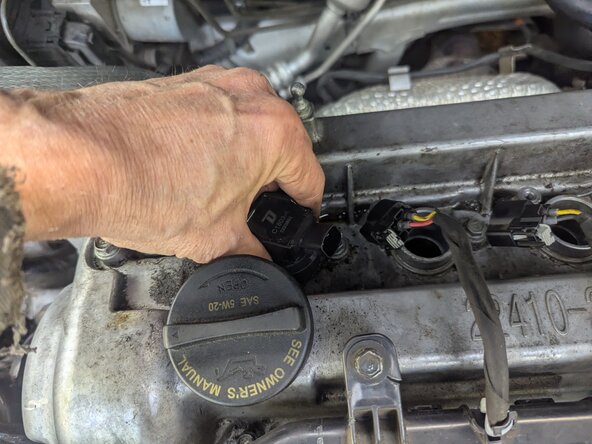
- Moving back to the #4 cylinder, grasp the coil and pull straight up to remove it.
- Likewise for the #3 coil.
- We pull the #2 coil.
- And for our grand finale, we remove the coil from cylinder #1.
- The ignition coils have been removed.