Panasonic NB-G110P Toaster Oven Heat Element Replacement and (optional) Beeper Silencing
ID: 218462
Description: The lower element in our Panasonic NB-G110P...
Steps:
- Be sure to unplug and expect some crumbs
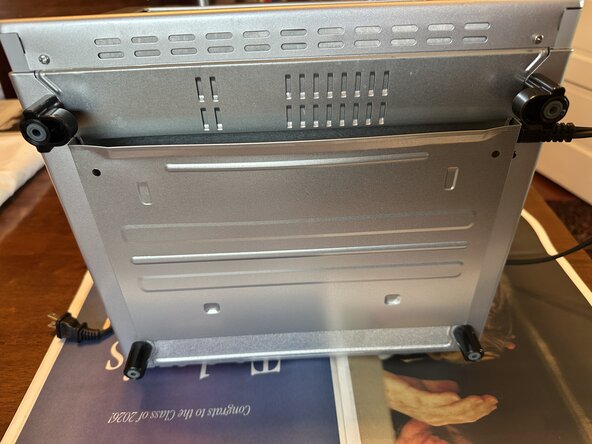
- Feet have screws behind soft plugs. Two screw lengths.
- These are the Back Feet exploded for Screw Length.
- Front Feet have flange for crumb tray.
- Grill comes out easily
- Two screws remove door. Lift to disengage tabs
- Remove the screws and pull the door side trim off, then the top trim piece will pivot out (Tabs again) and come free.
- Keep your screws sorted.
- Remove the four back panel screws and lift the back off.
- Two Sneaky screws. One at the top of the front above door
- and the other next to the power cord entry. You did unplug it right?
- Main cover comes off and ends / elements are exposed.
- Remove the single screw on each side and the strap and wires.
- Continuity test the suspected elements
- This tutorial is for the bottom element, but the same process will work for the upper element.
- Using a Voltmeter set to "Continuity" the failed element shows OL (Open Loop) when the wires are disconnected and the probes are touched to each end.
- Pry the metal away on both sides of the element. This feels destructive, but it's the only way the elements come out.
- The elements want to slide out the Left side, so open that gap wider. Note the orientation of the element ends to match up the new element.
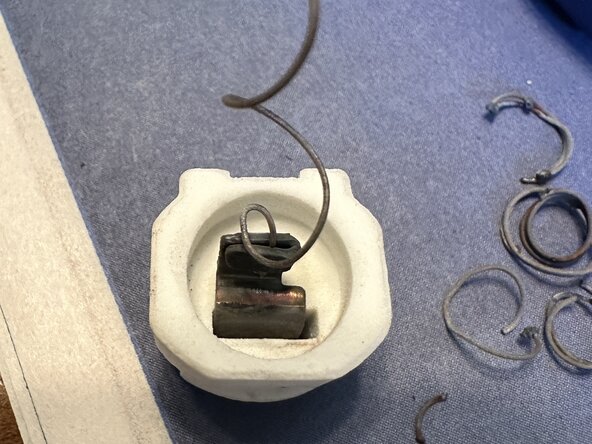
- There are internet stories of simply "fixing" the elements. As you remove yours, it may come out in pieces. I had considered simply recrimping mine and reinstalling it, but the internal wire scorching and the damage to the tube left me wanting to use a new one.
- Photos here show there is a crimp connector, and the element might be refastened. Do this at your own risk, but it should work if the break is near one end.
- Here's the new element. Insert Gently and re-bend the metal tabs
- Continuity test if desired. My new one measured about 30 ohms.
- Reattach the metal straps and the wire eyes as before.
- Reassemble in reverse order. Don't forget the hidden screws at the top of the front and by the mains wire.
- Need some Marmalade
- This is my favorite part.
- This is an extra step if you want to kill the beeper.
- Remove two more screws and pivot the control panel out.
- The big black dome at lower right will pop off with pliers and the buzzy disk will come out
- Snap the black plastic cap over the empty buzzer and you are done. Reassemble the control panel; tabs then screws
- Note: This stops all beeps. You must now always pay attention to your oven.