Akai MPC Sample Teardown
ID: 218776
Description: Disclaimer: I'm an amateur, these are my...
Steps:
- Alright. Depending on how deep you're intending to get into the device, you will need to remove the three knob caps, the fader cap, the master encoder knob (you'll also need a wrench as the potentiometer for this is held in place by a threaded nut).
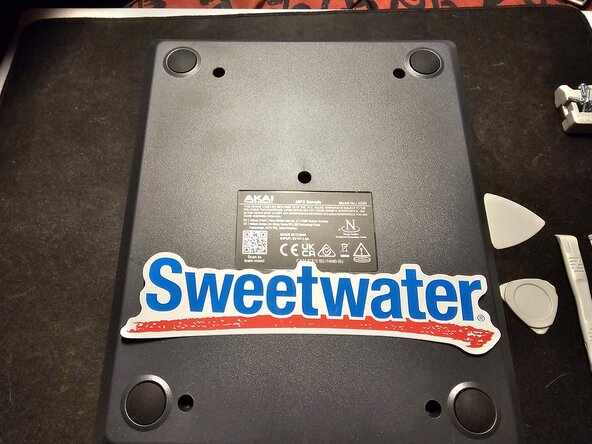
- There are 5 screws on the back. They are phillips screws, pretty easy.
- 3 of the sides are pretty easy to pop open with the guitar pick shaped plastic devices, but the last side (the bottom) has a series of 4 or 5 tabs held in place by friction. I was able to pry them up via a plastic spudger
- Battery is held in place by 4 screws. Same size as all the other screws I ran into. Remove those, unplug the battery from the plug, good to go.
- Okay this part's tricky. There's several screws to remove, that's fine, but there's also a ribbon cable that is threaded through a slot on the board, and then wrapped around a piece of plastic, and THEN adhered to the board with adhesive foam tape. Unplug the ribbon cables, pry off the plastic thing and the foam tape (BE CAREFUL)
- After unplugging the speaker, removing the screws, and untangling and unplugging the ribbon cables, you will need to pry up the knob for the volume knob on the top of the unit. There's a cutout in the board that you can fit a plastic prying tool in to pry up the knob.
- Lift upward. It's a finicky fit but it will come up so long as you have everything disconnected. BE CAREFUL. The ribbon cable that was wrapped around the plastic loop has kinks in it and can be caught on the slot, feed it through carefully to remove the board without damage.
- This is as far as I got. I'll leave additional findings in the next steps. The ribbon cable for the screen looks especially fragile.
- Ok, even if you remove the fader and all the screws, there's a fragile ribbon cable connecting the fader board to the bottom board. Both boards must be removed at the same time so as not to rip that tiny hidden ribbon cable. You must remove the fader and three knobs above the pads to acheive this.
- Yup, so if you have to replace this little battery, get a CR1220 3v button cell.
- I'm immobile and couldn't access anything other than my little electronics screwdriver kit for this teardown. You should be able to access everything after you get the two main boards out, but I didn't go past that. If someone else wants to make a more in depth teardown I'd appreciate it.