Motorola Moto G 5G (2025) LCD screen Replacement
ID: 219159
Description: I Had opened a new phone line for my son now...
Steps:
- You are going to start by removing the back cover, not the screen. The back cover is a flexible leather cover held by glue. You will need a heat gun, hair dryer, or a heating pad like me if you don't have those.
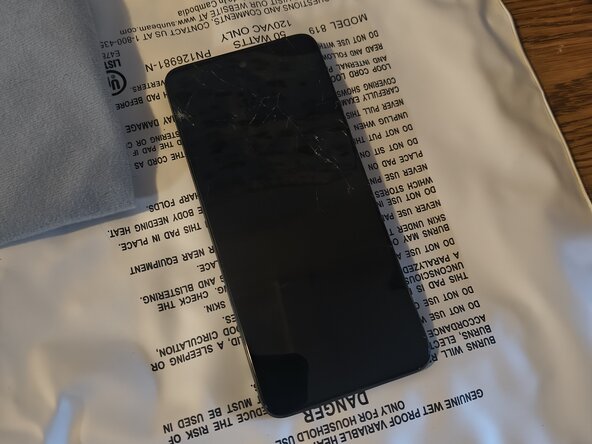
- If you use a heating pad, turn it on to high (or whichever setting you have that reaches an estimate of 150F). Preheat it for 5 minutes, then place your phone, screen facing up, onto the heating pad for about 15-20 minutes depending on how warm yours gets. This will loosen the glue from the back cover. Make sure to take off the fabric cover.
- Great now the back of your phone feels hot. Grab your favorite tool for peeling the cover off from the adhesive. I used a razor blade because it could cut the adhesive once I could lift up a little piece.
- I started at the bottom, put the corner of the blade into the crack and then wedges it under the cover. From there you can slide it to cut the adhesive.
- Remember, this cover is like a flexible leather material, you can definitely bend it to peel it off, but always be gentle with your electronics.
- Now remove the Sim Card.
- Get your screwdriver that came with the kit.
- Remove all screws and put into a cup/bowl.
- Yes. Every screw.
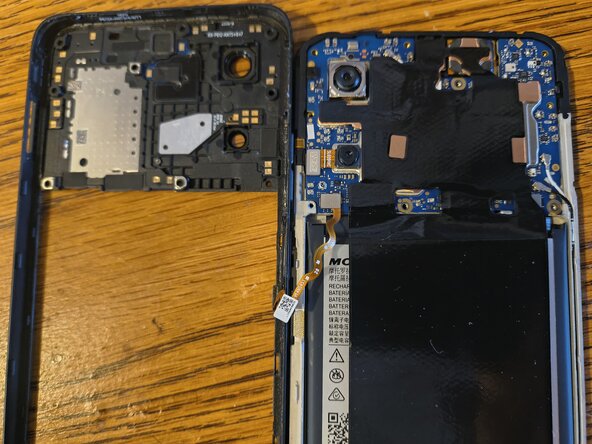
- You are going to pry off the middle frame from the broken screen and it's frame.
- Grab your favorite pry tools. I started off by using my razor blade to first do the initial separation, then used the guitar pick-style tool to slide around the entire frame.
- It just unlocks with clips. No glue. Just slide your tool around through the crack.
- Unhook the frames ribbon cable from the motherboard.
- Peel the tape off of the battery
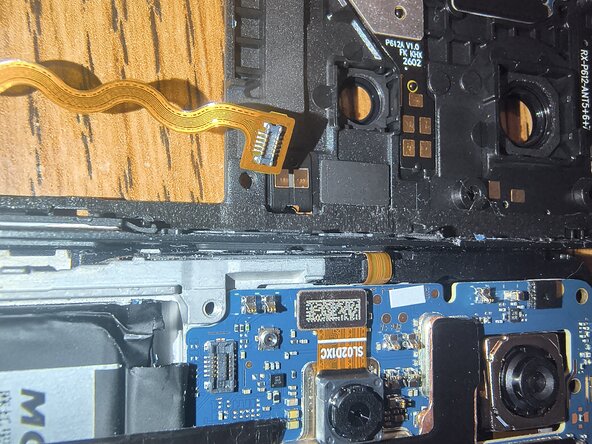
- You now see three ribbon cables connected.
- You'll need to unhook the three ribbon cables next to the battery
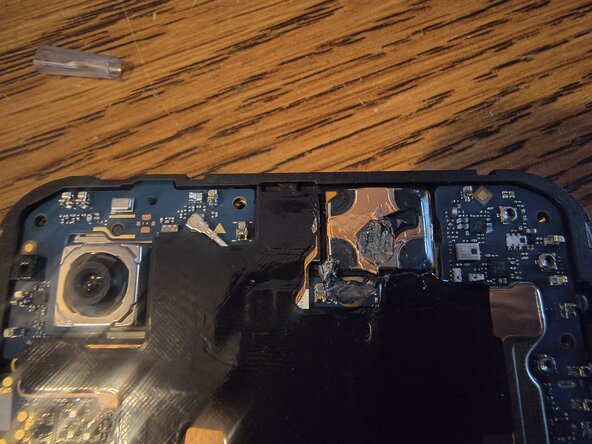
- You'll need to disconnect the tape from the speaker (the square copper piece). If you rip the black tape, don't worry. You just want it separated from the rest of the black tape.
- When you remove the motherboard, this piece is not supposed to come with it. This is the reason.
- Again, don't worry if the black tape rips.
- The black and white cables need to be disconnected from the motherboard as well. Use tweezers to unplug them and pull them from the crack.
- Next is to remove your charger port.
- Unhook the ribbon cable by the battery and white cable.
- The card should pop right out.
- Now to remove your motherboard.
- Get a prying tool (I use my trusty razor).
- Insert it into the right side where I show an example with my blade. Gently lift it up to unlock it.
- No need for more prying. It just comes out. It has some adhesive on it so expect a bit of resistance.
- Now to remove the square copper looking piece (the speaker) and the ribbon cable for the volume and power buttons.
- These are actually glued down and will take more effort and care to make sure you don't damage when removing, but don't be discouraged. I did it. Take your time.
- You have two options, use a heat gun or use the isopropyl alcohol. I used the alcohol.
- Just generously put some alcohol onto the cable where it's glued to the frame, let it sit for 1-2 minutes, then pry it off with a proper tool.
- Don't be afraid to really soak it in some alcohol if you have to. The buttons ribbon cable was REALLY glued down for me. It's glued all along the side of the frame as well.
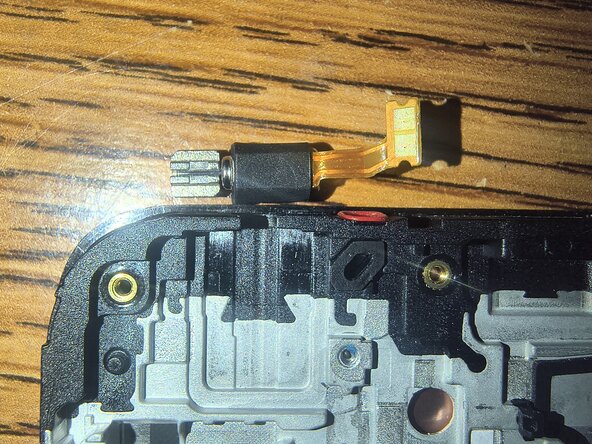
- You're going to remove the hardware for the vibration feature.
- Same as last time, you'll need heat or rubbing alcohol.
- Loosen the glue and then slowly and gently pry it up and remove the hardware.
- Now, remove the battery. It's held in with some light glue. It's easy.
- REMEMBER, NO METAL TOOLS ANYWHERE NEAR THE BATTERY. FIRE HAZARD.
- Get your alcohol and place some along all the edges and sides of the battery. Let it soak for 1-2 minutes and then use a plastic tool to pry it up.
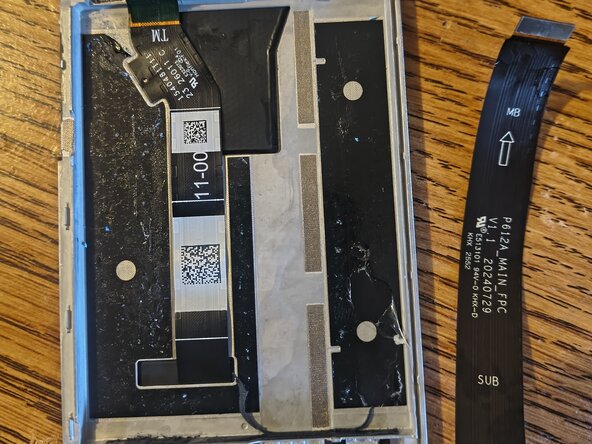
- You'll want to peel off the ribbon cable that was under the battery. It says MB at top and SUB at bottom. It's just lightly glued on.
- Gently peel and remove.
- Congrats you took it apart! Now put it back together.
- Grab your new LCD screen with frame and reinsert your speaker and buttons ribbon cable.
- This is where you'll need your B-7000 glue. Glue the ribbon cables back to where it belongs.
- Time for your motherboard at the top. Insert left side to right. The opposite from what you did to remove.
- Now get the ribbon cable from the battery area, peel off the adhesive from the bottom and reconnect it to the motherboard.
- Remember that cable you kept from under the battery? Time for it to shine.
- Peel off the adhesive cover and reattatch the cable to the motherboard.
- I like to connect it first and then lay it down into the adhesive. Make sure its snug against the corners so that the battery fits.
- Place the vibration hardware back into its spot and use your B-7000 glue.
- Reinsert the charging board.
- Connect the ribbon cable.
- Connect the black and white wires to the correct spot.
- Peel off the tape for the adhesive in the battery compartment.
- Insert your battery and then connect its cable to the correct plug.
- Something worth doing before you insert the battery is to smoothen out the wrinkles and make your battery flat again.
- Before connecting the frame, reinsert the ribbon cable.
- Click the frame back on over the screen.
- Make sure the volume and power buttons are clicking after clicking back on.
- That's it! Now test everything before you fully seal up.
- Turn on the phone, pull the notification bar down, swipe up, press every number in the phone dial app, test the speaker and vibration, etc.!
- If everything is working, just place some B-7000 glue along the edges of the phone casing and a little around the cameras and you can reattatch your back cover.
- Firmly press the back cover back on. You can get some tape and place tape around the entire phone to help hold it in place for an hour or two.