2011 Lexus CT Aircon blower fan replacement Replacement
ID: 219403
Description: Here Is the Steps to a simple quick fix to the...
Steps:
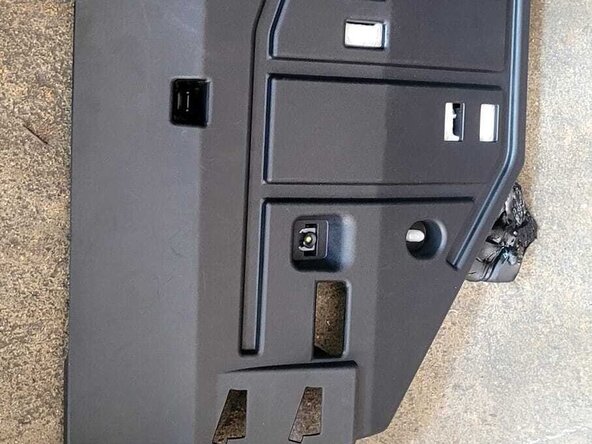
- The blower fan is located below the cabin filter on the front passenger foot area secured by 3 self tapping 8mm screw Step #1 - In order to access the blower fan , you need to look for the bottom panel cover which there is a LED cabin light .
- New line.
- Step#2 - the cover is hold by the inner hooks and toward the passenger the panel is hold quick release clip , locate the "center push tap" ( see photos) and give it a light push and pull gently the panel , it will pop open
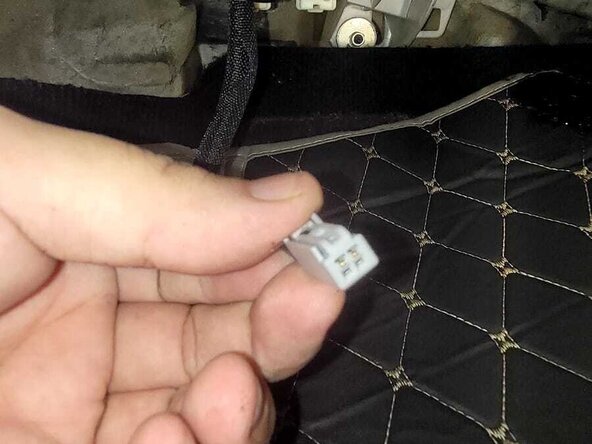
- Step#3- on the panel , there is a quick connector connecting to LED cabin light , push light the tab or use a small flat driver to push out the connector
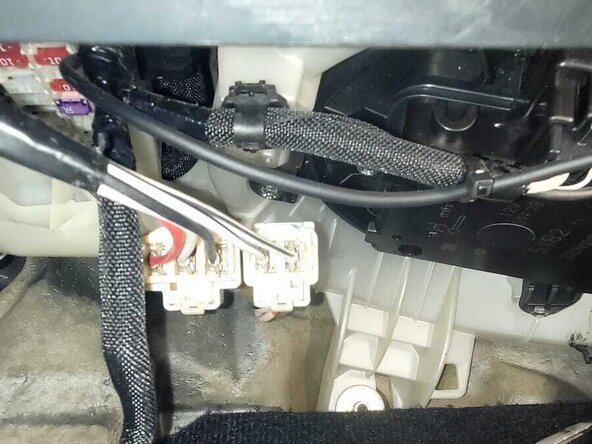
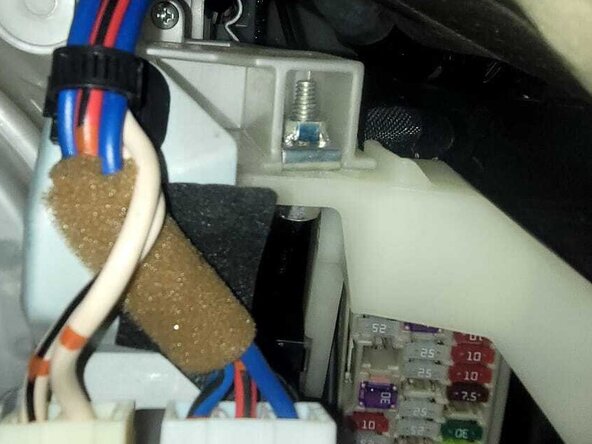
- Step#4- one the left passenger facing access screw to the blower fan is blocked by a double harness holder mounting , in order to get it out of the way , it hold in place by a single self tapping #2 phillips screw , it masked by a black termal wire tape, peel a side off , and it be able to see the screw , then use a short driver to unscrew it
- Step#5 - once the harness mount is out of the way , as the space is tight from floor board, long screwdriver is hard to reach , better to use the 8mm 1/4inch socket with ratchet to unscrew the 3 x self tapping screw to release the blower fan
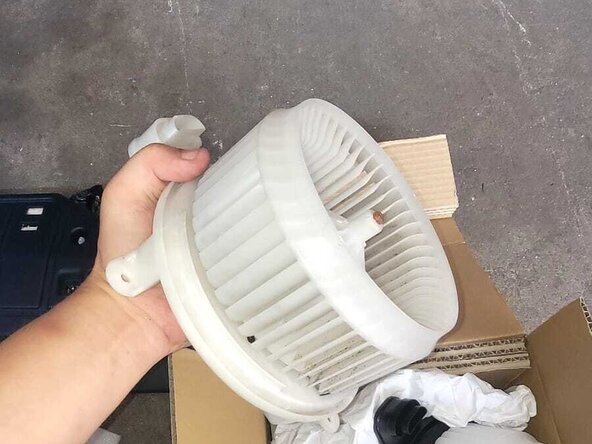
- Step#6 - after removing the current blower fan , check the part you have is matching
- Step#7 - after making sure the connector are matching , using the 3x self tapping M8 screw , and the ratchet . position and align the blower "mouth" with the housing and screw in clockwise , remember not to overtighten , it only handtight strength
- Step#8 - Now is the last second step - is to put back the hardness mounting by screwing back the single self tapping screw, to do so align the fixating dots with the holder (some figiting need) then screw back
- Step#9 - align the two hooks with the female squarish holes on the housing and align the two front quick clip tabs then gently snug the panel back , that "bingo" that all folks