How to Darn a Hole in a Tote Bag
ID: 219695
Description: A hole in a tote bag does not mean it needs to...
Steps:
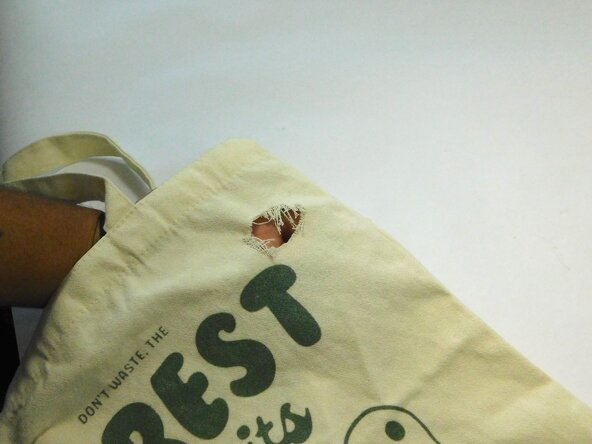
- Examine the size and condition of the hole and check the surrounding fabric for any loose threads or fraying that may affect the repair.
- Carefully trim away any loose threads and uneven fabric around the hole using a pair of scissors, taking care not to cut into the surrounding undamaged material.
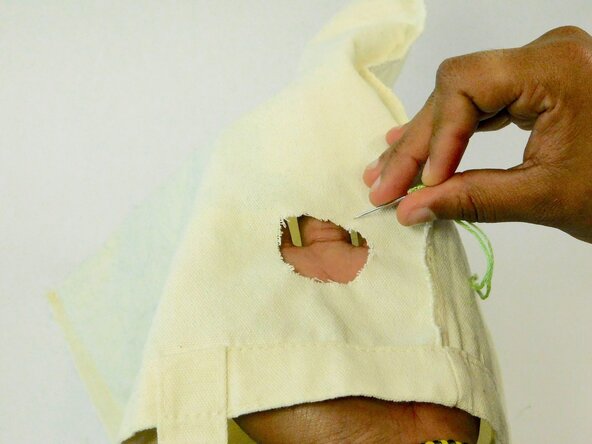
- Cut a piece of embroidery floss approximately twice the length of your arm, then thread the floss through the eye of the needle and pull it through until both ends are even.
- Turn the tote bag inside out and sew a running stitch around the edge of the hole to reinforce the damaged area and prevent the fabric from stretching during the repair process.
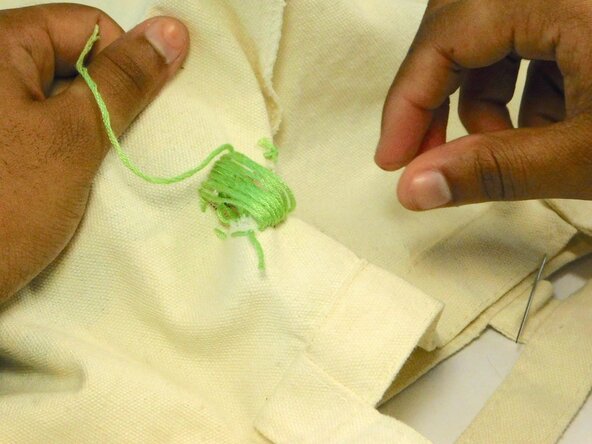
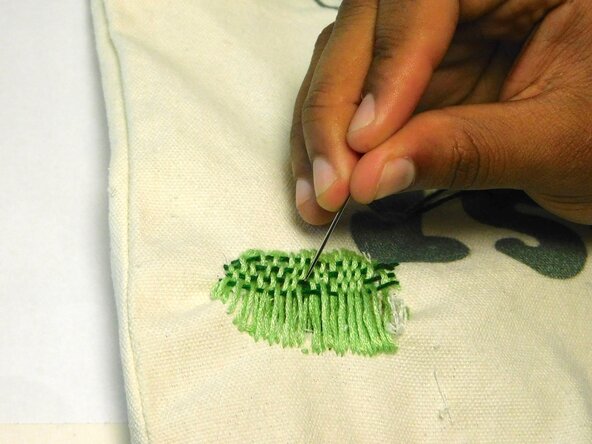
- Sew a series of vertical stitches across the hole, extending each stitch approximately 1–2 centimeters beyond the damaged area on both sides to create a stable foundation for the woven patch.
- Gently pull and smooth the surrounding fabric if the stitched area becomes too tight while creating the foundation stitches.
- Continue adding vertical stitches until the entire hole is covered, then secure the thread with a knot and trim any excess floss.
- Thread a new piece of embroidery floss through the needle and secure the end with a knot. Insert the needle into the fabric near the bottom corner of the foundation stitches to prepare for the weaving process.
- You may use the same color or a contrasting color of embroidery floss to create different decorative effects.
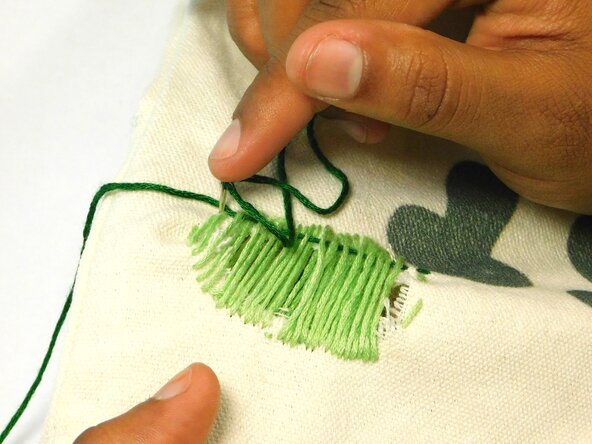
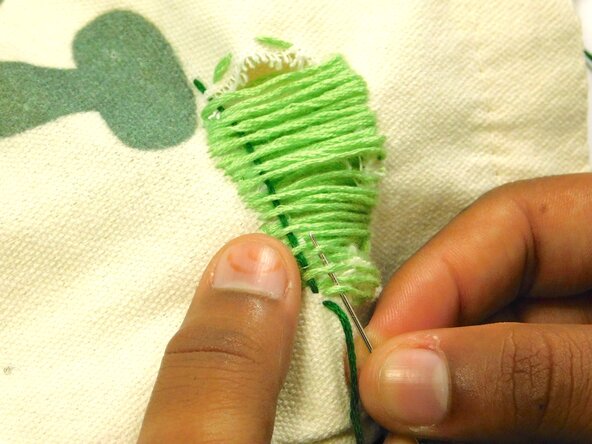
- Turn the tote bag right-side out and weave the thread horizontally through the vertical foundation stitches, alternating between passing over and under each stitch to create a woven patch.
- Pass the needle through the fabric at the end of each row before beginning the next pass, then continue weaving over and under the foundation stitches until the patch begins to take shape.
- Use the needle to gently push the woven rows downward as you continue weaving, ensuring the threads remain compact and evenly spaced throughout the repair.
- Continue weaving back and forth through the foundation stitches until the entire hole is covered and the woven patch appears even and secure.
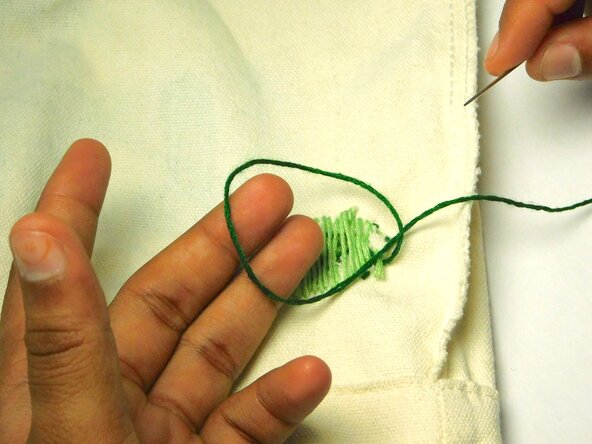
- Turn the tote bag inside out and tie off the remaining thread on the back side of the repair. Trim any excess floss to complete the woven patch.
- Inspect the completed patch to ensure the hole is fully covered and the woven stitches are secure. Your tote bag is now repaired and ready to use.
- Visible mending not only repairs damaged fabric but also adds a decorative element to the finished piece.