ROG Strix GTX 1080 Ti Thermal Paste Replacement
ID: 219911
Description: Coming soon!
Steps:
- Before you start, make sure to ground yourself and your work surface properly to prevent damage from static electricity.
- Unscrew the four heatsink screws from the back of the graphics card.
- These are the ones nearest the PCIe connector, with the springs.
- Gently lift the GPU and its backplate off the heatsink.
- If the thermal paste on the GPU die is gluing it to the heatsink, warm it up a bit. Or carefully wiggle it side to side until it loosens.
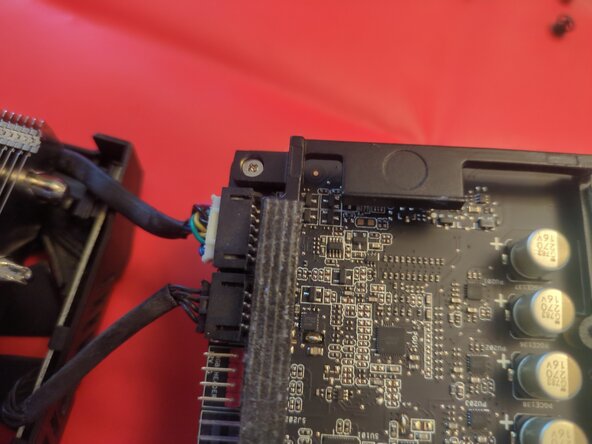
- Unplug the two cables holding the halves together.
- Only the GPU die requires thermal paste; the other chips are covered by thermal pads under the black reinforcing frame.
- Clean off the thermal paste and apply fresh paste.
- Good quality thermal paste is recommended here - paste that keeps its consistency and won't dry out at high temperatures.
- Skip this step and the next when replacing the thermal pads.
- When reassembling, place the GPU on the heatsink, lining up the four holes for the screws.
- Start each of the screws in their threaded holes before tightening any of them.
- Tighten the screws a little at a time in a star pattern to keep even pressure on the GPU die.
- Reconnect the two cables into the black sockets after the heatsink is secured.