Cuisinart TOA-60FR Thermal Fuse Replacement
ID: 219967
Description: The thermal fuse is the first component in the...
Steps:
- Using a 25-hexagon head screwdriver, unscrew these three 7.31 mm screws.
- Using a Phillips #1 screwdriver, remove all of these 7.31 mm screws.
- Pull off the back panel.
- Flip the oven upside down.
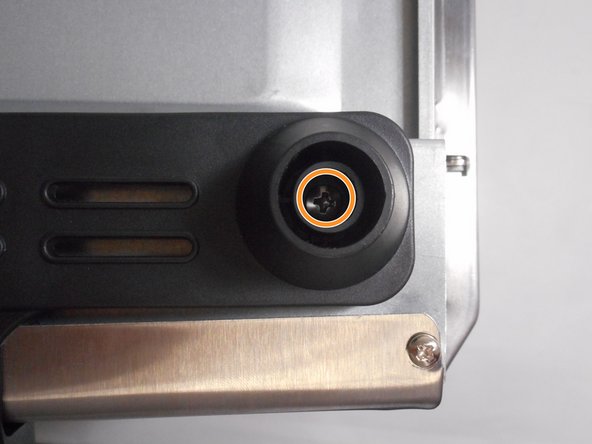
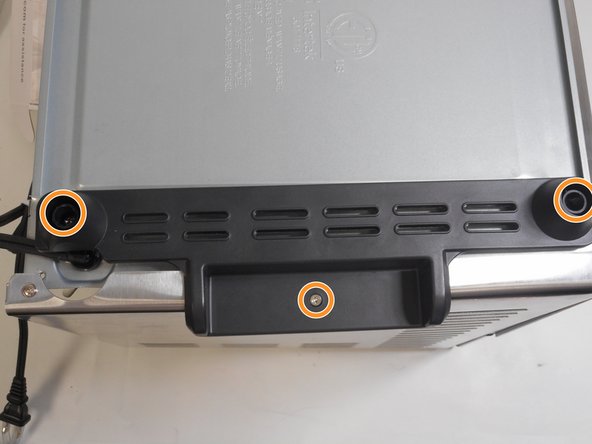
- Use a spudger to pull out the grey stoppers.
- Use a Phillips #1 screwdriver to remove all three 11 mm screws.
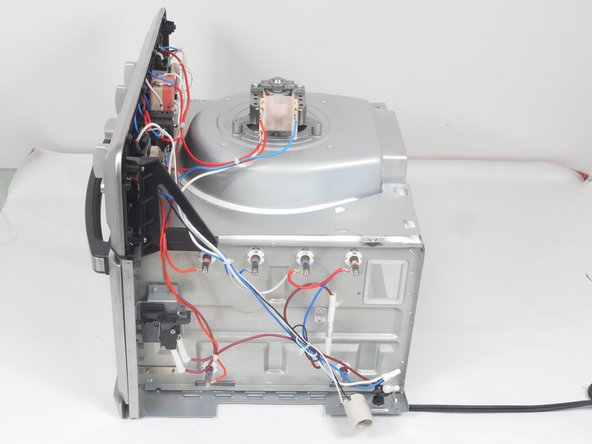
- Unscrew all of the 11.05 mm screws that connect the outer shell to the interior device.
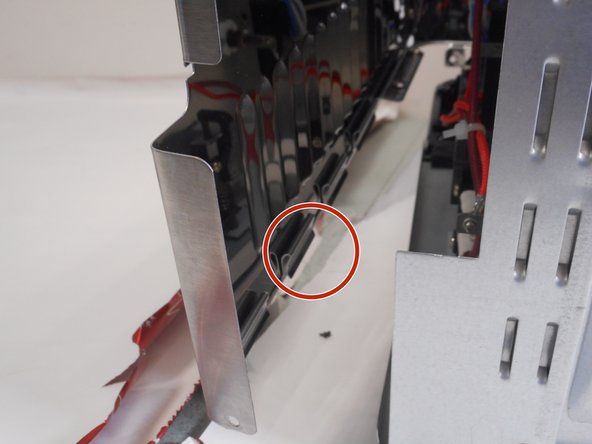
- Push down with a screw driver between the tabs, then pull up to release the tabs. Pull the top piece off.
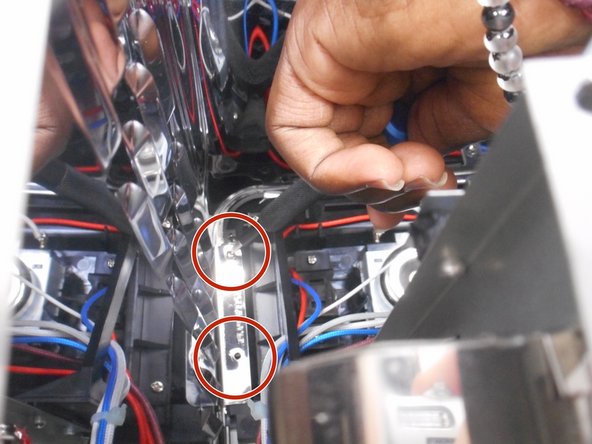
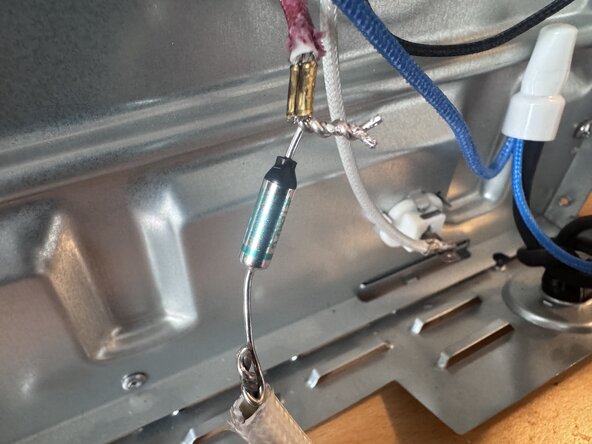
- The thermal fuse will be in a white silicone sleeve, held by it's own bracket
- slide the sleeve and the thermal fuse out of the bracket, and pull the sleeve down the cable, exposing the fuse
- To remove the original fuse, clip the fuse leads close to the body of the device.
- The leads of the old fuse will serve as a connection point for the new fuse
- Install the new fuse by twisting the leads of the new fuse tightly with the old leads.
- this is easiest with a pair of needle nose pliers
- NOTE: the electrical connection must be secure, so try and get at least 3 twists between the two, and ensure that they are twisting TOGETHER (like a candy cane), and not one around the other
- Bend the connections so they don't stick out, and are in line with the cable, and ensure that no shorts are occurring across the fuse.
- Slide the silicone sleeve back over the fuse, and push it back into the bracket
- this is easiest with a pair of needle nose pliers
- NOTE: try and ensure that the bracket is around the body of the fuse, so it is securely held in it's original location