Sonny Angel Hipper Figurine Repair Head, Body, and Adhesive Replacement
ID: 219987
Description: Sonny Angel Hippers are a collectible figurine...
Steps:
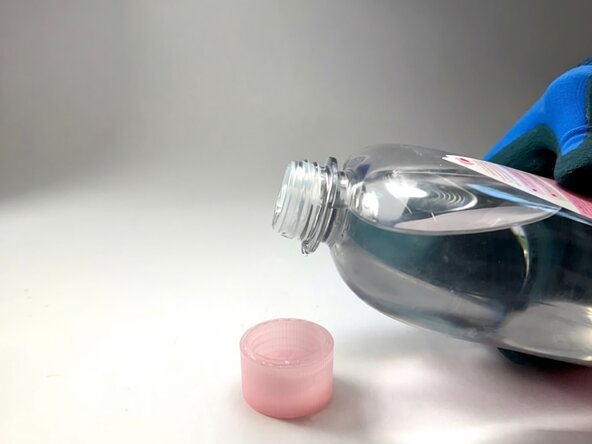
- Pour rubbing alcohol into the cap of the rubbing alcohol bottle for easy access.
- Dip one end of the Q-tip cotton swab into the rubbing alcohol.
- Make sure to wear gloves when handling rubbing alcohol to protect your skin.
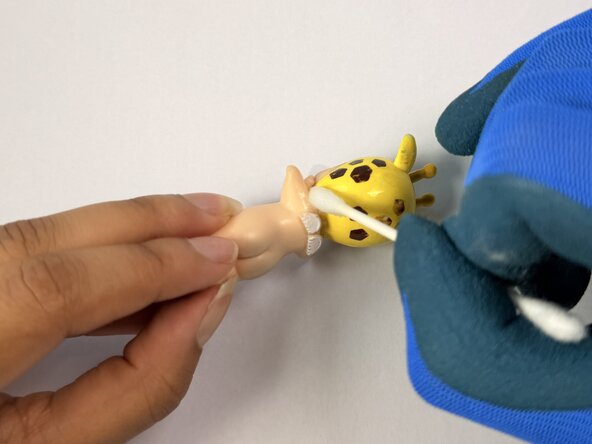
- Clean the Hipper Head attachment by dabbing around it with the Q-tip cotton swab from Step 1.
- Clean the indentation of the Hipper Body with the same Q-tip cotton swab.
- The Sonny Angel Hipper is small; make sure to clean all the crevices and surface areas.
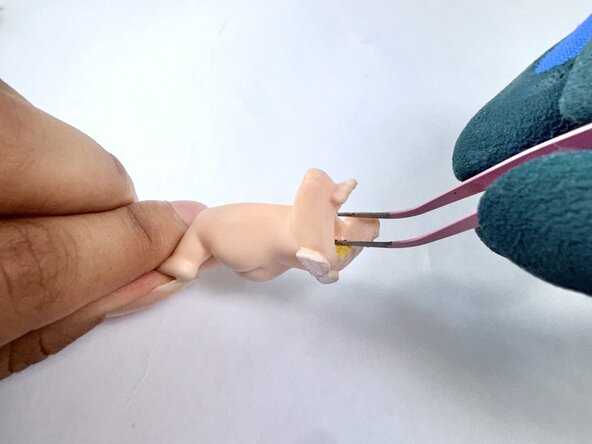
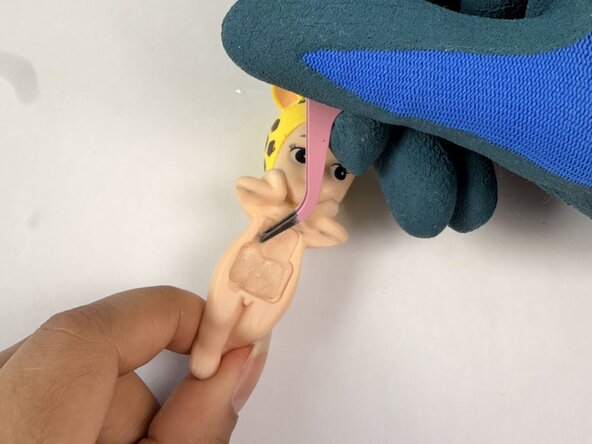
- Carefully, use a pair of tweezers to remove any debris and/or extra plastic that remains in the Hipper Body indentation.
- Please note that you may not be able to remove all of the plastic; this is okay and will not affect the overall repair.
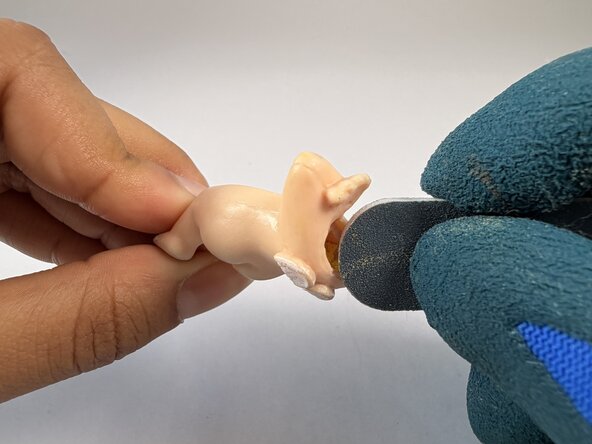
- Stroke the Hipper Head attachment against a nail file to add texture.
- Stroke a nail file against the Hipper Body indentation to add texture.
- Squeeze super glue onto a wooden toothpick.
- Use the toothpick to add superglue to the Hipper Head attachment.
- Use the toothpick to add superglue to the Hipper Body indentation.
- Make sure to work quickly as the super glue sets quickly.
- Super glue is an irritant; make sure to wear gloves and work carefully so you don't get glue everywhere.
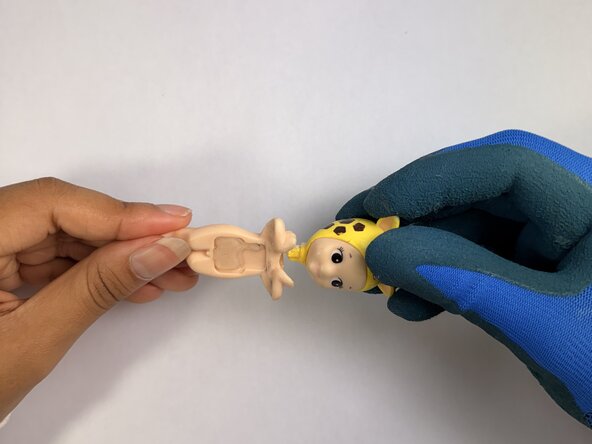
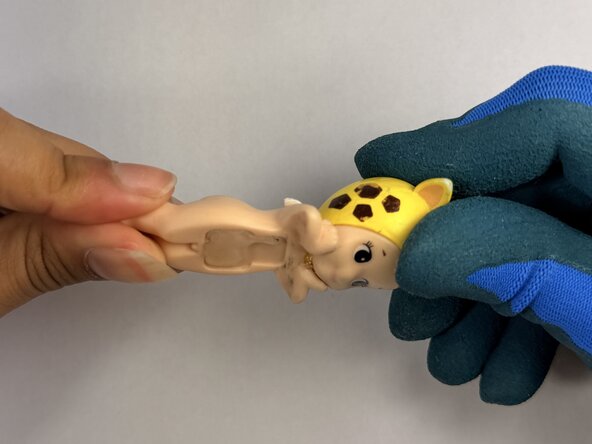
- Insert the Hipper Head into the Body indentation.
- Hold for 30 sec - 1 minute so the super glue sets.
- Make sure the head and body are facing the same direction before inserting.
- Dip a Q-tip cotton swab into the rubbing alcohol cap from Step 1.
- Clean the excess super glue residue around the neck of the Hipper with the Q-tip cotton swab.
- When the super glue hardens, it may leave a white, powdery residue that is easy to identify.
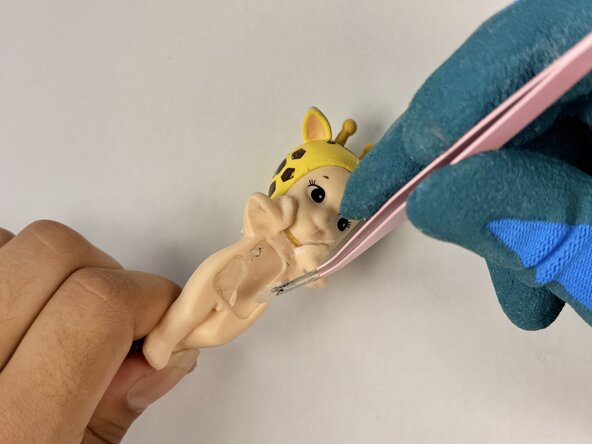
- Carefully, use tweezers to remove the previous adhesive in the Hipper's adhesive compartment.
- Pour baby oil into the baby oil cap for easy access.
- Dip a Q-tip cotton swab into the baby oil.
- Use the Q-tip cotton swab to clean excess glue/adhesive residue on the Hipper's Body adhesive compartment.
- Dip the manicure stick in your preferred nail polish bottle.
- Paint the faded areas of the Hipper body and head.
- Apply the nail polish in a well-ventilated area, keep it away from heat and open flames, and never ingest it.
- Use a ruler to measure the length of the Hipper's adhesive compartment.
- Using an x-acto knife, cut the needed length of the nano tape.
- Place the nano tape into the Hipper's adhesive compartment. Hold for 30 seconds so the tape sets in.
- When handling an X-Acto knife, extreme caution and parental supervision are required. Always cut away from your body, keep your non-cutting hand safely behind the blade, and store the knife with its protective cap on.
- Using an X-Acto knife, carefully cut the excess nano tape to fit the shape of the Hipper's adhesive compartment.
- Peel off any excess nano tape after cutting it.
- Be sure that the adhesive fits properly and covers the entire compartment.
- When handling an X-Acto knife, extreme caution and parental supervision are required. Always cut away from your body, keep your non-cutting hand safely behind the blade, and store the knife with its protective cap on.
- Peel off the release liner from the nano tape.
- Choose your attachment location and hold the repaired Hipper down for 1 minute to ensure proper adhesion!