Disassembling Canon MD5511 5.25" Drive Top Disk Clamp
ID: 220416
Description:
Steps:
- Orient the drive so that the bottom side (and the attached 3.5" drive) faces up
- Unscrew the two indicated screws
- Remove the front bezel by pulling it away from the drive
- Re-orient the drive to be right-side-up
- Remove the three indicated screws
- Remove the top cover by lifting it up and away from the drive
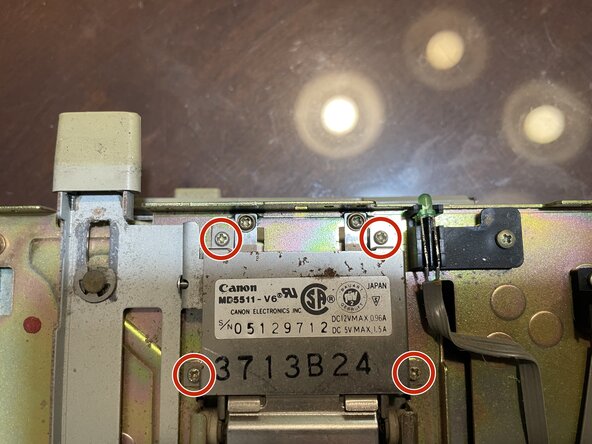
- Unscrew the four indicated screws
- Remove the cover by lifting it up and away from the drive
- Remove the two indicated E-clips
- Remove the engage/eject arm by lifting it up and away from the drive
- Be sure not to lose the spring by the lower E-clip
- Remove the spring by pulling it off of the engage/eject arm
- Pull off the retaining ring above the latch
- carefully remove the torsion spring by pulling it up and away from its post
- Lift and remove the latch from its post
- You are now in the best position to clean old grease from the engage/eject mechanism parts, as well as ensure that its attached wheels can spin freely
- Note carefully the position of the clamp's attachment points for future reassembly; they are not circular holes.
- Remove the two indicated screws
- Remove the clamp by pulling it up and away from the drive
- You are now in the best position to clean dust and dirt buildup from the top disk clamp/centering wheel (picture 2) and the top of the disk spindle (picture 3)