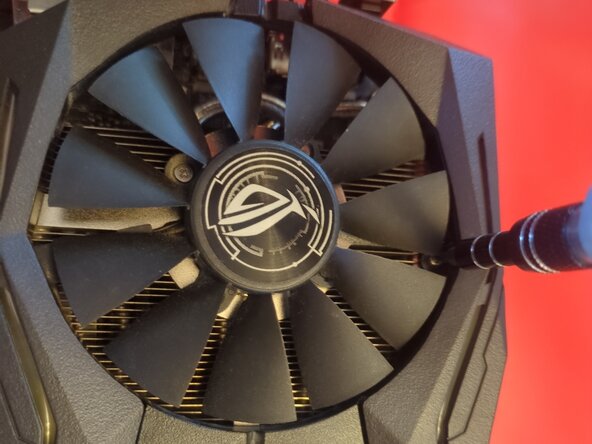
ROG Strix GTX 1080 Ti Fan Replacement
ID: 220677
Description:
Steps:
- Make sure to ground yourself and your work space to avoid frying the graphics card.
- Unplug the fan wiring harness and the RGB cable from the mainboard.
- Unscrew the three screws in the top of the fan shroud.
- These are obscured slightly by the fan blades. Just turn the fans slightly to reach them.
- Unscrew the three screws holding the fan shroud to the side of the heat sink.
- Carefully lift the fan shroud off the heat sink.
- There are metal brackets on the heatsink that help keep the fan cables in place. Settle the cables into them neatly when reassembling, or the fan shroud won't fit back on.
- The three fans are not identical, so make sure to get the correct replacement(s).
- Each fan is individually attached to the heatsink. Rotate the fan blades to access and unscrew the five screws from each fan.
- Each fan also plugs into the fan wiring harness individually.
- Unplug the fans from the wiring harness.
- When reassembling, plug the fan cables into their matching connectors on the wiring harness before screwing them to the heatsink, to avoid installing them in the wrong positions.
- Clean the fans and/or the inside of the fan shroud before reassembly.