Lenovo ThinkPad X1 Yoga (6th Gen) LCD removal and replacement
ID: 221316
Description:
Steps:
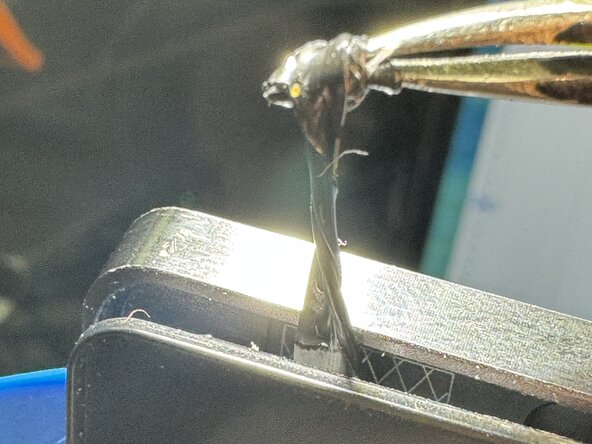
- Using a thin strong pry tool, insert into middle of metal bezel and plastic screen frame. Gently open side and set plastic spudger or pick in open space and run it up and around top corner.
- Run the plastic pick gently along the top edge to separate the clips between the LCD and the top panel.
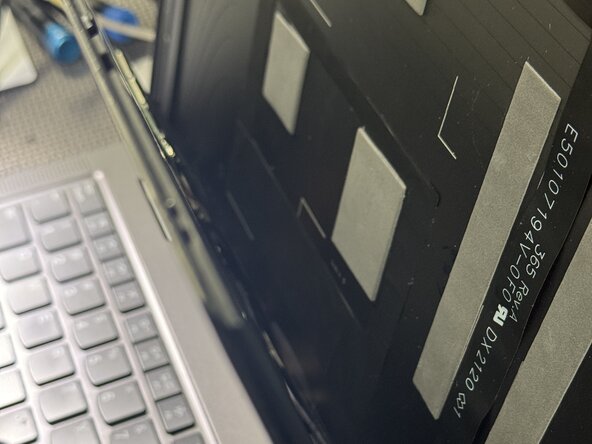
- There are two double sided adhesives holding the LCD to the top panel at the positions in 2nd and 3rd image. With tweezers, gently pull starter length of adhesive and roll up the tweezers slowly. Apply even pressure when pulling until it's completely removed. The LCD will be loosely fitted into frame still.
- If the adhesive is removed in one straight piece, it can be reused with the new LCD.
- Once both adhesives are removed, the screen can be gently opened from the top. Do not open more than 3 or 4 inches because this will stress the two flex cables in the lower part.
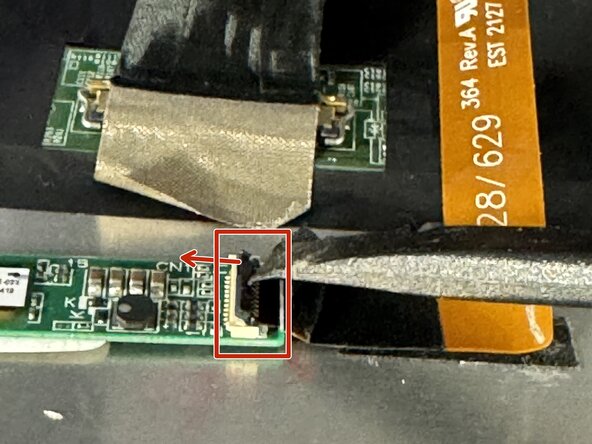
- The red box and circle show the two connections to disconnect.
- The touch screen cable is narrow and yellow. First lift the retaining plastic latch with a spudger. Then gently pull the flex out of the connector.
- Peel the retention tape off the LCD connector to expose the connector and metal retention hinge.
- The metal retention hinge is flush with the connector. Using a spudger or sharp tweezer point, lift the hinge, then gently pull back from the connector to disconnect the LCD.
- The LCD is now disconnected and can be laid down on the keyboard. Installing the new LCD requires the two connectors to be reconnected, the retaining hinges pushed down flush, and the tape placed over the connectors. There is limited space to reconnect everything, so take your time and use good light.