ASUS ROG Strix G15 G513 RAM Replacement
ID: 221459
Description: In the ROG Strix G15 G513 series that was...
Steps:
- Firstly prepare your laptop, your tools and your new RAM sticks
- Unplug your laptop
- Turn your laptop upside down
- Start unscrewing all 10 blue and orange screws with a Philips #1 screwdriver
- The blue and orange screws are different length
- Unscrew the red screw always last and screw it in always first
- Keep your screws organized, you can use some screw holders, brackets or small magnets
- Insert a plastic guitar pick or a plastic card to start peeling the back cover off
- Start by putting one in the bottom right corner
- Then slowly peel until you reach bottom left and top right corners
- Put a guitar pick in each of those corners as well
- For more detail check the official service guide manual in the attached documents section
- Start by peeling from the bottom right corner slowly until the entire back cover comes off
- Rotate your laptop
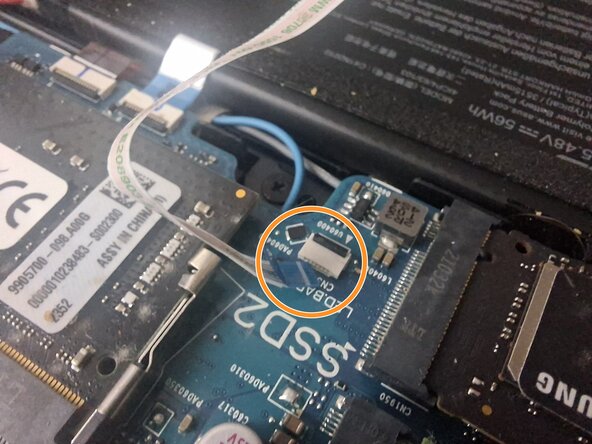
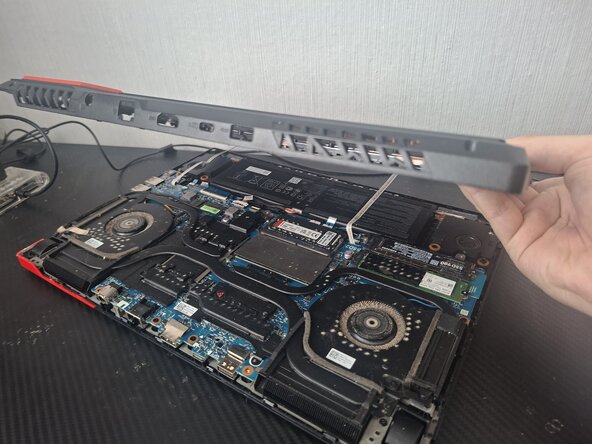
- Beware of 2 thin LED flex cables that are still attached
- Now you need to unplug them
- Start by lifting the small black part of the connector up
- Then just pull the cable away
- Do the same for the other cable connector
- Now remove the back cover completely
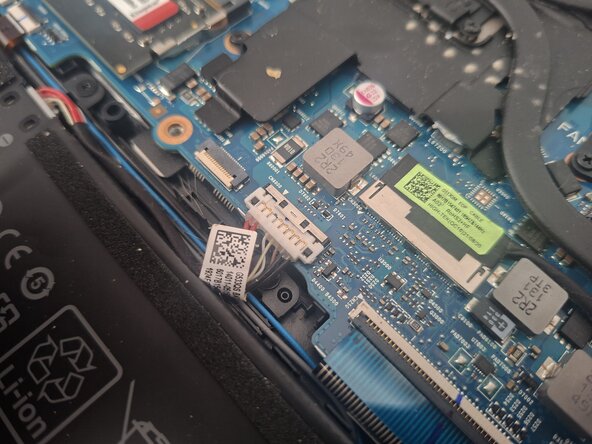
- Now you need to disconnect the battery
- Locate the connector
- Pull the top tin lock away from you as seen on image 1 vs 2
- Then disconnect the battery connector by supporting it from sides and lifting it up
- Rotate your laptop again
- Locate the RAM compartment
- The RAM may have thermal tape on top of it, if it doesn't it is not a big issue and if it does just take it off and put it on your new RAM sticks
- You can take your current RAM out by pushing the 2 steel legs holding down your RAM outwards until the RAM "jumps out" and just gently take it out
- Align and insert your new RAM at a 30-degree angle, push it in completely and push down on it until it clicks
- Now reconnect the battery connector
- Push it down and secure it with the steel latch
- Rotate your laptop once again
- Put the back cover against a wall so that you can reconnect the LED flex cables without the need of holding it
- Push the left cable in until you can barely see the white line on the blue part of the cable
- Secure it by pressing the black latch down
- Do the same for the right cable
- Now put the back cover back on and pat it down so that everything clicks and holds in place
- Rotate it one last time
- With a Philips #1 screwdriver screw the bottom right screw first
- Then screw in the rest
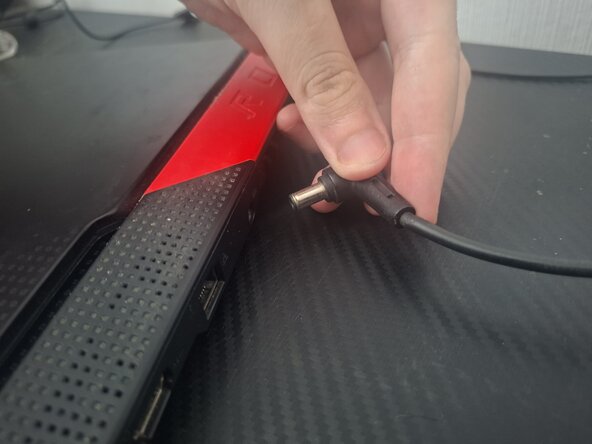
- Now plug in your laptop
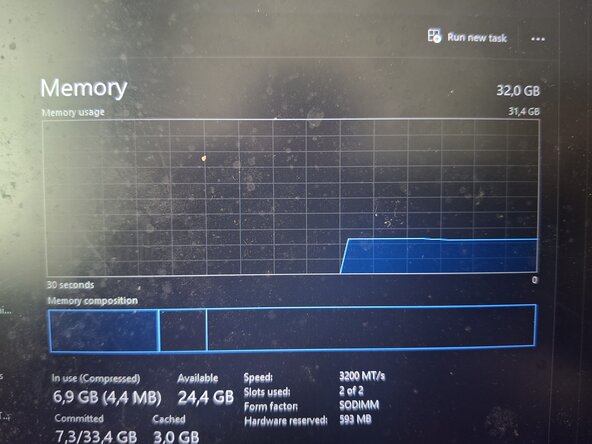
- Power it on and check in BIOS or task manager if your RAM is set up correctly
- Beware of Memory training (check out conclusion)