Nerf N-Strike Elite Hail-Fire Motor Replacement
ID: 22855
Description: Keep your aim sharp by replacing the motor.
Steps:
- Before disassembling your Nerf Hail-Fire, be sure to remove the batteries.
- Remove the two 9.0 mm Phillips screws securing the battery compartment.
- Slide the battery compartment out.
- Remove the five 9.0 mm Phillips screws securing the trigger.
- Remove the single 11.0 mm Phillips screw securing the magazine cartridge chambers.
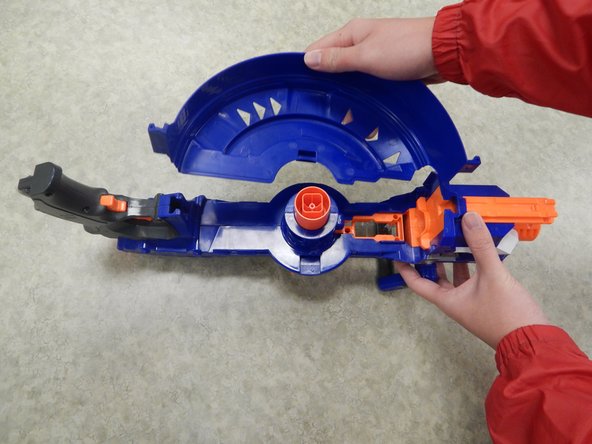
- Pull the entire chamber upwards to separate it from the rest of the Nerf Gun.
- Remove both halves of the ring by tugging on it upwards until the lock gets freed.
- This requires quite a bit of force and if you are not careful, you may break the plastic lock.
- Remove the four 9.0 mm Phillips screws from the newly revealed cylinder.
- Remove the three 9.0 mm Phillips screws holding the top latch of the Nerf Gun together.
- Remove the three 9.0 mm Phillips screws holding together the firing chamber.
- Remove the single 7.0 mm Phillips screw below the barrel.
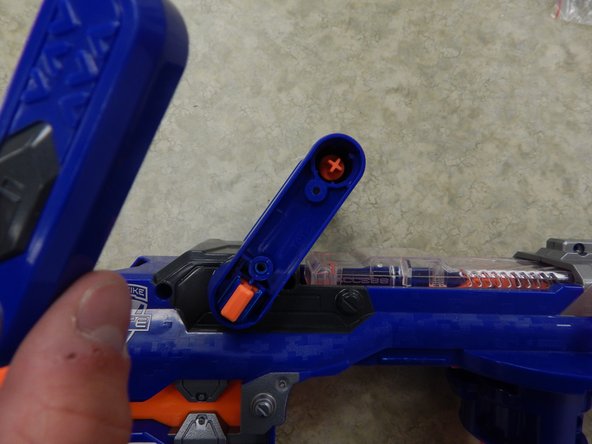
- Remove the two 14.0 mm Philips screws using a screwdriver with a length of approximately 4.0 inches and a diameter of approximately 0.2 cm.
- Remove the single 14.0 mm Phillips screw holding together the handle and the Nerf Gun.
- Remove the two 9.0 mm Phillips screws holding together the handle.
- Remove the plastic cover of the handle.
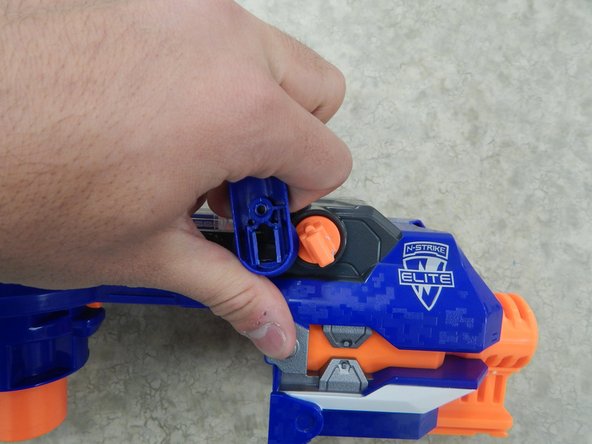
- Insert one plastic opening tool inside one side of the orange part depicted in the picture.
- Insert a second plastic opening tool to the other side of the orange part and gradually pull the piece out, freeing it from the handle.
- Pull one end of the handle away from the orange latch.
- Repeat the procedure on the other side to completely remove the handle from the rest of the Nerf Gun.
- Lift the entire left shell slowly. The process should be easy and if there is any resistance, there is something wrong. You may have forgotten a screw.
- Completely remove the left shell from the rest of the Nerf Gun.
- Remove the cartridge support.
- Remove the handle crank.
- Remove the clear plastic barrel cover.
- Remove the firing pin.
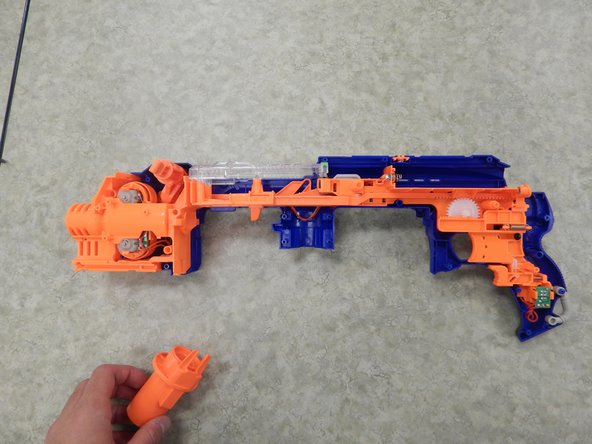
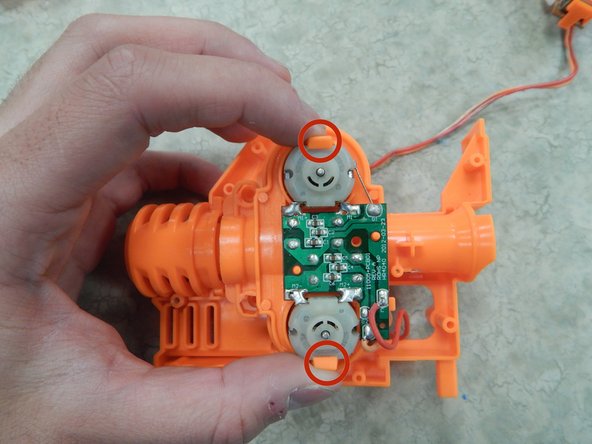
- With your gun disassembled, locate the motor around the front portion of your gun as shown in Figure 1. Remove the two 9.0 mm Phillips screws securing the top shell of the motor casing.
- Remove the top shell of the motor casing. This should reveal the inner workings of the motor.
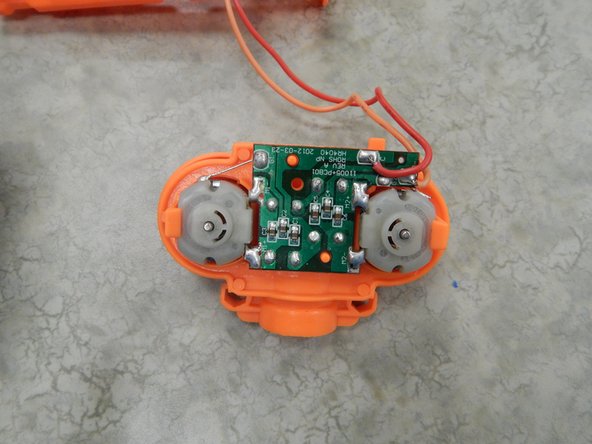
- With the shell now removed, locate the motor and controlling circuit board. With your index finger and thumb, squeeze the holders shown in Figure 2 and pull upwards to release the motor module from the rest of the motor's casing. Your motor should be detached from the casing, as shown in Figure 3.
- Remove the wiring from the motor by disconnecting the wires from the circuit board.