iRobot Roomba 551 Main Brush Motor Replacement
ID: 22889
Description: This guide explains how to remove the main...
Steps:
- Place your Roomba upside-down on a hard surface.
- While holding the side brush in place, use a Phillips #1 screwdriver to remove the 4.5mm screw from the center of the brush.
- Gently pull upwards on the brush to remove it.
- Rotate the Roomba upside-down so the bottom is facing towards you.
- Using a Phillips #2 screwdriver, remove the captive screws that hold the bottom plate in place.
- Carefully lift the bottom plate.
- The battery is only secured in place by the bottom plate, and may fall out once the bottom plate is removed.
- Push on the dirt bin release button, and pull gently.
- Use a Phillips #1 screwdriver to loosen the 4 captive screws around the case .
- Grab the brush case and pull upwards to remove.
- Use a Phillips #1 screwdriver to remove the 9.5mm screws from the side of the brush case, and pull to detach.
- Repeat for the opposite side of the brush case.
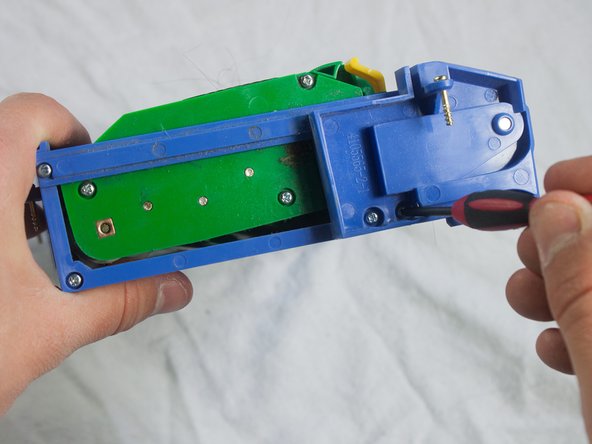
- Use a Phillips #1 screwdriver to remove the three 5.0mm screws from the back of the brush case.
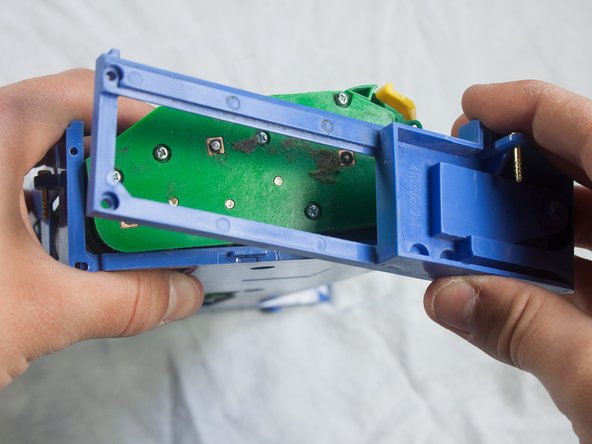
- Pull off the back of the brush case.
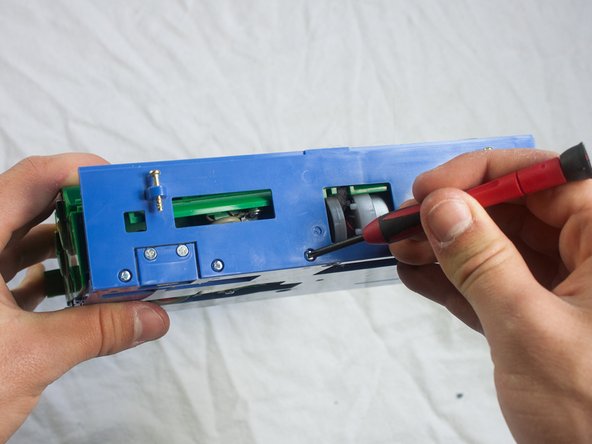
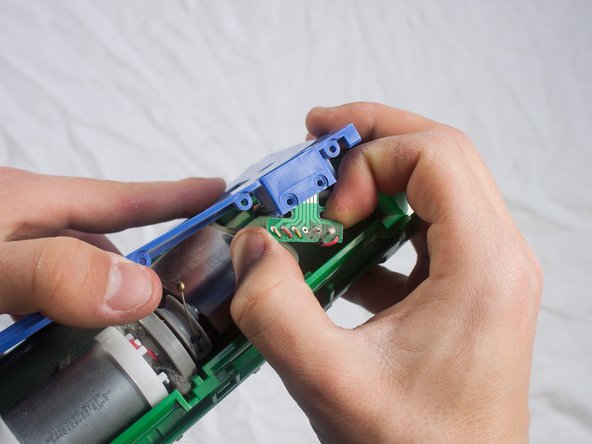
- Use a Phillips #1 screwdriver to remove the two 1.5mm screws securing the chip in place.
- Remove the chip from its housing in the blue brush case.
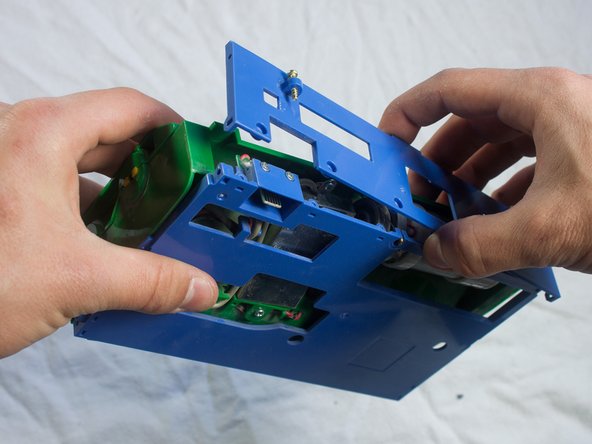
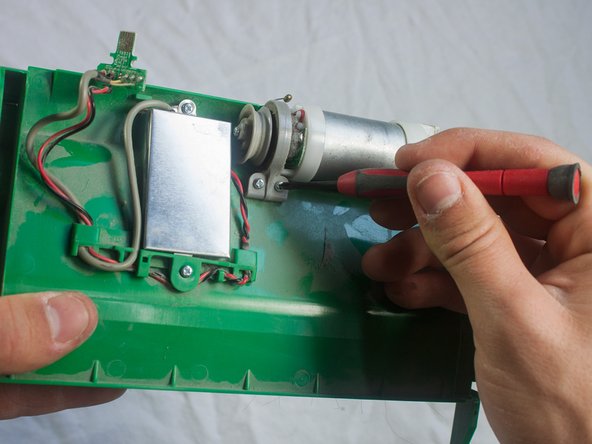
- Use a Phillips #1 screwdriver to remove the two 5.5mm screws securing the motor in place.
- Use a Phillips #1 screwdriver to remove the two 4.5mm screws on the top and bottom of the metal plate.
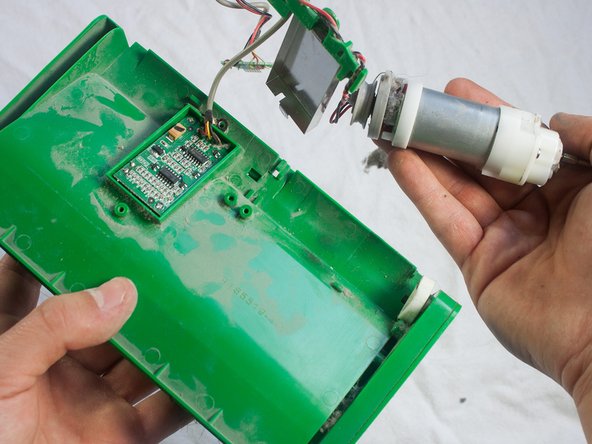
- Pull out the motor and metal covering.
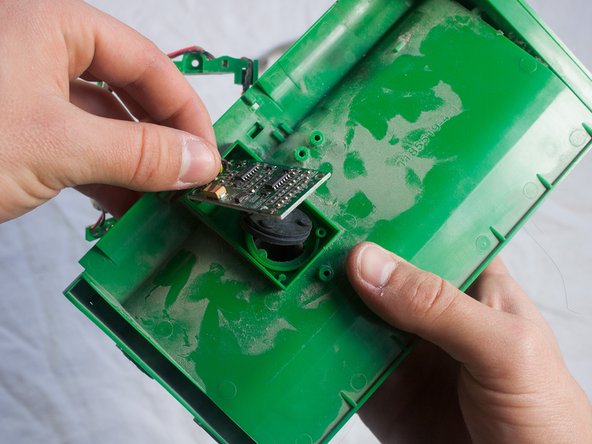
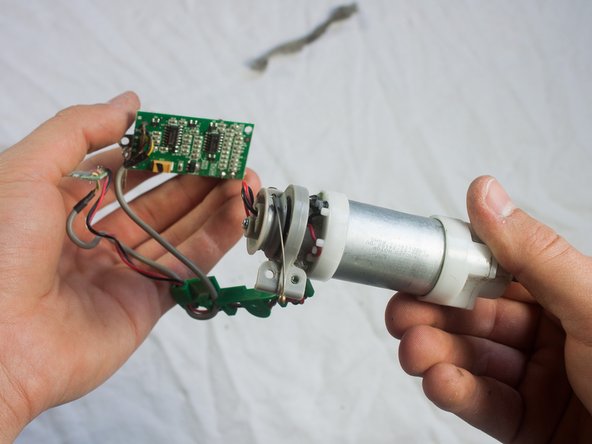
- Use a Phillips #1 screwdriver to remove the two 3.5mm screws on the corners of the circuit board.
- Gently pull out the circuit board.