Disassembling the Linksys E1200
ID: 22917
Description: Multiple parts can easily break during...
Steps:
- Opening the device will void your warranty.
- Anti-slip pads cover three screws that hold the device together. Pry off the pads to access the screws.
- Remove the three screws.
- Save the pads for reassembly.
- Once the three screws are removed, the device is ready for disassembly.
- Push up on the rear flap while holding down on the rest of the body. This will open a small gap.
- Insert the plastic opening tool in the gap and begin prying on the corner.
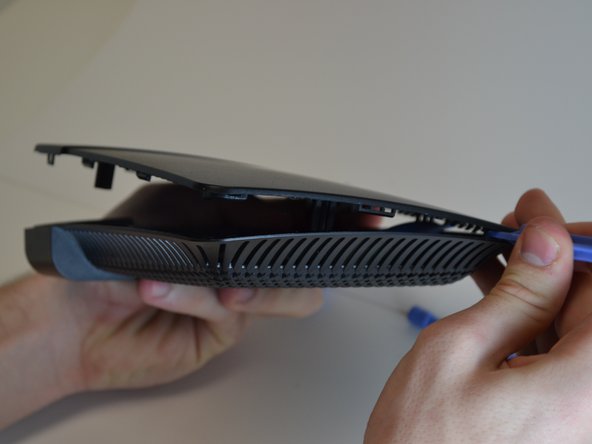
- Continue to pry around the body of the case. Separate both sides of the case with this method.
- Once the sides are released, the front of the cover can be removed.
- Use a plastic opening tool to separate the front of the cover from the body.
- It is helpful to use a different plastic opening tool as a wedge on the sides to prevent them from snapping back together.
- The cover can now be removed.
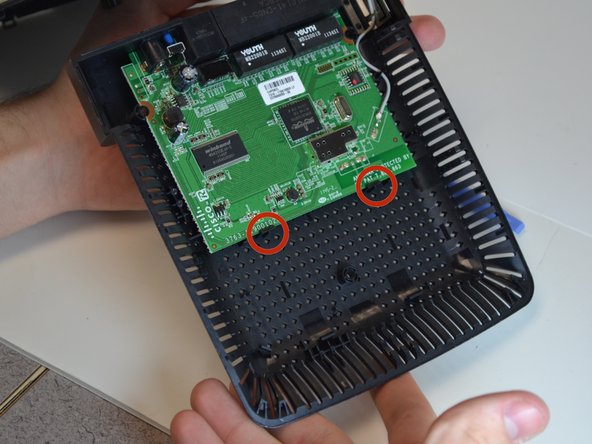
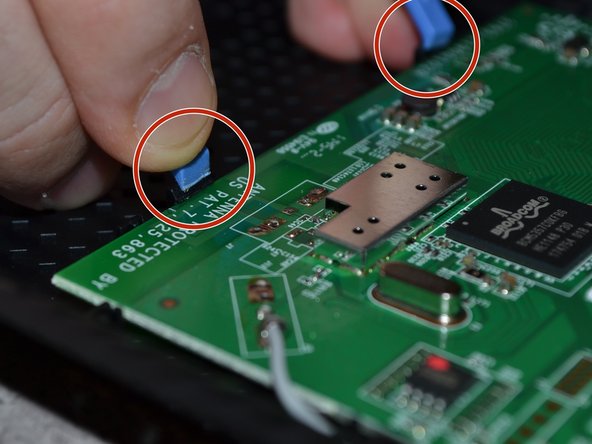
- To repair anything on the circuit board, use the plastic opening tool to pull back on the two tabs holding it down.
- Use caution when pulling on the tabs as they are stiff and easy to break.
- Keep the tabs if they snap off. The tabs can be reattached with glue when reassembling the device.
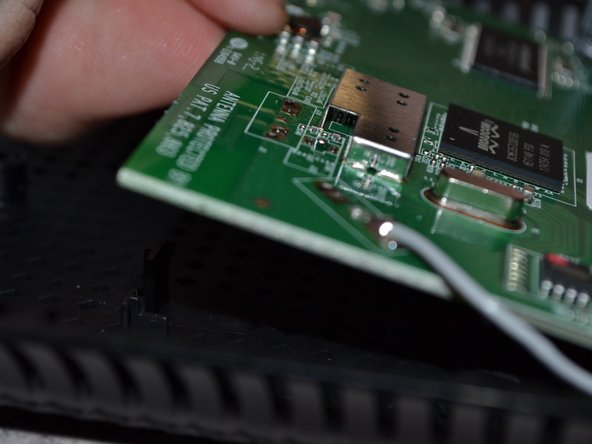
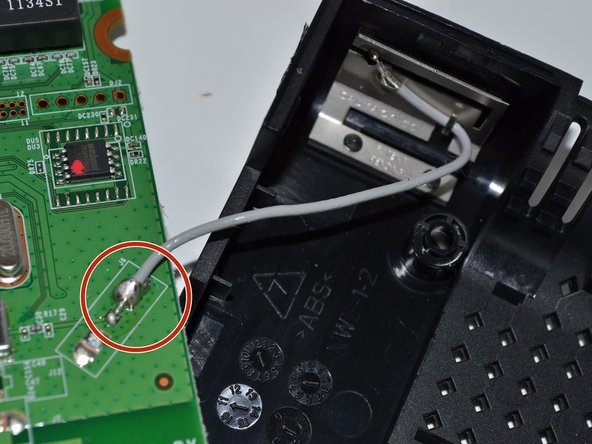
- If the antenna needs to be disconnected, desolder the connection and reattach it prior to reassembly.
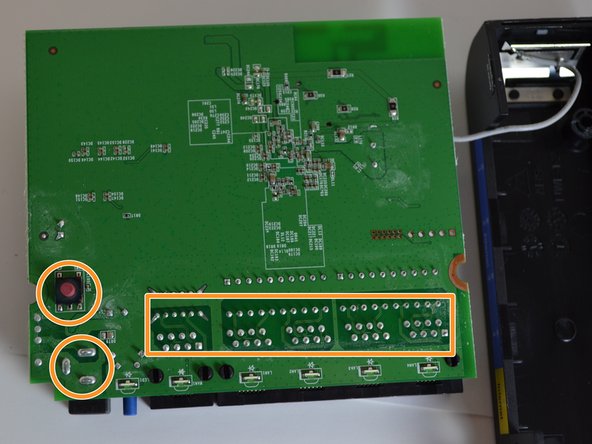
- If the ethernet ports, power port, or reset button are damaged, the large solder points allow you to replace them.
- Many components on the board cannot be serviced. These components were attached by a machine and cannot be removed.