Removing the Cover From the Printer
ID: 22954
Description:
Steps:
- Remove the back two 14.0 mm Torx #10 screws.
- Lay the printer on its back.
- Grab the paper tray by its right side and pull it to the left and up.
- Open the frontal access panel by lifting it from the top.
- Similar to the paper tray, grab it from the right side and pull it to the left and up.
- Take out the two frontal 14.0 mm Torx #10 screws.
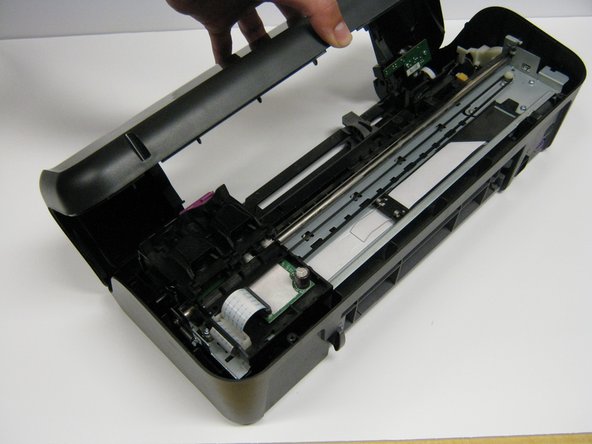
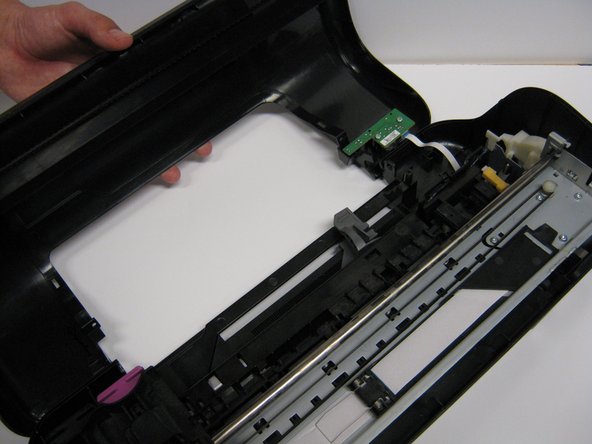
- Carefully lift the frontal cover.
- Don't lift it up aggressively. A strip will be attached to it.