Alcatel One Touch Fierce Teardown
ID: 23019
Description: Tearing down a water damaged Alcatel One Touch...
Steps:
- Phillips #000 is highly recommended. As you can see i'm too broke for the iFixIt equivalent.
- The iSesamo is also always handy.
- This is the Metro PCS variant of the phone in a nice metallic silver color.
- The front of this particular device is water damaged and finger print damaged.
- With the back plastic removed.
- "DO NOT REMOVE"
- Challenge accepted
- The second cover is removed. We now have a better look at the components.
- The battery. Doesn't last very long.
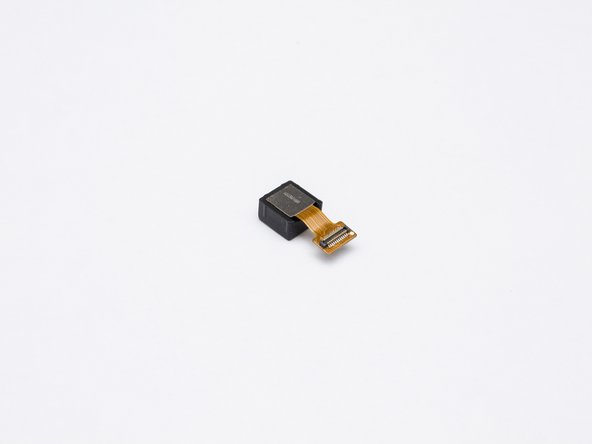
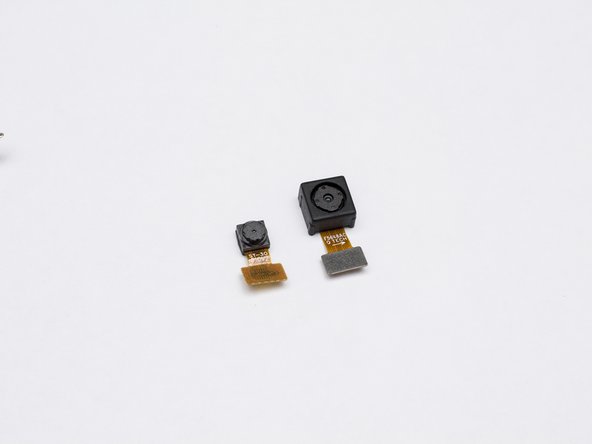
- The 5MP camera located on the back of the phone.
- The daughter board contains the Micro USB port
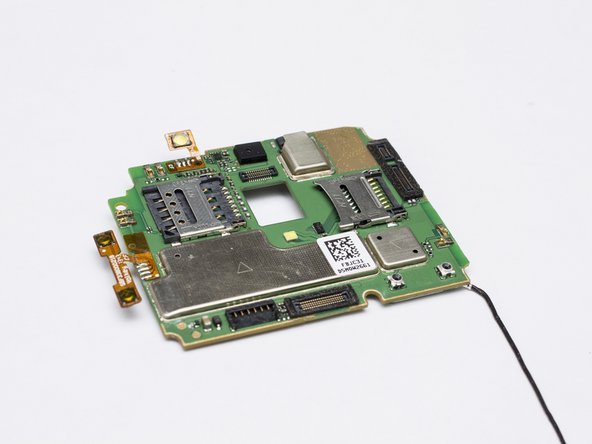
- The main PCB
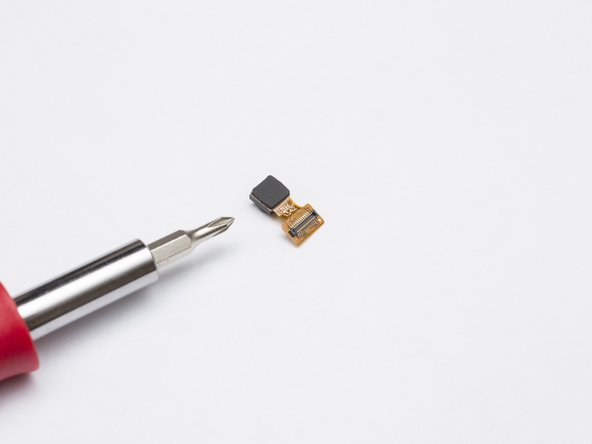
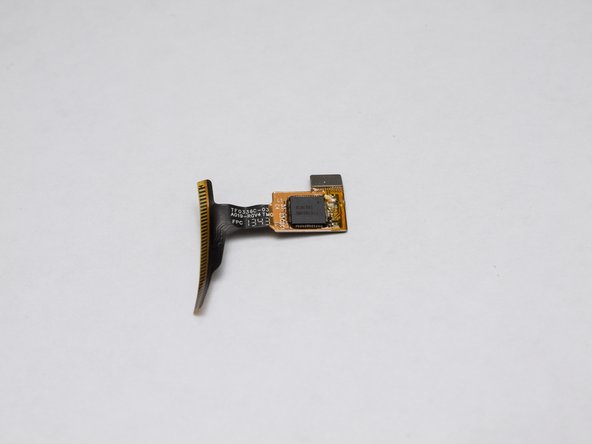
- The VGA camera located on the front of the phone.
- The remains of the front panel
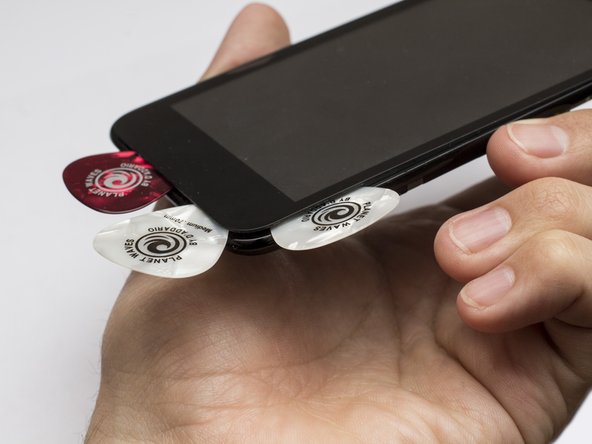
- Trying to remove the front panel assembly.
- It seemed to have quite a bit of adhesive.
- Luckily i have a good amount of picks available.
- Oh no, i think i hear cracking...
- Crap! i totally saw this coming.
- To avoid this use a heat gun to loosen the glue...not too much heat though.
- I now have a functional phone without an LCD screen.