Nerf N-Strike Elite Hail-Fire Inner Plastic Components Replacement
ID: 23155
Description: Use this guide to remove the inner plastic...
Steps:
- Before disassembling your Nerf Hail-Fire, be sure to remove the batteries.
- Remove the two 9.0 mm Phillips screws securing the battery compartment.
- Slide the battery compartment out.
- Remove the five 9.0 mm Phillips screws securing the trigger.
- Remove the single 11.0 mm Phillips screw securing the magazine cartridge chambers.
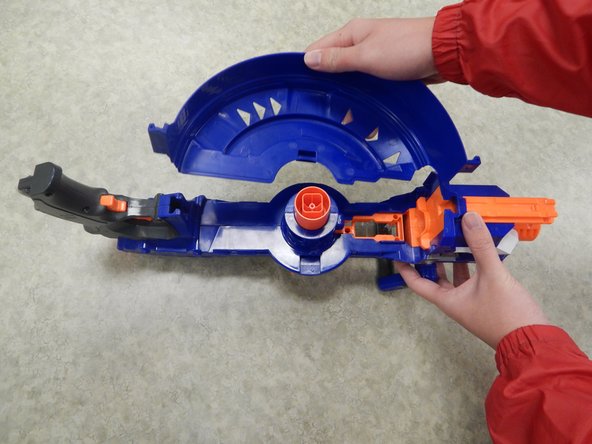
- Pull the entire chamber upwards to separate it from the rest of the Nerf Gun.
- Remove both halves of the ring by tugging on it upwards until the lock gets freed.
- This requires quite a bit of force and if you are not careful, you may break the plastic lock.
- Remove the four 9.0 mm Phillips screws from the newly revealed cylinder.
- Remove the three 9.0 mm Phillips screws holding the top latch of the Nerf Gun together.
- Remove the three 9.0 mm Phillips screws holding together the firing chamber.
- Remove the single 7.0 mm Phillips screw below the barrel.
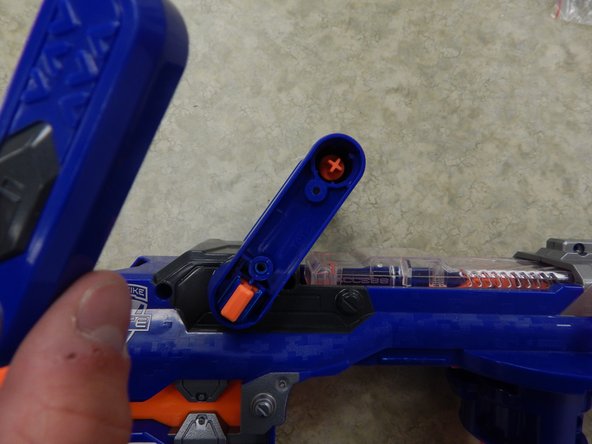
- Remove the two 14.0 mm Philips screws using a screwdriver with a length of approximately 4.0 inches and a diameter of approximately 0.2 cm.
- Remove the single 14.0 mm Phillips screw holding together the handle and the Nerf Gun.
- Remove the two 9.0 mm Phillips screws holding together the handle.
- Remove the plastic cover of the handle.
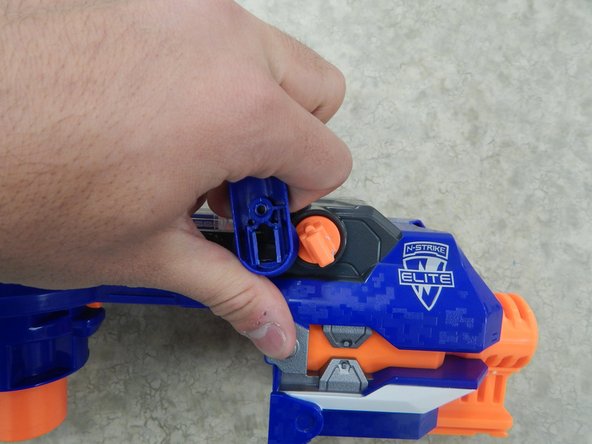
- Insert one plastic opening tool inside one side of the orange part depicted in the picture.
- Insert a second plastic opening tool to the other side of the orange part and gradually pull the piece out, freeing it from the handle.
- Pull one end of the handle away from the orange latch.
- Repeat the procedure on the other side to completely remove the handle from the rest of the Nerf Gun.
- Lift the entire left shell slowly. The process should be easy and if there is any resistance, there is something wrong. You may have forgotten a screw.
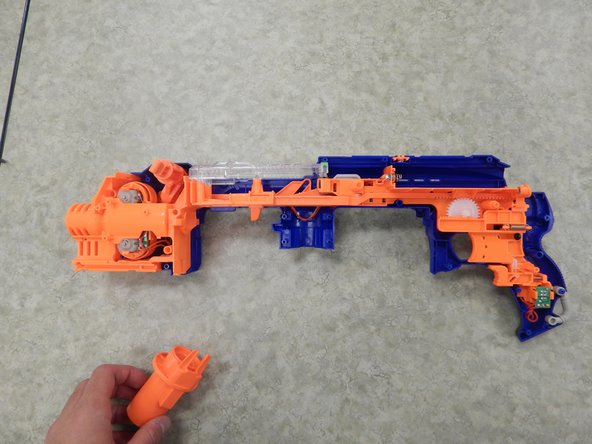
- Completely remove the left shell from the rest of the Nerf Gun.
- Remove the cartridge support.
- Remove the handle crank.
- Remove the clear plastic barrel cover.
- Remove the firing pin.