iPhone 18 Pro Max Back Glass Removal
ID: 238628
Description: This guide shows how to remove the back glass...
Steps:
- Let your iPhone's battery drain below 25% before starting this repair—a charged lithium‑ion battery may catch fire if damaged.
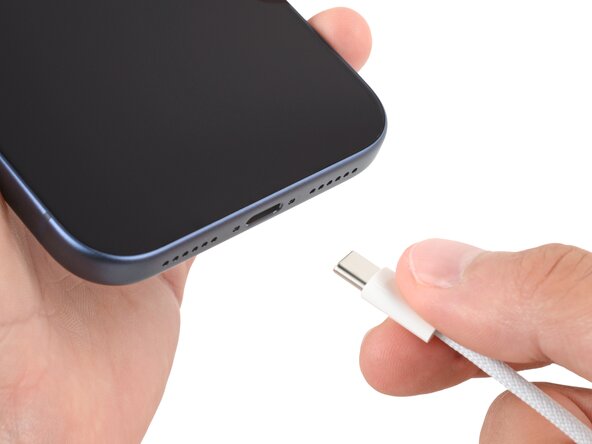
- Unplug all cables from your phone.
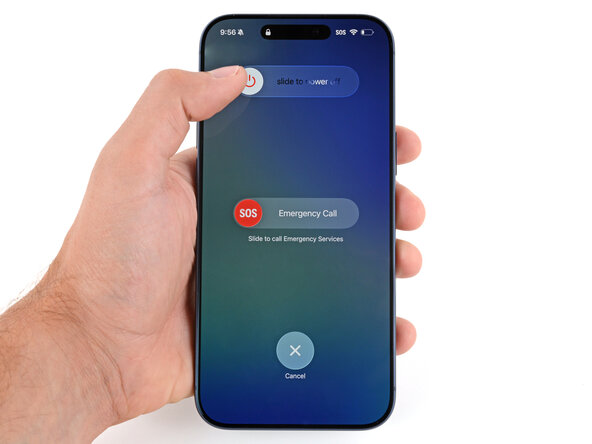
- Hold the power and either volume button and slide to power off your phone.
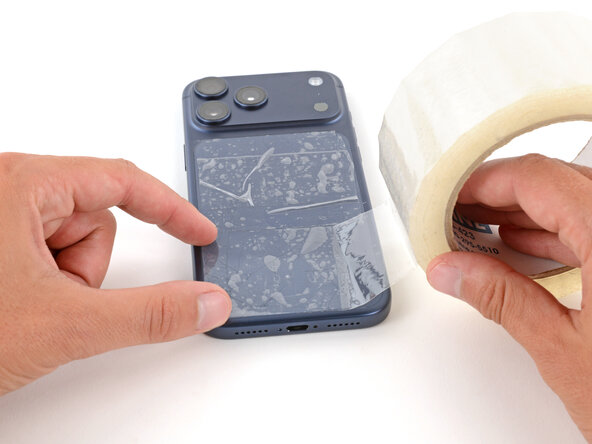
- Glass shards can complicate disassembly—or worse, cause injury. If your phone is cracked, follow this step.
- Apply strips of packing tape to the cracked glass until it's completely covered—this will help keep the glass contained and allow the suction cup to stick.
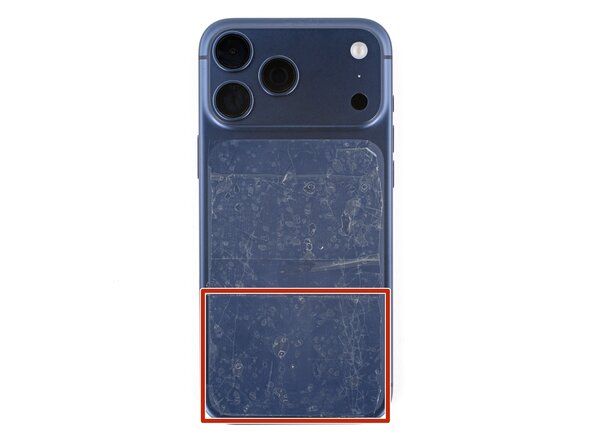
- Make sure there's a single strip of tape (not overlapping) across the bottom edge, big enough for a suction cup to fit on.
- Only cover the glass itself—don't stick any tape to the frame.
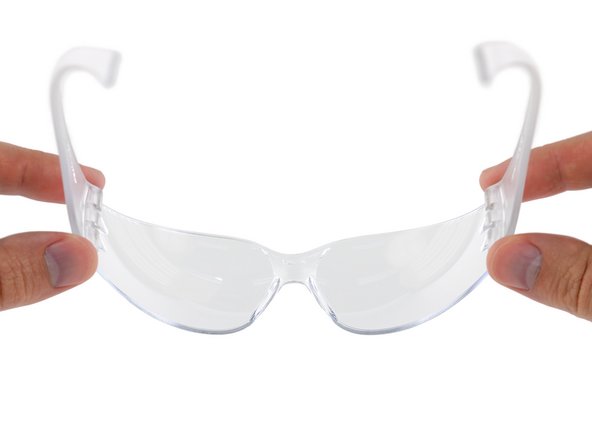
- Consider wearing safety glasses to protect your eyes from any glass shaken free during the repair.
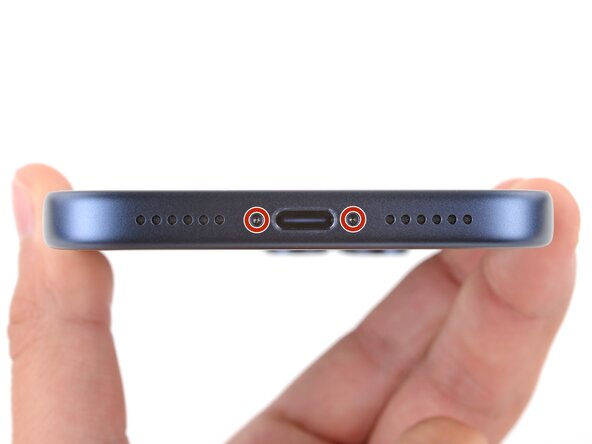
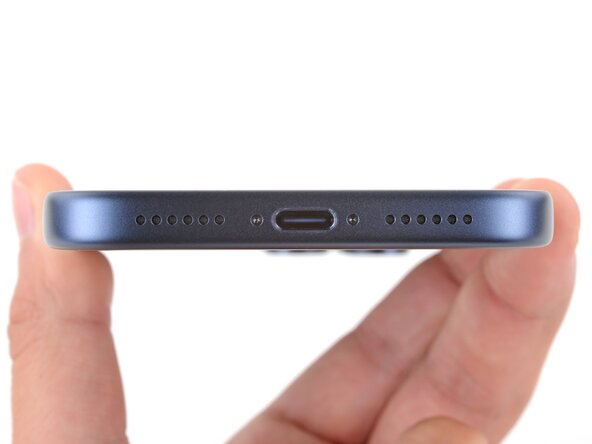
- Use a P2 pentalobe screwdriver to remove the two 7.5 mm‑long screws on either side of the charging port.
- Adhesive secures the back glass to the frame. Heating the glass softens the adhesive, making it easier to separate.
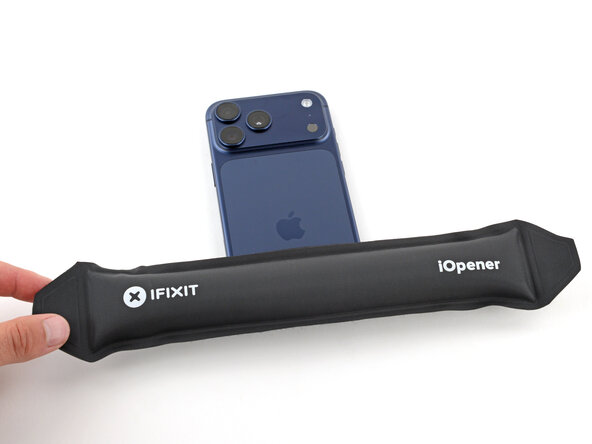
- Heat an iOpener and lay it on the bottom edge of the back glass for two minutes.
- Alternatively, you can use a hair dryer or heat gun to heat the back glass until it's slightly too hot to touch.
- Improper use of a heat gun can destroy the wireless charging assembly and/or battery—follow the linked instructions carefully.
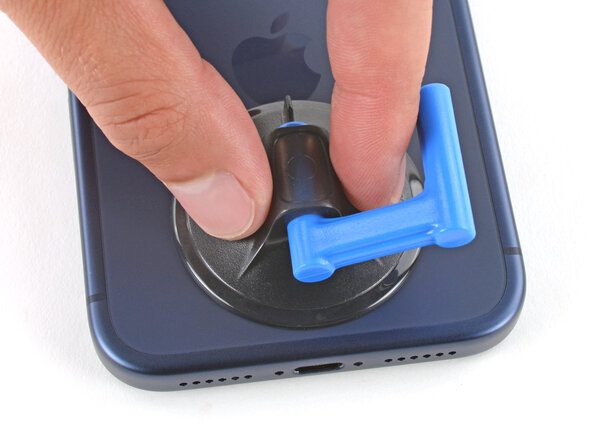
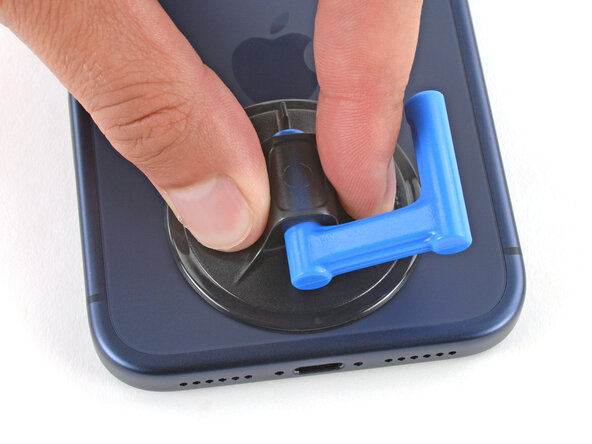
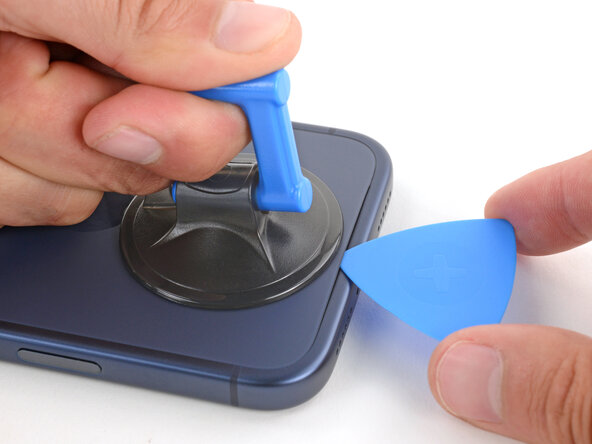
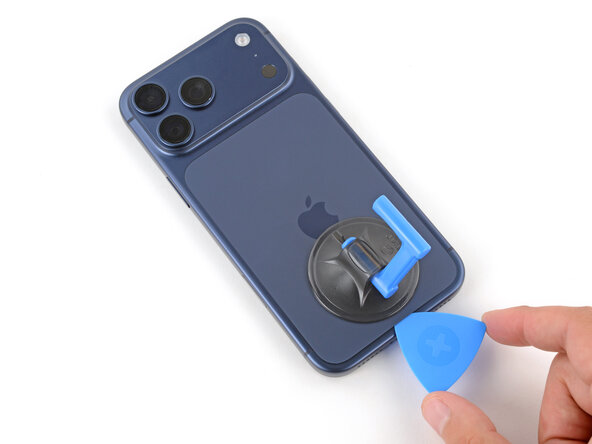
- Apply a suction handle to the bottom edge of the back glass, as close to the edge as possible.
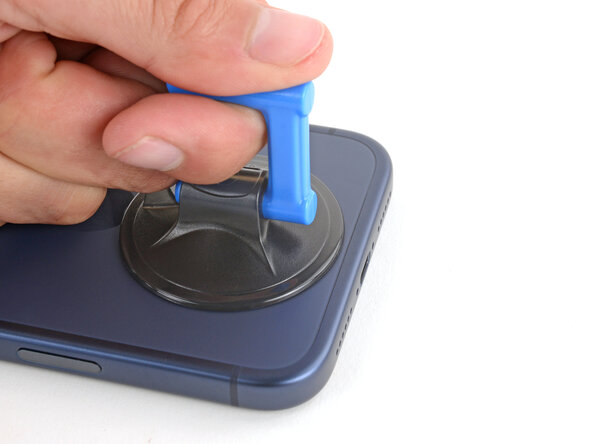
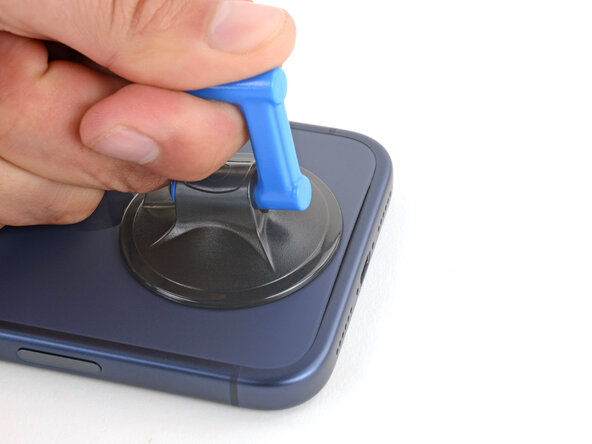
- Pull up on the suction handle with strong, steady force until a gap forms between the back glass and frame.
- If you're having trouble, apply more heat and try again.
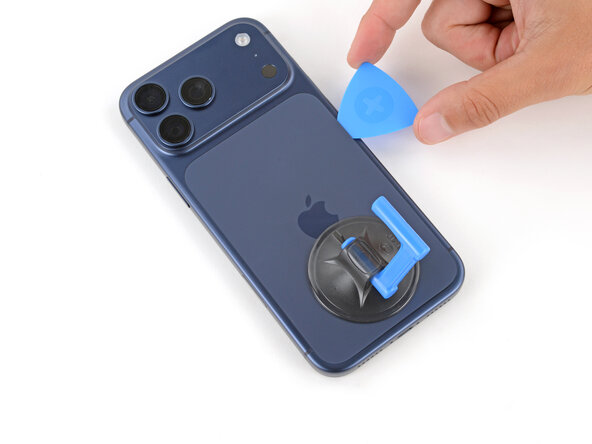
- Insert the tip of an opening pick into the gap you just created.
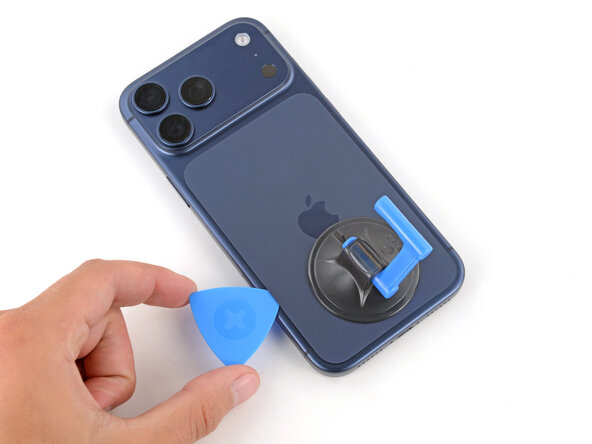
- Slide the opening pick around the perimeter of the back glass to separate all the adhesive securing it.
- Only insert your pick slightly under the back glass near the top of the left edge. Otherwise, you may damage the wireless charging ribbon cable.
- At this point, the back glass should be completely separated from the frame. If it feels stuck, go back around the perimeter and separate any remaining adhesive.
- Flip the back glass over the left edge and use the suction handle to prop it up.
- Use a tri‑point Y000 screwdriver to remove the 1.2 mm‑long screw securing the wireless charging connector cover.
- Remove the cover.
- Use the point of a spudger to pry up and disconnect the wireless charging press connector.
- Remove the back glass.