Sony Vaio VGN-FS640 Fan Replacement
ID: 23960
Description: The cooling fan is essential for cooling the...
Steps:
- Turn off the laptop and disconnect any charging cables.
- Flip the laptop over so that the Service Tag is shown at the top left corner.
- Remove the highlighted screws from the back of the laptop with a Phillips #0 Screwdriver.
- Remove the highlighted screws from the panels in the bottom right-hand corner of the laptop using the Phillips #0 Screwdriver.
- Remove the two panels in the bottom right-hand corner by sliding in the direction of the arrows imprinted on the panels.
- Remove the highlighted screws underneath the removed panels using the Phillips #0 Screwdriver.
- Carefully remove the hard drive from the panel in the bottom right-hand corner of the laptop.
- Locate the battery, located on the top side of the laptop to the right of the Service Tag .
- Remove the battery by pressing inwards on the tabs on either side of the battery.
- Remove cover in the top left side of the laptop next to the battery by pulling it outwards.
- Remove the backplate of the laptop by pulling it away from the laptop.
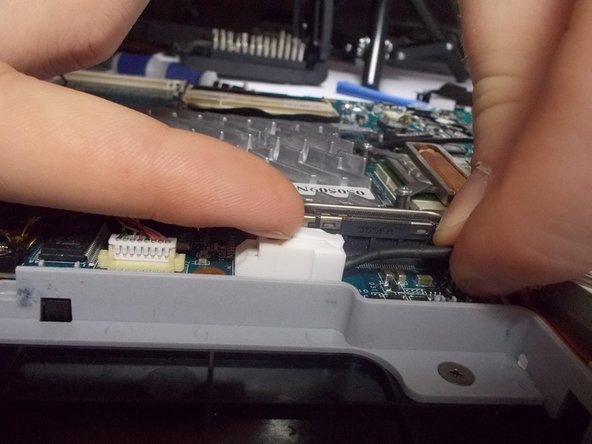
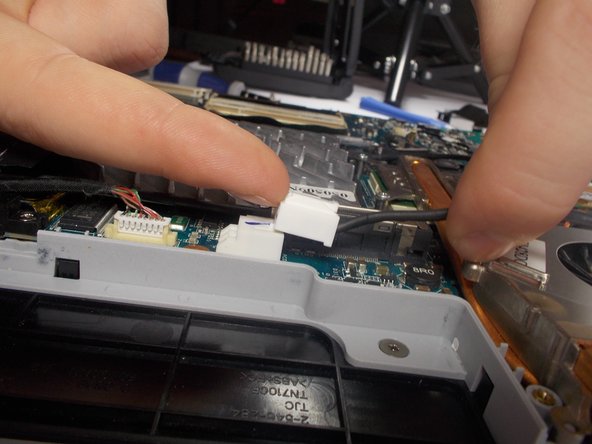
- Gently remove the connector for the wire running over the fan by lifting the tab on top up with your fingernail and sliding it out.
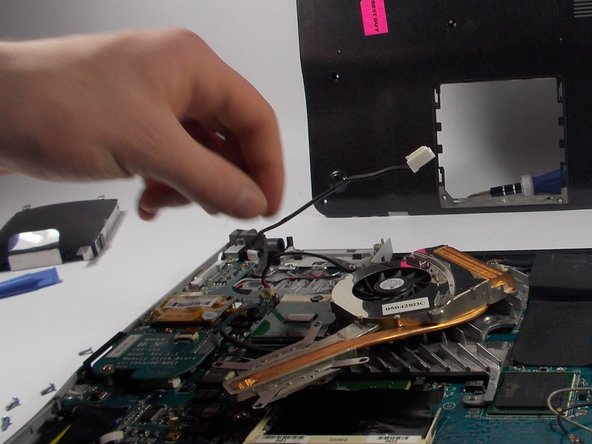
- Remove the four screws securing the fan.
- Gently lift out the fan.
- Do not forcefully pull the fan away. This may damage the circuit board.
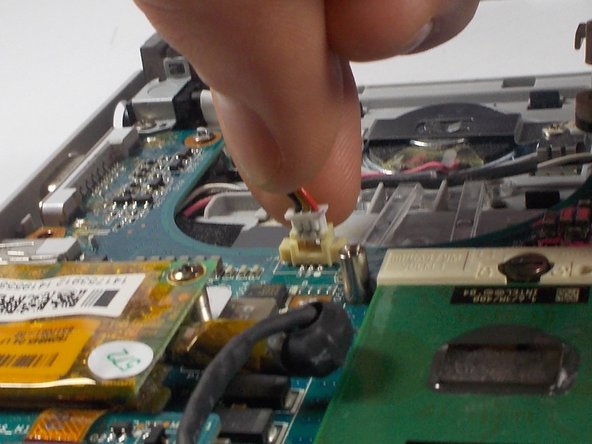
- Gently disconnect the remaining wire connecting the fan to the circuit board.
- Remove the fan from the laptop.