Sony Vaio VGN-FS640 Disk Drive Replacement
ID: 23961
Description: This guide will instruct you how to remove and...
Steps:
- Turn off the laptop and disconnect any charging cables.
- Flip the laptop over so that the Service Tag is shown at the top left corner.
- Remove the highlighted screws from the back of the laptop with a Phillips #0 Screwdriver.
- Remove the highlighted screws from the panels in the bottom right-hand corner of the laptop using the Phillips #0 Screwdriver.
- Remove the two panels in the bottom right-hand corner by sliding in the direction of the arrows imprinted on the panels.
- Remove the highlighted screws underneath the removed panels using the Phillips #0 Screwdriver.
- Carefully remove the hard drive from the panel in the bottom right-hand corner of the laptop.
- Locate the battery, located on the top side of the laptop to the right of the Service Tag .
- Remove the battery by pressing inwards on the tabs on either side of the battery.
- Remove cover in the top left side of the laptop next to the battery by pulling it outwards.
- Remove the backplate of the laptop by pulling it away from the laptop.
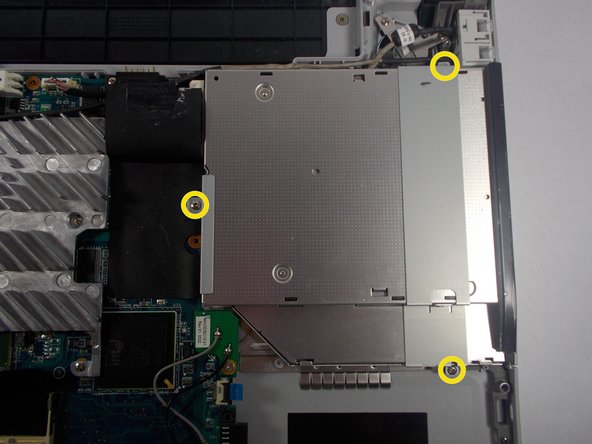
- Unscrew the screws holding in the CD/ DVD drive.
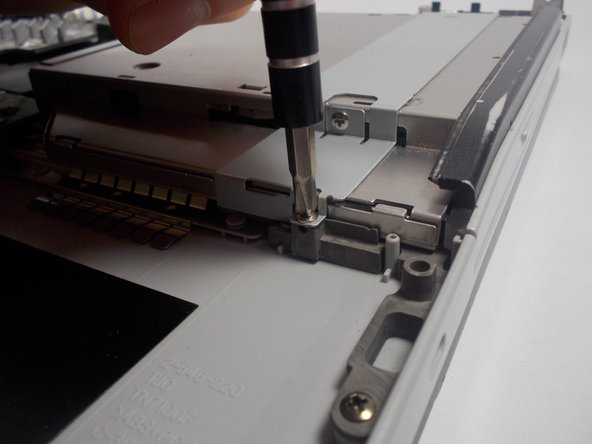
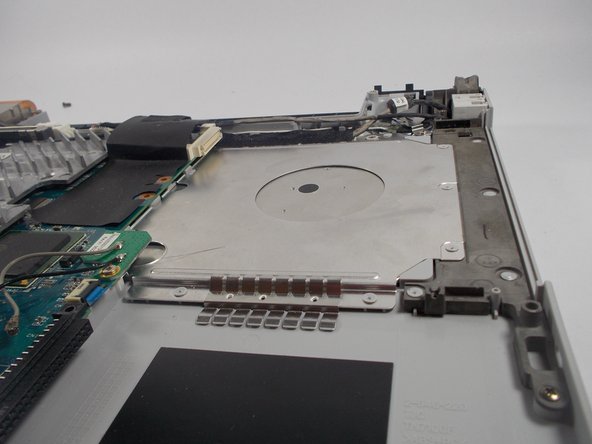
- Remove the CD/ DVD drive by gently lifting it up and out of the laptop.
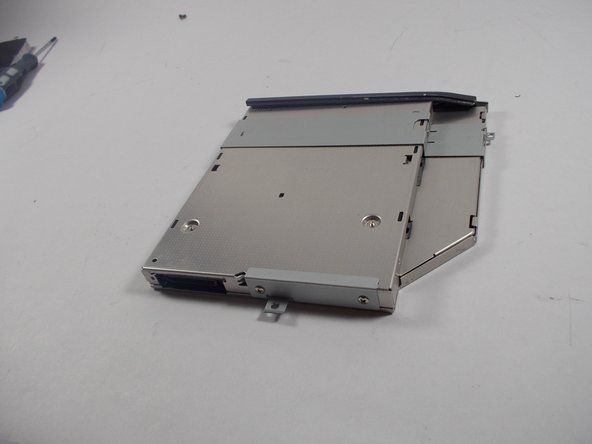
- Get the new CD/ DVD drive.
- Make sure that the new CD/ DVD drive is compatable with the Vaio VGRFS640
- Sony no-longer has a list of compatable drivers, however the original driver can be found here under optical drive.