iPhone 18 Pro Back Glass Replacement
ID: 240030
Description: Follow this guide to replace a broken or...
Steps:
- Let your iPhone's battery drain below 25% before starting this repair—a charged lithium‑ion battery may catch fire if damaged.
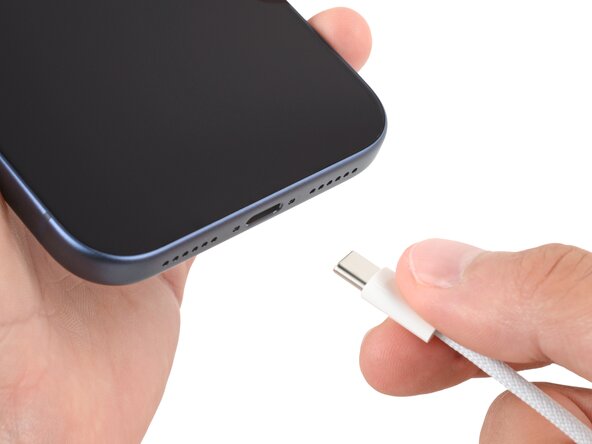
- Unplug all cables from your phone.
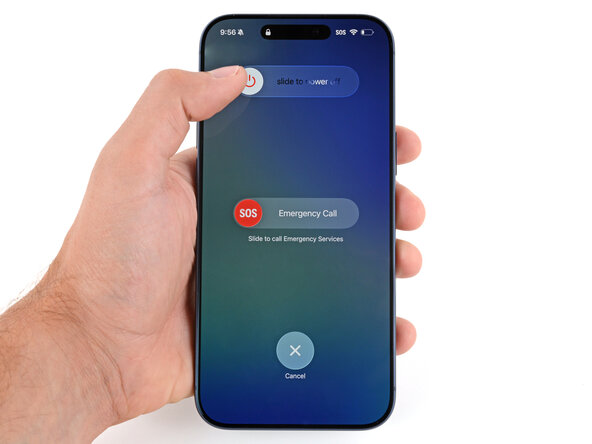
- Hold the power and either volume button and slide to power off your phone.
- Glass shards can complicate disassembly—or worse, cause injury. If your phone is cracked, follow this step.
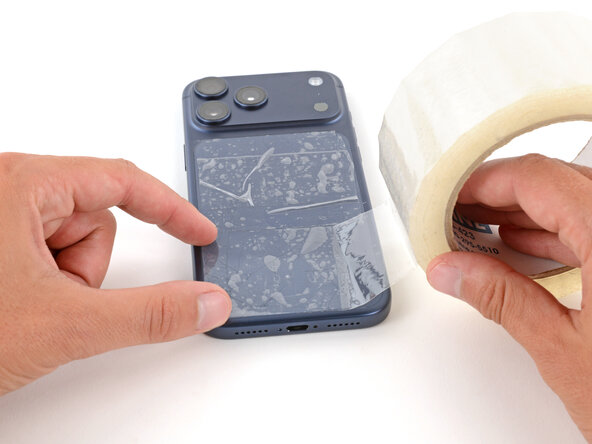
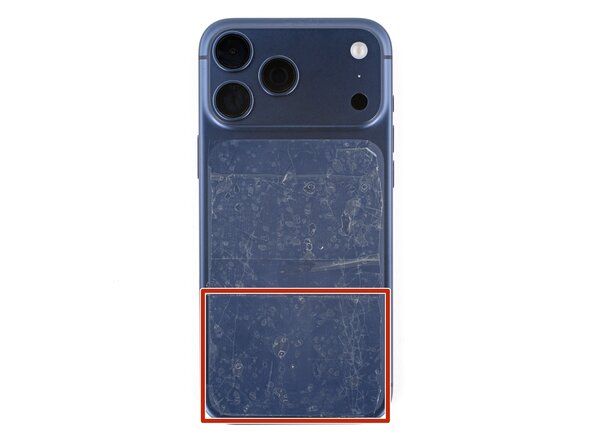
- Apply strips of packing tape to the cracked glass until it's completely covered—this will help keep the glass contained and allow the suction cup to stick.
- Make sure there's a single strip of tape (not overlapping) across the bottom edge, big enough for a suction cup to fit on.
- Only cover the glass itself—don't stick any tape to the frame.
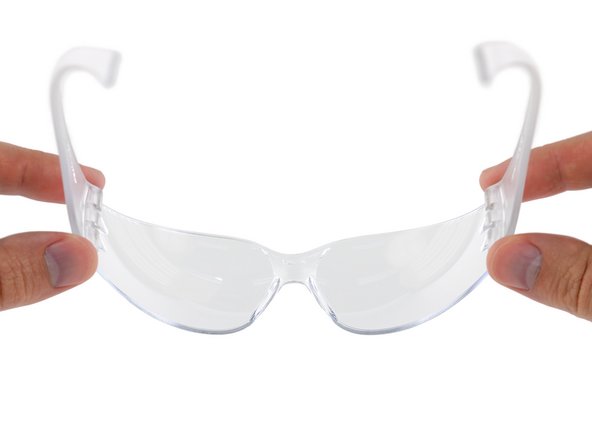
- Consider wearing safety glasses to protect your eyes from any glass shaken free during the repair.
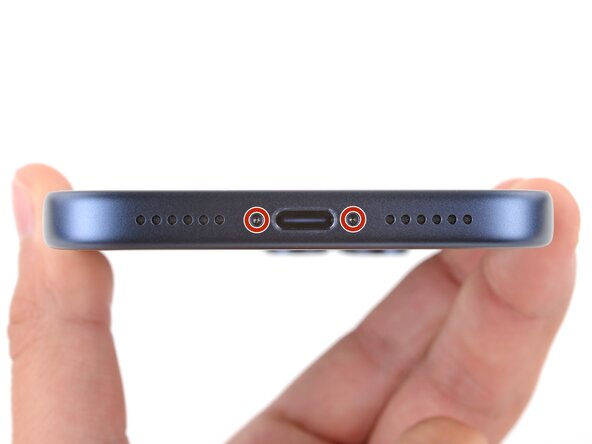
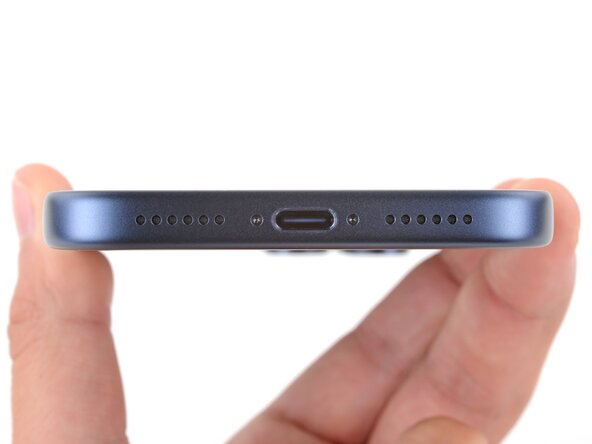
- Use a P2 pentalobe screwdriver to remove the two 7.5 mm‑long screws on either side of the charging port.
- Adhesive secures the back glass to the frame. Heating the glass softens the adhesive, making it easier to separate.
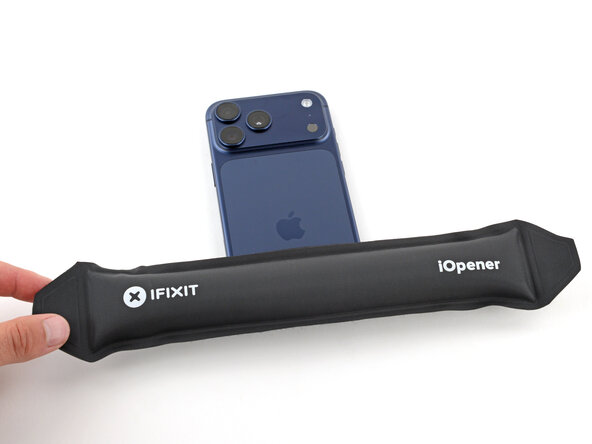
- Heat an iOpener and lay it on the bottom edge of the back glass for two minutes.
- Alternatively, you can use a hair dryer or heat gun to heat the back glass until it's slightly too hot to touch.
- Improper use of a heat gun can destroy the wireless charging assembly and/or battery—follow the linked instructions carefully.
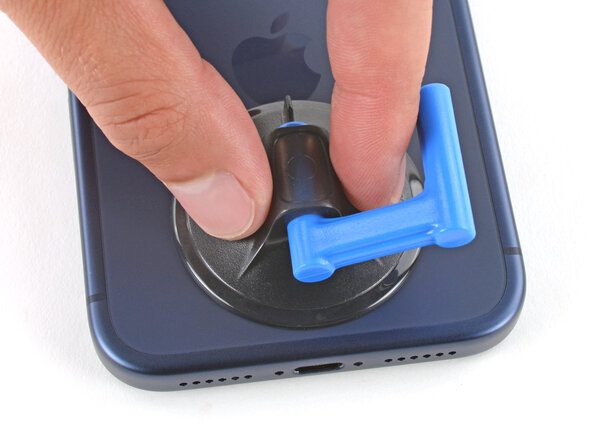
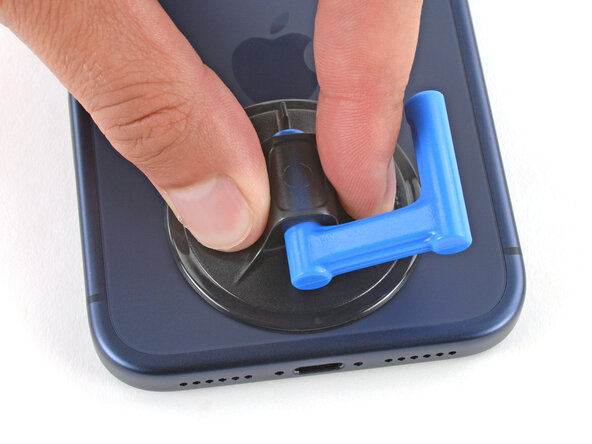
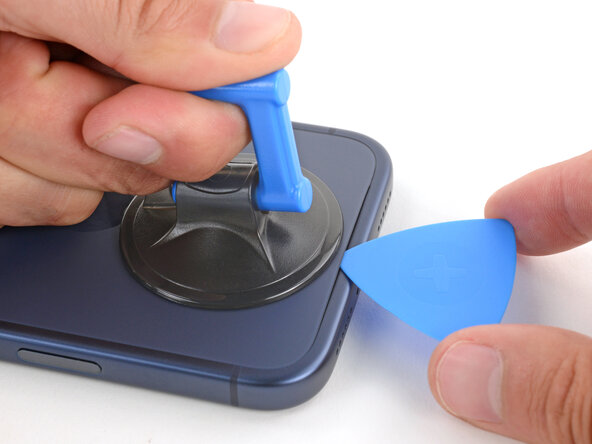
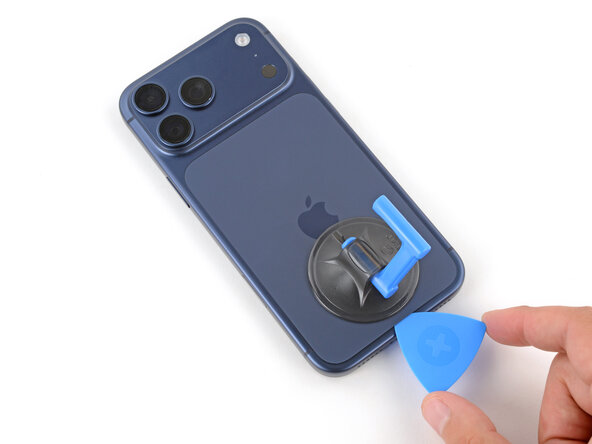
- Apply a suction handle to the bottom edge of the back glass, as close to the edge as possible.
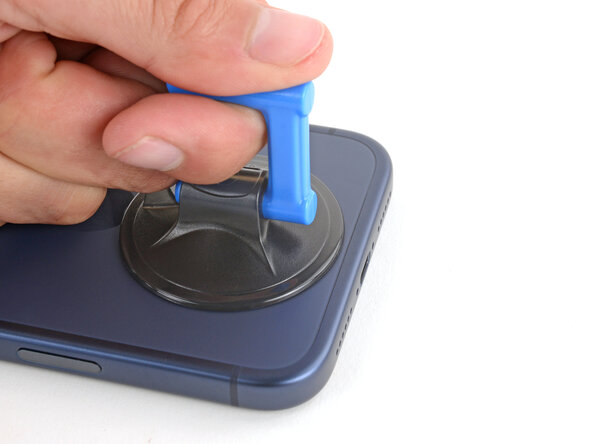
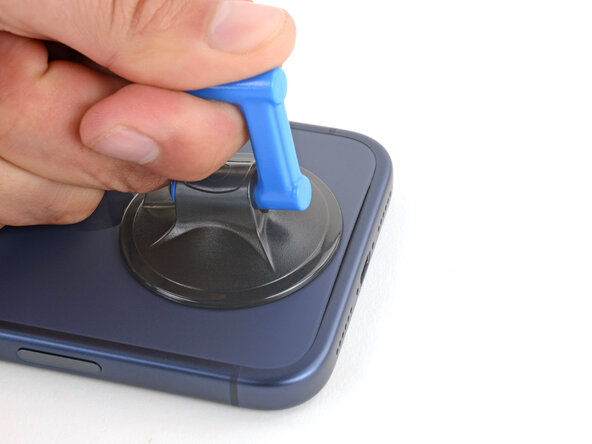
- Pull up on the suction handle with strong, steady force until a gap forms between the back glass and frame.
- If you're having trouble, apply more heat and try again.
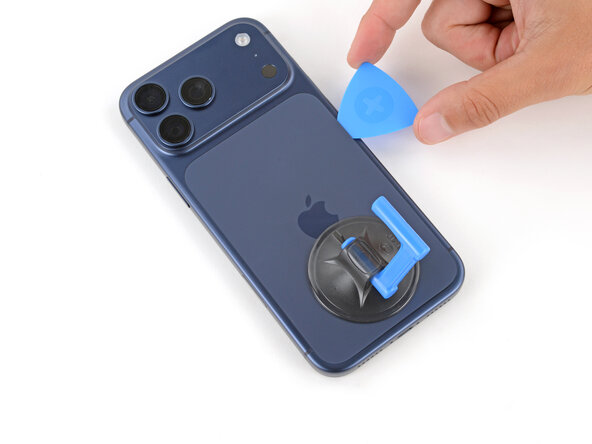
- Insert the tip of an opening pick into the gap you just created.
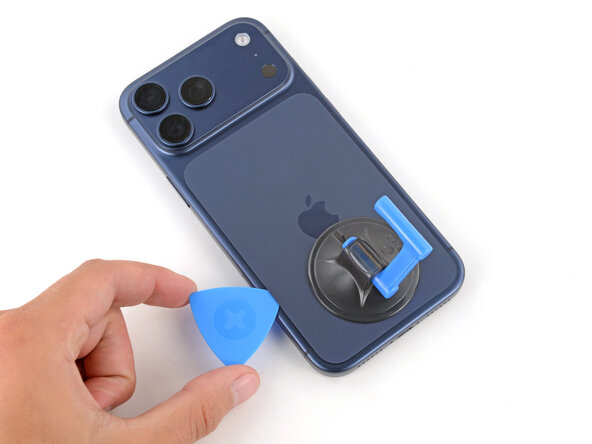
- Slide the opening pick around the perimeter of the back glass to separate all the adhesive securing it.
- Only insert your pick slightly under the back glass near the top of the left edge. Otherwise, you may damage the wireless charging ribbon cable.
- At this point, the back glass should be completely separated from the frame. If it feels stuck, go back around the perimeter and separate any remaining adhesive.
- Flip the back glass over the left edge and use the suction handle to prop it up.
- Use a tri‑point Y000 screwdriver to remove the 1.2 mm‑long screw securing the wireless charging connector cover.
- Remove the cover.
- Use the point of a spudger to pry up and disconnect the wireless charging press connector.
- Remove the back glass.
- Congratulations on completing disassembly! The remaining steps will show how to reassemble your iPhone.
- Reassembly photos were shot with the previous generation iPhone while we wait for parts. The photos may have minor visual discrepancies, but the procedure will be correct for your iPhone.
- Use blunt-nose tweezers or your fingers to remove large pieces of adhesive from the frame.
- Use a spudger to scrape the adhesive residue off the frame.
- If the adhesive feels stubborn, apply some heat using a hair dryer or heat gun and try again.
- Without peeling any liners, lay the adhesive sheet over the frame to determine its proper orientation.
- Use features such as the back glass connector notch to help orient the adhesive.
- Grab the tab in the corner of the adhesive sheet and peel the liner to expose a third of the adhesive.
- The exposed adhesive is very sticky. Don't let it touch anything until you're ready to apply it to the frame.
- If your adhesive has multiple liners, peel the liner that exposes the side that sticks to the frame.
- Carefully align and press the exposed edge of the adhesive strip onto the frame.
- Once the adhesive is pressed into place, you can't reposition it—you'll have to remove it and start over with new adhesive.
- Continue peeling away the liner from the adhesive, gently pressing the adhesive into place.
- If you've correctly aligned the adhesive, the edges will fall perfectly into place.
- If your adhesive is slightly misaligned, gently pull the long edges into alignment with the frame.
- If the adhesive begins to crease or wrinkle, remove it and start over with fresh adhesive.
- If you don't have another set of adhesive strips handy, it's okay to temporarily put your iPhone back together and use it normally without any adhesive. Just keep in mind that your iPhone's water resistance will be compromised until you replace the adhesive.
- Use a spudger to press the adhesive around the entire perimeter.
- Don't press too hard, or you'll stretch and deform the adhesive.
- Use the pull tab to peel off the large front liner from the adhesive—the pull tab is often in a corner of the liner.
- If the adhesive starts to peel up with the liner, hold the adhesive down with the point of a spudger as you go.
- At this point, you may still have a liner covering the perimeter, which prevents the adhesive from accidentally sticking to anything while you're reassembling your iPhone. Don't remove these small release liners just yet.
- Position the back glass so you can comfortably reconnect it.
- Use your finger or a spudger to press and connect the back glass press connector onto the logic board.
- Slide the connector cover in place so the tab on the top edge tucks under the lip.
- Use a tri‑point Y000 screwdriver to install the 1.0 mm‑long screw to secure the connector cover.
- Use one hand to hold the back glass up. Be careful not to strain the cable.
- Use your fingers or tweezers to peel away all remaining liners, exposing the perimeter adhesive.
- Align the top edge of the back glass with its cutout and lay it in place.
- Use your fingers to firmly squeeze around the entire perimeter of the back glass.
- Use a P2 pentalobe screwdriver to install the two 7.5 mm‑long screws on either side of the charging port.