Repairing a Broken Bumper
ID: 240053
Description: Normally, a window cleaning robot should not...
Steps:
- Empty the fluid reservoir. Remove the mop pad. Unplug the power cord.
- Place the device with its underside facing up on your workspace.
- Remove the four screws on the grey mop pad bracket.
- Lift the grey bracket off.
- Remove the eight screws underneath the grey bracket.
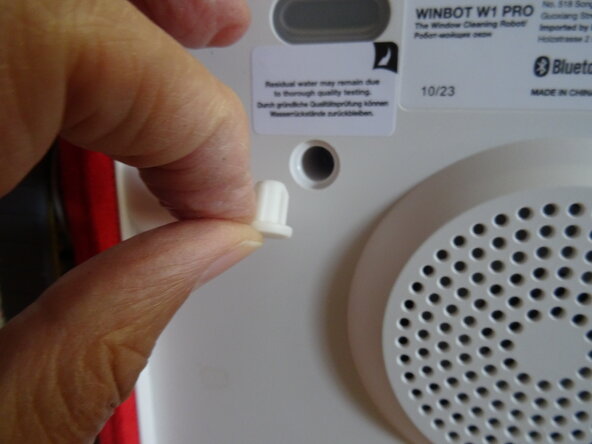
- Use a pointed tool to peel off the rubber cap on the underside.
- Remove the screw underneath.
- Turn the device over.
- Carefully lift the top cover slightly. Be careful not to strain the cables underneath too much.
- Remove the two cable bundles from their retaining clips.
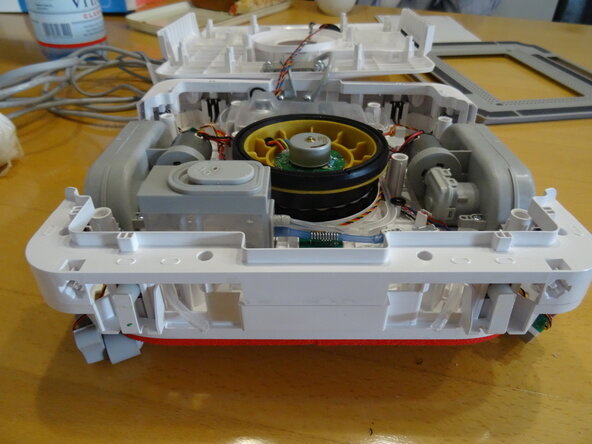
- You can now flip up the top cover to access all the components inside.
- Pay special attention to the blower motor; it sits loosely between two soft rubber seals. It must be tightly enclosed again during reassembly.
- The crack in the bumper is clearly visible here. There are sensors located underneath the bumper; because of the crack, they can no longer trigger correctly.
- The bumper is nearly free. It is still attached to the sensors in the corners and the hoses to the spray nozzles.
- Remove two screws from each of the corner sensors.
- Lift the sensors off. Let them simply hang by the cables.
- Lift the bumper against light resistance from the right and left sides. Watch out for the hoses to the spray nozzles.
- Reassembly is easier if you do not disconnect the hoses from the nozzles, but rather at the other end. Carefully cut the cable ties to do this.
- Carefully remove the bumper.
- Here is the device shown with the bumper removed.
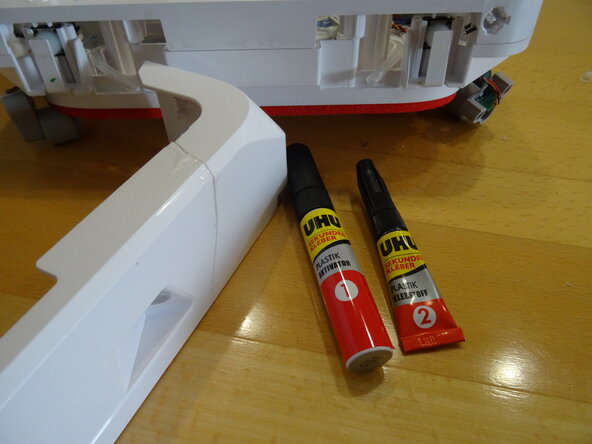
- The bumper is made of ABS, which can be easily glued using a suitable adhesive—in this case, superglue with an activator.