Sony TCM-919 Cassette-Corder Motherboard Replacement
ID: 31711
Description: This guide walks readers through the...
Steps:
- Turn the device around so that the back cover if facing upward. Use your thumbs to press firmly down and then push the battery door cover open.
- Remove any batteries.
- Remove the 5 5.95mm screws as indicated in the picture using the Phillips Head screwdriver.
- Locate the 3-digit tape counter and gently push the tabs apart releasing the counter.
- Pull the 3-digit tape counter out.
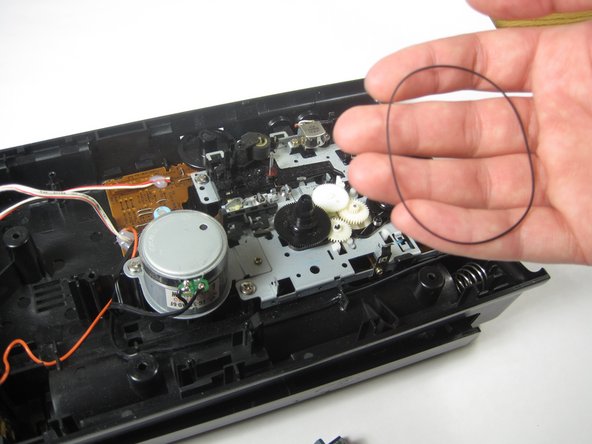
- Remove the rubber band attaching the 3-digit tape counter to the cassette head.
- Remove the screws as indicated in the picture using the Phillips Head screwdriver.
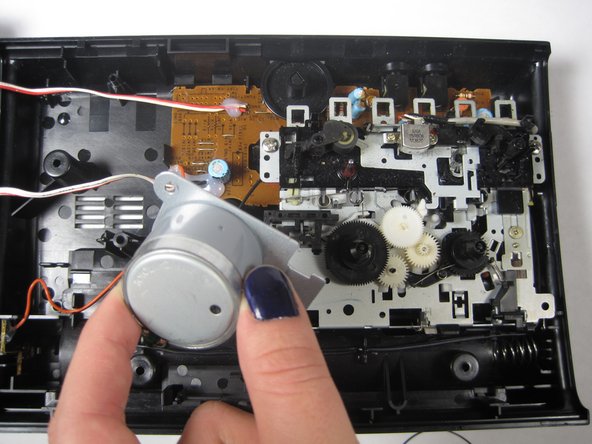
- Pull the loosened motor out of the device, and set the motor aside.
- Removes the 3, 5.95mm screws using the Phillips Head screwdriver as indicated by picture 1.
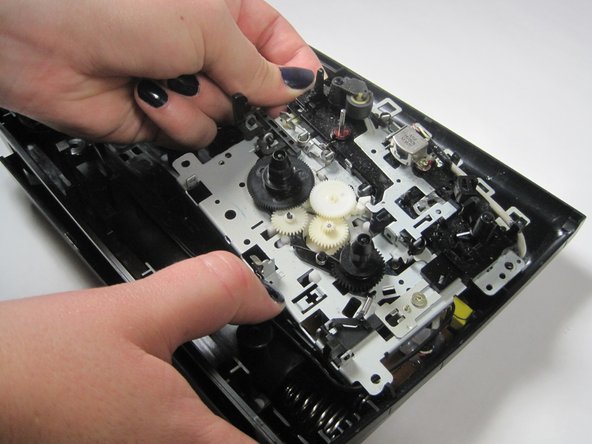
- Push firmly on the tabs and lift the tape deck out.
- Set the tape deck aside.
- Remove the 2 5.95mm screws as indicated by the picture using the Phillips Head screwdriver.
- Remove the epoxy completely from the motherboard so that the wires underneath the epoxy can move freely.
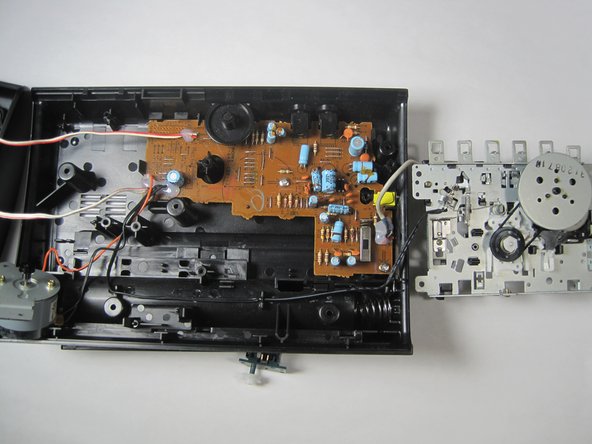
- Remove the motherboard from case.
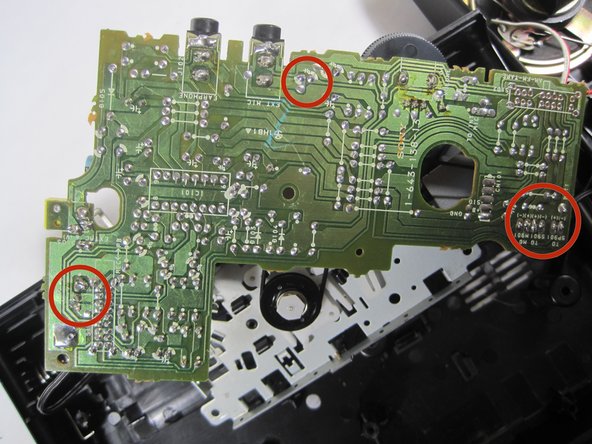
- Flip the motherboard around so that the metallic green side is facing you.
- Desolder the points indicated in picture 2. This should free the wires connected to the motherboard.
- Remove the motherboard by pulling it out of the device cavity.