Acer Aspire V3-771G Hard Drive Replacement
ID: 31720
Description: If the hard drive of your Acer Aspire V3-771G...
Steps:
- Shut down the laptop.
- Remove the power charging cord from the laptop.
- Flip the laptop over, and find the battery compartment.
- Use your fingers to move the orange slider located just below the battery compartment to the right.
- Do not touch the battery connectors on the battery or laptop.
- Lift the battery up and remove from the compartment.
- Using the screwdriver, remove the nine 8 mm screws from the panel on the back of the laptop.
- Gently lift the panel up from the open slot, use the opening tools as necessary, to free the panel from the laptop.
- Remove the two screws holding the hard drive sled in place.
- While grounding yourself, gently pull the black tag straight back, not up, to free the hard drive.
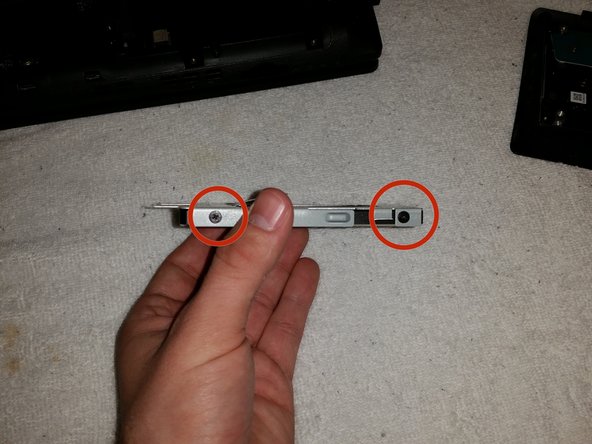
- Using the screwdriver, remove the four 4 mm screws from the hard drive sled.
- Carefully remove the hard drive. A new one may now be installed.