Epson Stylus NX305 Scanner Motor Replacement
ID: 31786
Description: The scanner motor is what moves the scanning...
Steps:
- Make sure that the printer is not plugged in before working on it.
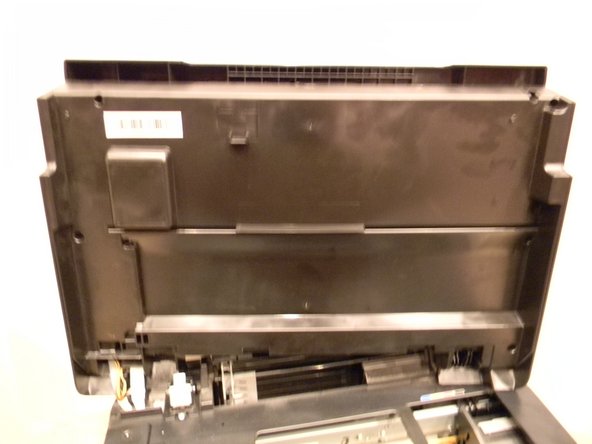
- Orient the printer so that the back of it is facing you.
- Locate the 3mm Phillips #0 screw that is on the right-hand side of the printer.
- Using a Phillips head screwdriver, remove the screw.
- Open up the lid of the printer.
- With the printer facing away from you, lift up on the right hand side of the lid of the printer and slide it to the left to remove it.
- Be careful not to remove the white ribbon and wires that are connected.
- With the printer facing you, open the lid of the scanner to expose the 3mm Phillips #0 screw at the top left of the scanner.
- Using a Phillips head screwdriver, remove the screw.
- Locate the six 3mm Phillips #2 screws under the lid of the printer and remove them.
- Locate the three clips on the front side of the printer lid.
- Use the plastic opening tool to release the clips and carefully pry open the lid.
- Locate the belt that is attached to the scanner motor and remove it by carefully stretching off of the gear.
- Remove the two 3mm Phillips #2 screws from the scanner motor assembly.
- Carefully lift the scanner motor assembly out of the housing making sure not to damage the wiring.
- Flip over the scanner motor assembly to expose the scanner motor.
- Remove the two 3mm Phillips #2 screws from the assembly and remove the motor.