Samsung Solstice Rear Facing Camera Replacement
ID: 31805
Description: Replacing the camera in your Samsung Solstice...
Steps:
- Gently slide the cover off of the phone by pushing it upwards, in the direction of the small arrow on the back cover.
- Set the cover off to the side once you have removed it.
- This step can be accomplished without the need of a plastic opening tool. Just use your finger if you want to.
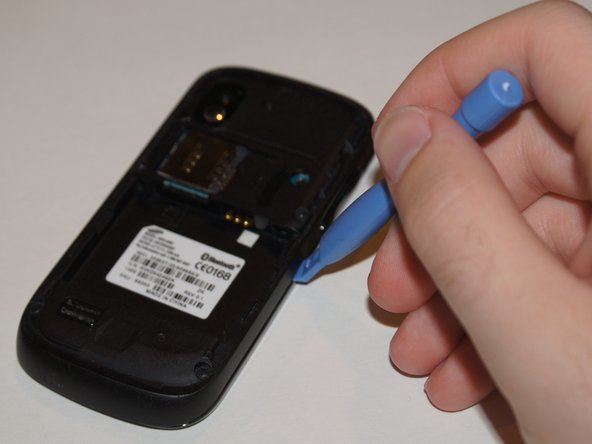
- Wedge a plastic opening tool in between the rear end of the battery and the plastic frame.
- Pry the battery up out of its recess and away from the phone.
- Remove the back cover by sliding the cover off of the phone by pushing it upwards, in the direction of the small arrow on the back cover.
- Set the cover off to the side once you have removed it.
- Locate the SIM Card slot directly above the battery and below the phone camera
- Place your thumb on the SIM Card in the slot, press down gently and slide the card away from the slot, until it comes out of the slot entirely
- Once you have removed the SIM card, set it aside from the phone.
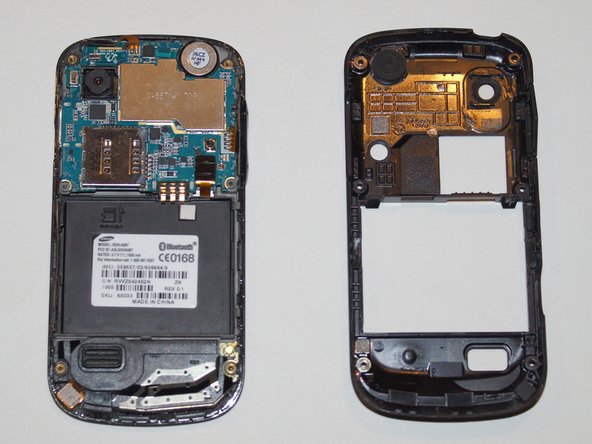
- Remove the six 0.4mm Phillips screws securing the midframe to the front panel assembly.
- Grasp the the plastic midframe with your thumb and forefinger and lift it away from the phone.
- This step can be accomplished without the need of a plastic opening tool. Just use your finger if you want to.
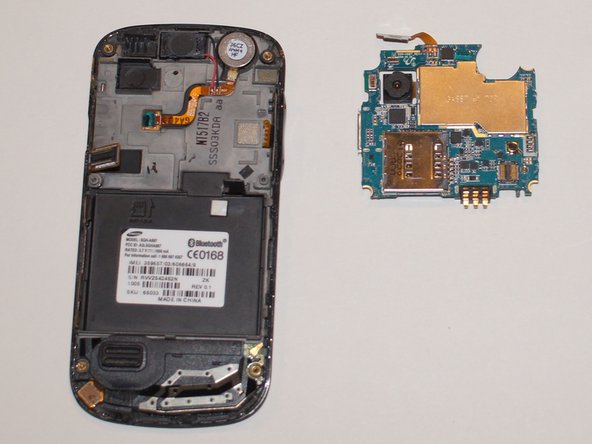
- Use a plastic opening tool to pry the connectors from their sockets on the motherboard.
- Gently remove the motherboard from the phone
- Set the motherboard aside once it is free and separated from the phone
- This step can be accomplished without the need of a plastic opening tool. Just use your finger if you want to.
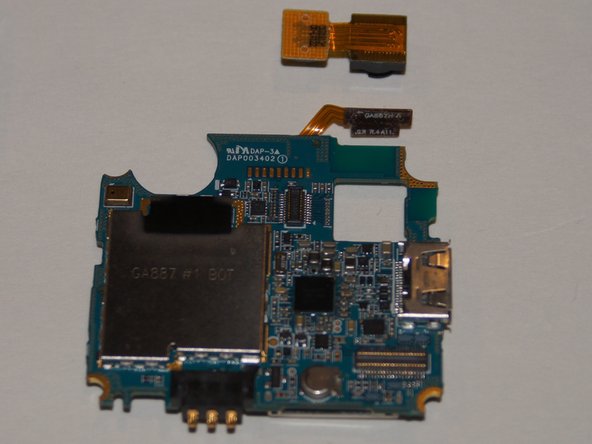
- Use a plastic opening tool to carefully pry the camera connector from its socket on the motherboard.