Canon PIXMA MP620B Ink Head Replacement
ID: 31912
Description: This replacement is not easy and takes a...
Steps:
- There are a few tabs on the top of the panel that hook down and into the black side panel. Insert the tool in-between the black panel and the blue panel as shown and pull the two pieces apart.
- You will hear some snapping. Don't panic: this is just the hooks un-clipping.
- Repeat the same process on the left side panel.
- Unhook the lid support by sliding the hook down and to the left. Make sure the support is fully disconnected before proceeding.
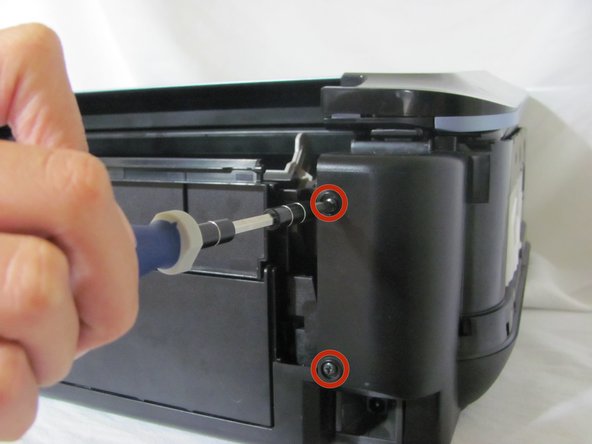
- Remove the four black screws on the back panels from both the left and right side.
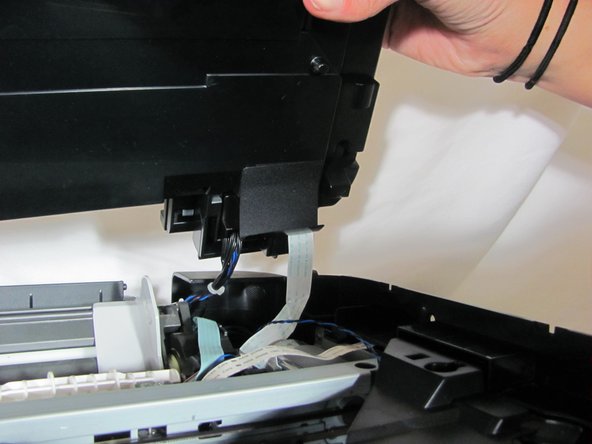
- Remove the scanner by pulling the side panels out until the scanner pin is free. Set the scanner aside.
- The scanner will still be attached with wires on the right side. Be careful not to yank the part away from the main body of the printer.
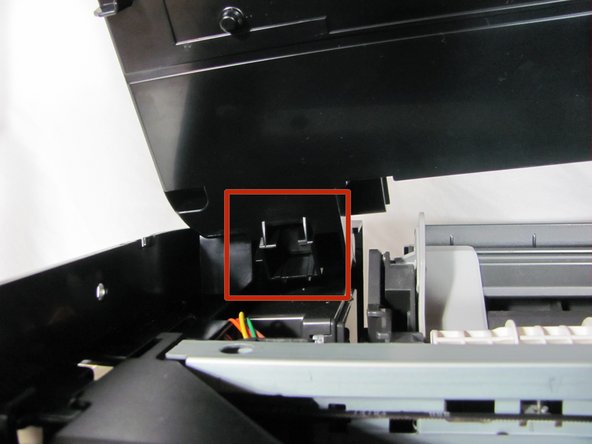
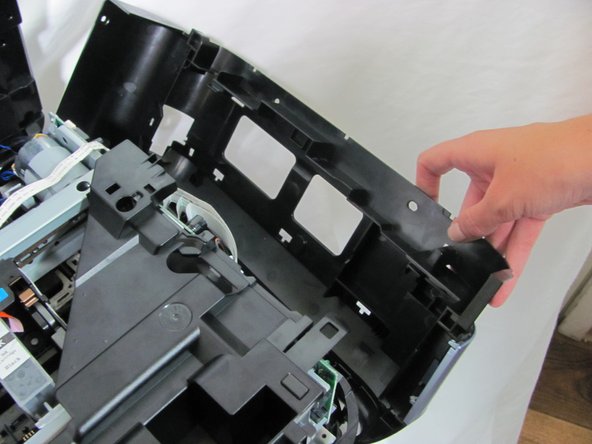
- Press down on the clip on the left side of the printer until it clicks, and pull the panel free.
- Press down on the clip on the right side panel until it clicks and then pull the panel free.
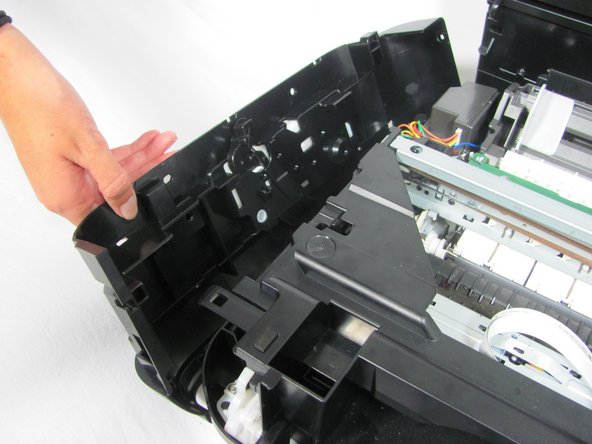
- Remove the plastic cover by depressing the clip located on the right side of the printer. Press the clip inwards until it clicks, and then lift the cover upwards and off the printer.
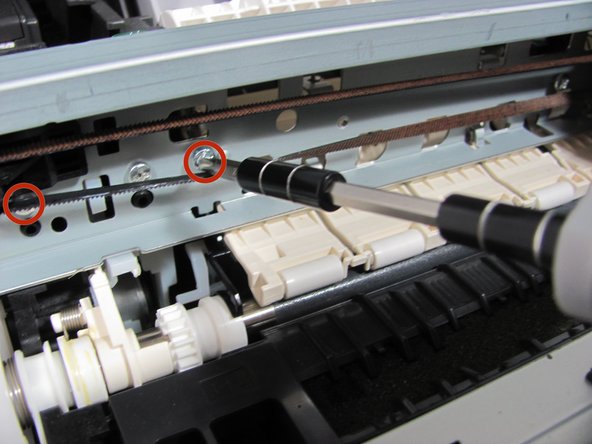
- Unscrew the three screws holding the rail.
- Remove the cord by pulling upwards on it and unhooking it from the pulleys on either end.
- Remove the ink head by pulling it away from the rail.