Sony Xperia Z2 Display Assembly - Touch screen & LCD Display Replacement
ID: 34650
Description: How to disassemble the phone and replace the...
Steps:
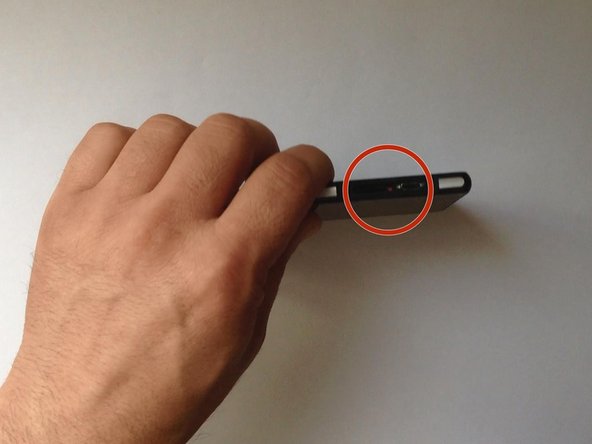
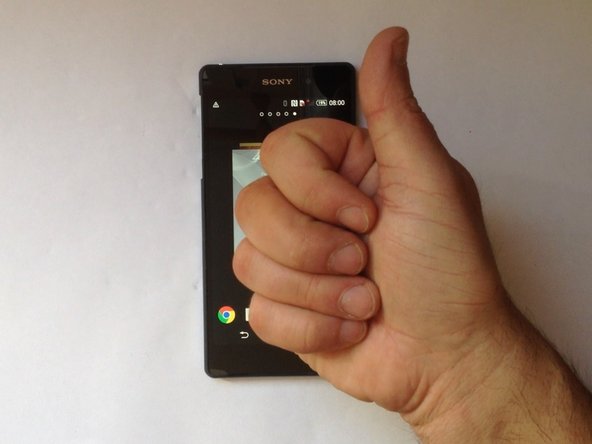
- Switch off the phone.
- If you can't switch it off, you can use the OFF button near to the SIM card Tray.
- Warm the Back Cover. You can use a hairdryer.
- Be careful, the Back Cover is plastic.
- Use a small suction cup and plastic tools for separating the Rear panel.
- There is Adhesive tape on the edges of the phone and some between the Battery and the Back Cover, as well. I found a small tab to pull just inside the top of the cover that removed the adhesive and released the back panel from the battery. Its that same style adhesive strip as used in the Iphone 5/5c/5s.
- Before installing the new cover, you must clean the phone from the old adhesive tape and install a new one (if your spare part has come without double sided adhesive tape).
- Disconnect the Battery Flex Cable and remove the two Philips screws.
- Li-Polymer Battery, 3.8V, 3200mAh
- Part number: LIS1543ERPC
- Please SUBSCRIBE to my channel ツ
- Remove the Loudspeaker metal bracket.
- Remove the two Phillips screws that hold Loudspeaker/Vibromotor module.
- Disconnect the Coaxial Antenna cable.
- With the sharp end of the plastic tool carefully subtract the module from the phone housing.
- The Loud Speaker has some adhesive holding it to the chassis so a little heat on the front will help.
- Disconnect the Touchscreen flex cables.
- Disconnect the LCD Display flex cable.
- You can embed the Loudspeaker module to the phone housing with masking tape. This will prevent the ribbon from breaking.
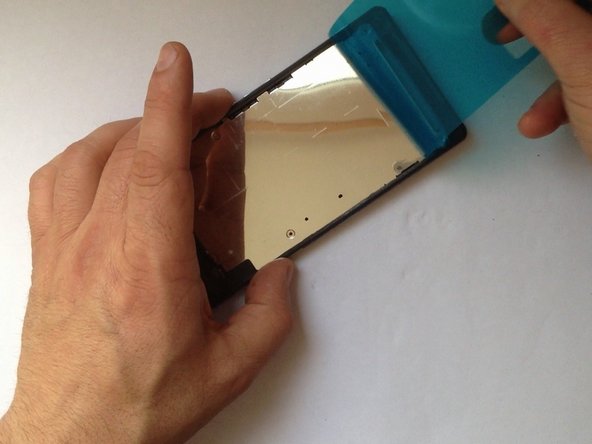
- Use a transparent packaging tape and stick it on top of the glass. This will help you remove the broken glass later.
- Preheat the Display.
- Use a cutter to make a room for a plastic tool.
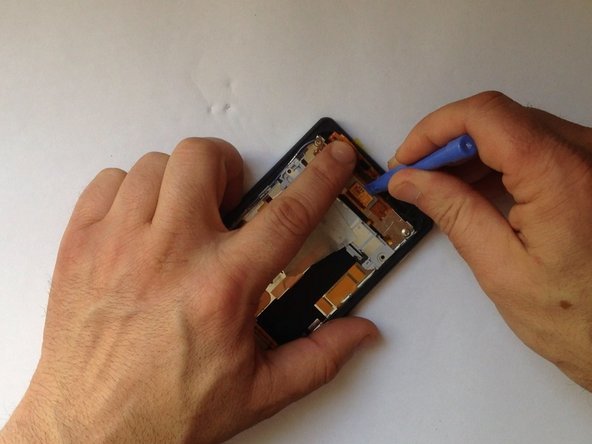
- Continue separating the display from the frame by using plastic opening tools.
- Clean the frame from the remains of tape.
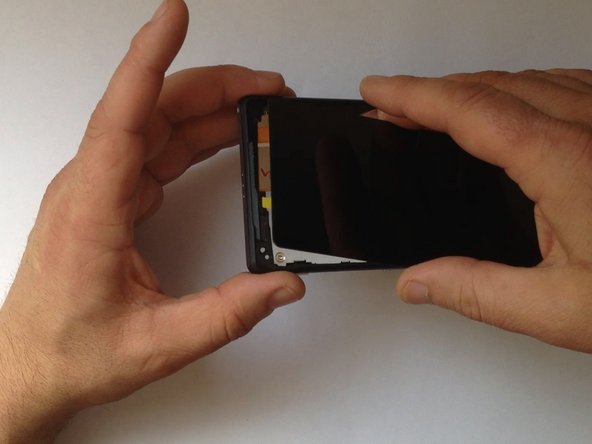
- Now it's time to test the new spare part.
- Use a high quality adhesive sticker for the model.
- This will stick the display to the frame harder and it will save the waterproof ability of your phone.
- Use again adhesive sticker to atach the back / battery cover.
- All's well that ends well.