Asus X55C Fan/Heat Sink Cleaning and Thermal Past Application
ID: 35119
Description: If your system overheating, we show you how to...
Steps:
- Switch off the laptop and remove the battery.
- The Keyboard is held by 5x locking clips.
- Pick up a little the one side of the Keyboard and start opening the clips one by one.
- Disconnect the Keyboard flex cable from the mother board and remove the KB.
- Please SUBSCRIBE to my channel ツ
- Remove 3x Philips screws.
- Disconnect the two small flex cables:
- Power On button flex cable
- Touch pad flex cable
- Unscrew the two Philips screws and remove the HDD / RAM Cover.
- Remove three screws securing the hard drive caddy (hard drive assembly).
- Slide the hard drive assembly to the left to disconnect it from the motherboard.
- Disconnect the two coaxial antenna cables from the Wi-Fi card.
- Remove any Memory or Dummy card.
- The bottom cover is held by 10x Phillips screws. Remove them.
- With a plastic tool separate the Upper cover and remove it.
- Disconnect:
- The Microphone cable
- The LCD Display flex cable
- Remove 3x Pillips screws.
- Lift the board first from the right edge.
- There is another one cable, from the DC connector, connected to the underside of main board. We should spun the the board to disconnect the DC connector cable.
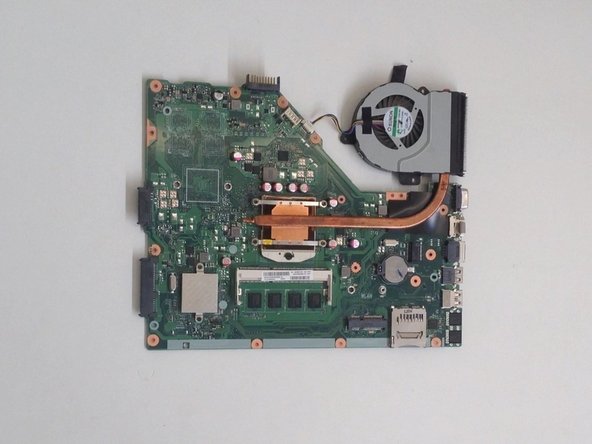
- ASUS X55C iCore with 4GB no board RAM motherboard, model: 60-N0OMB1100
- Please SUBSCRIBE to my channel ツ
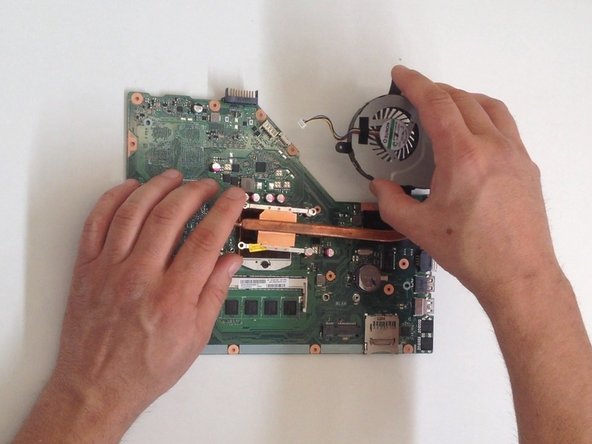
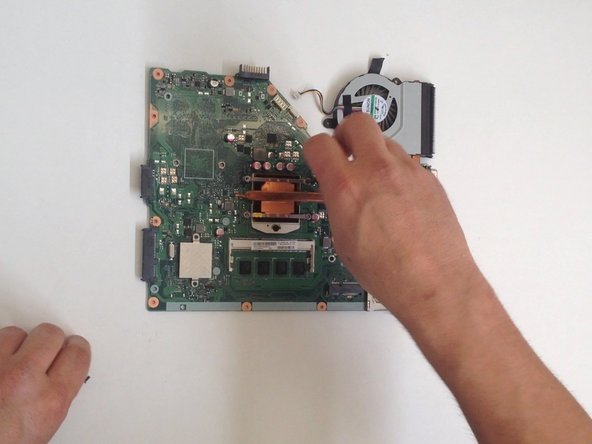
- Disconnect the Fan cable from the Motherboard.
- Remove the screws (4x Phillips screws) that hold the cooling system to the Motherboard
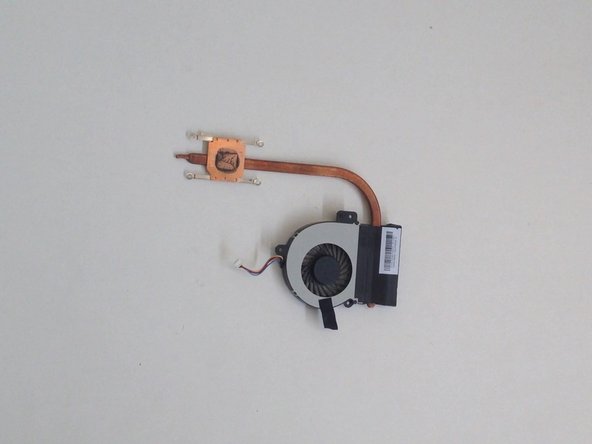
- Remove the Cooling System carefully, if you don't want to break the CPU.
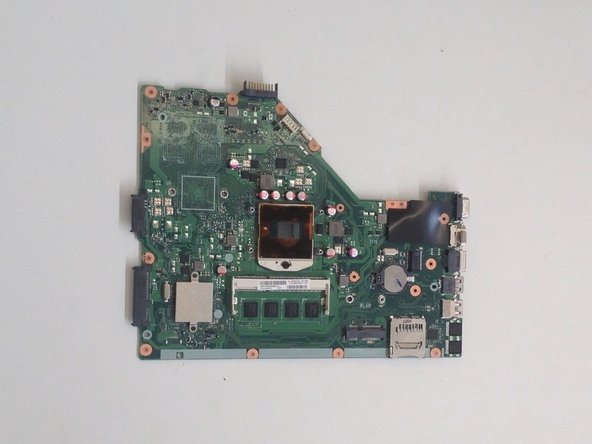
- Use a lint-free cloth to clean the old thermal compound.
- If the thermal compound is solidified, you can use a flat end of any plastic tool to scrape it off.
- Use again cloth with isopropyl alcohol to clean the Thermal surface.
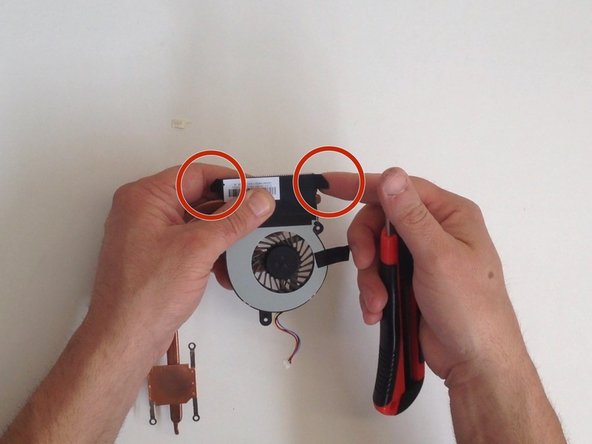
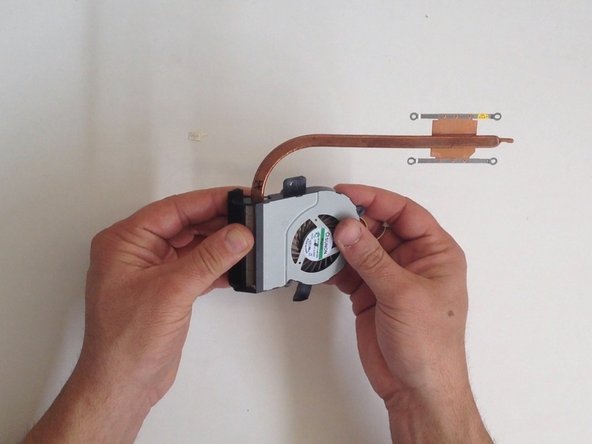
- The Fan and Headsink are held together with a large black bar. Removing the tape at both ends, to separate the Fan from the Headsink.
- Use a soft anti static brush and clean the Heatsink on the inside.
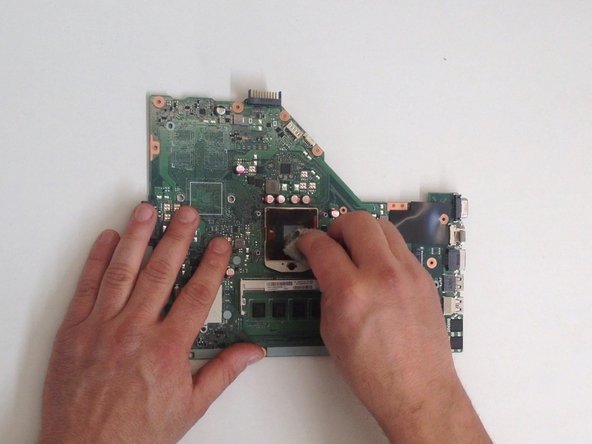
- Use the same technic to clean the surface of the processor from the old thermal compound
- Be carefully,if you don't want to break the CPU.
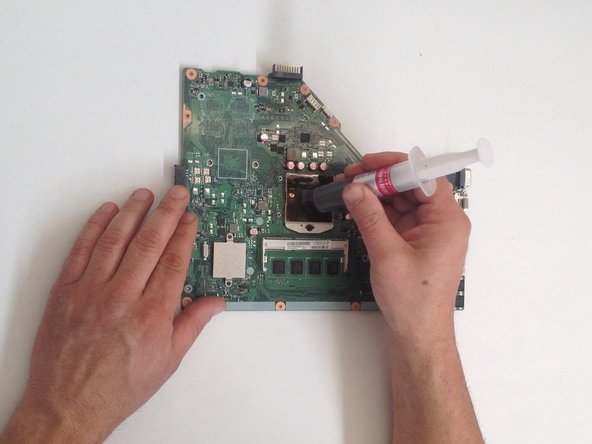
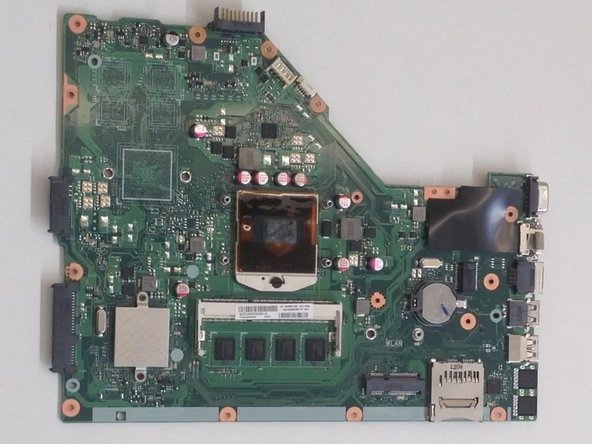
- Dispense a small amount of thermal compound and gently smear it over the entire processor surface.
- Careful install the Cooling system with even pressure from all sides, and the bead that you placed on the surface will spread over the entire contact surface.
- .
- .
- .
- .
- Did you do it successfully?