Sony Xperia Z3 Compact Midframe Replacement
ID: 35746
Description: Replace your Sony Xperia Z3 Compact's midframe....
Steps:
- First, heat up.
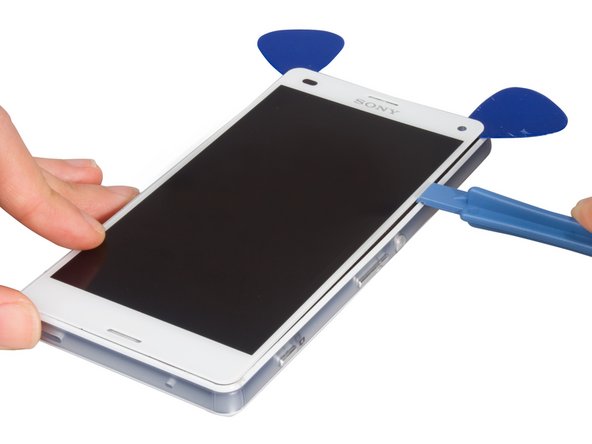
- And then place the suction cup and pull to open a gap. Insert into the guitar pick to cut the adhesive sticker under the back cover.
- Finally, remove the back cover.
- Disconnect the NFC flex press connector.
- Unscrew the screws holding the black midframe in place.
- Remove back frame.
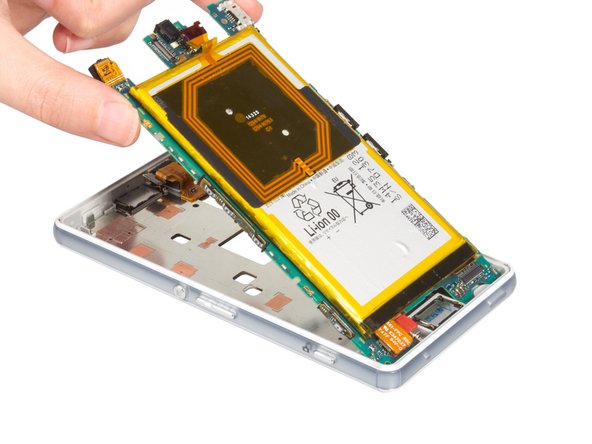
- Disconnect the battery flex cable.
- Remove rear camera bracket.
- Release connector, but take care not to damage the electronic components next to the connector. It is best to access the connector from the bottom (battery side), and not from the side as the picture shows.
- Remove rear camera.
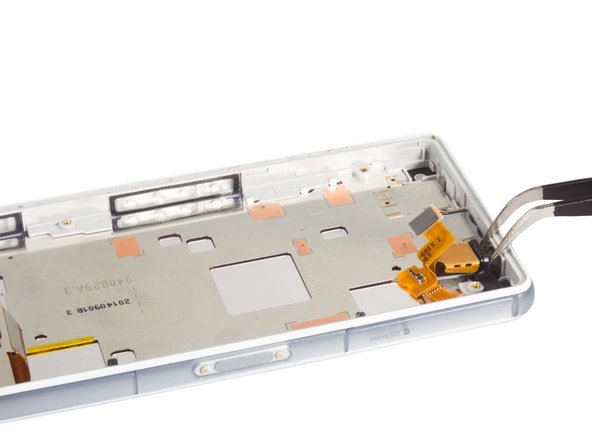
- Release connectors and twist off screw.
- Remove motherboard.
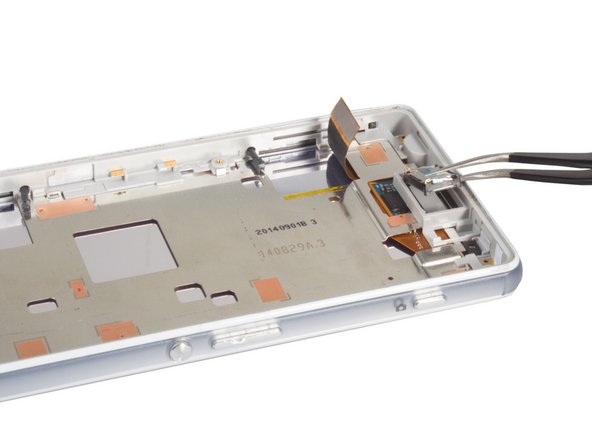
- Lift the red cover off the vibrating motor, and lift the motor with tweezers. The motor should stay attached to the cabling to the motherboard.
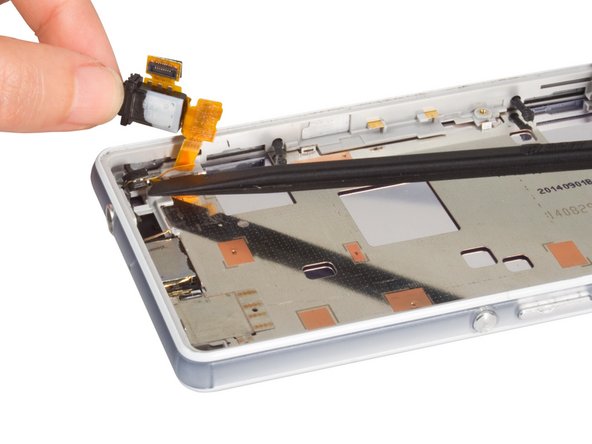
- Remove headphone jack.
- Use caution lifting the flex cables that are stuck to the midplate.
- Remove loudspeaker.
- Separate the LCD screen with earpiece from midframe. See the detail on Sony Xperia Z3 Compact LCD screen replacement guide. Finally, you you can reassemble the phone with new midframe.