HP G62-223CL Optical Drive Replacement
ID: 35914
Description: This guide will show the user how to remove the...
Steps:
- Removing the battery while the laptop is still on may corrupt your files.
- Turn the device over to expose the bottom of the device.
- Slide the battery release all the way to the left.
- There will be a click and the battery will be released from its compartment.
- Carefully remove the battery from its compartment.
- Locate two Phillips head retaining screws which secure the hard drive compartment.
- Use a Phillips #0 screwdriver to loosen the retaining screws.
- Remove the panel covering the compartment.
- Ground yourself before attempting to touch any components. To ground yourself, touch a conductive metal to eliminate any static buildup in your body, which can damage computer components.
- Locate the 6 mm Phillips head screw to the left of the hard drive.
- Use a Phillips #0 screwdriver to remove the screw.
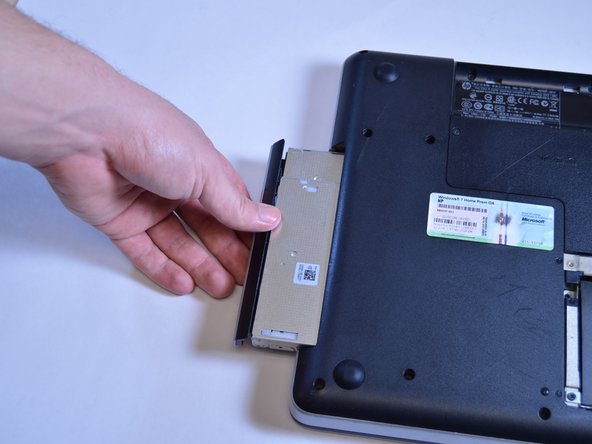
- Once the screw is removed, use a plastic opening tool and place it between the body of the computer and the optical drive.
- Apply enough pressure to loosen the optical drive.
- The optical drive can then be removed by hand.


