Zebra GK420d Printhead Replacement
ID: 35918
Description: To replace the printhead, we will open the lid,...
Steps:
- Release Side Tabs.
- Remove any media
- Note: You can turn the light blue gear to force the spindle arms to remain apart, that way you don't have to hold them.
- Loosen the captured phillips screw to release the guard.
- Close the lid and slide the guard toward the back of the printer to free it.
- Remove the 5 Phillips Screws.
- Remove the recessed Phillips Screw. It may not be possible to use a driver to remove this screw.
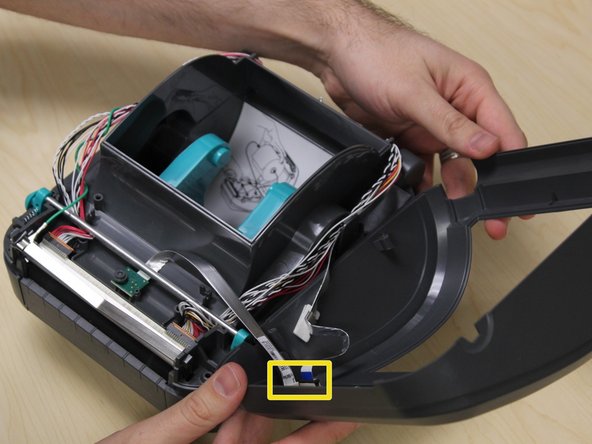
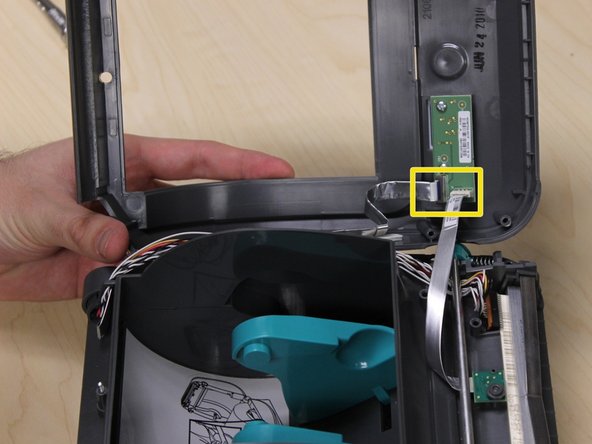
- Gently unplug the two ribbon cables attached to the underside of the lid cover.
- Note which direction the contacts on the ribbon cables are facing for reassembly.
- If there is enough slack on the ribbon cable traveling down the side of the printer, it is not necessary to unplug it. The lid may rest next to the printer.
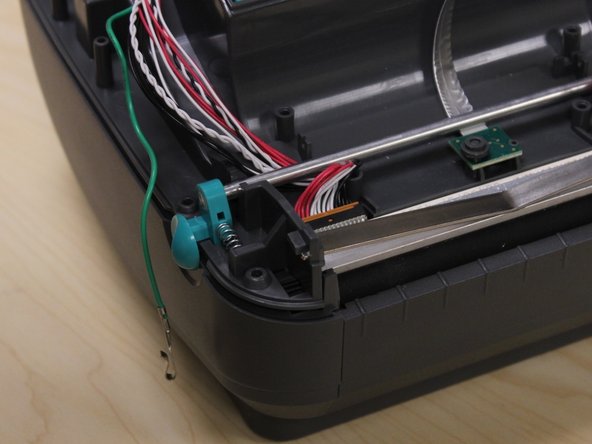
- Slide the grounding cable hook toward the front of the printer to release it from the retaining spring.
- Thread the grounding cable away from the printhead and the lid latches.
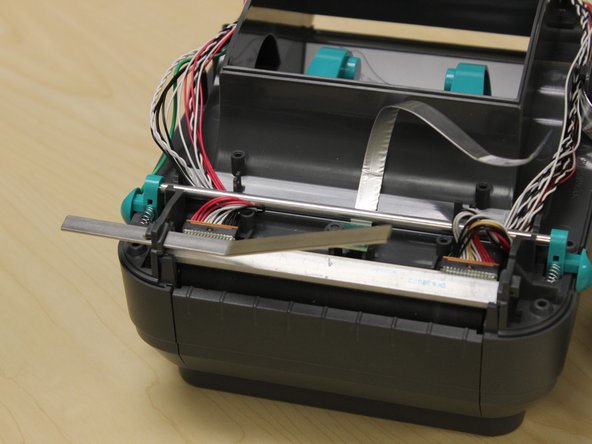
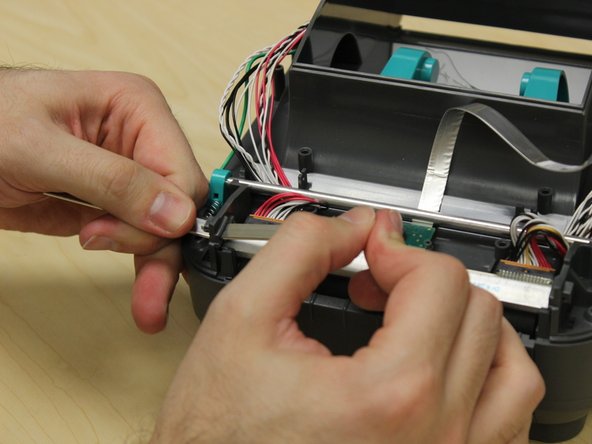
- Apply downward pressure on the retaining spring.
- Use a spudger to release the plastic tab holding in the retaining spring.
- Once the edge of the retaining spring has cleared the plastic tab, you can slide the retaining spring out of the printer.
- The retaining spring can only be removed out of one side of the printer.
- Clearing the plastic tab holding the retaining spring in place requires a fair bit of force and coordination. It is possible to damage the plastic tab.
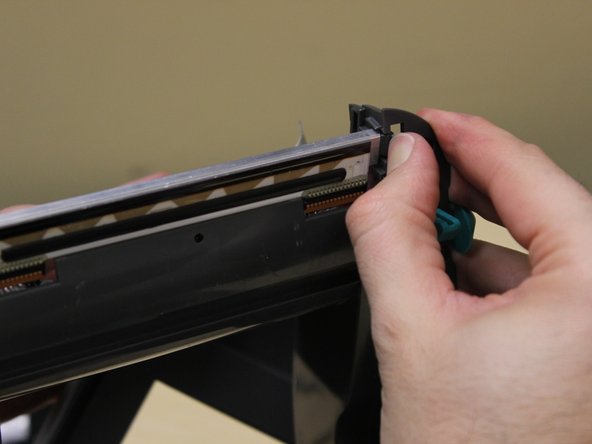
- Press the plastic tab holding the printhead in place.
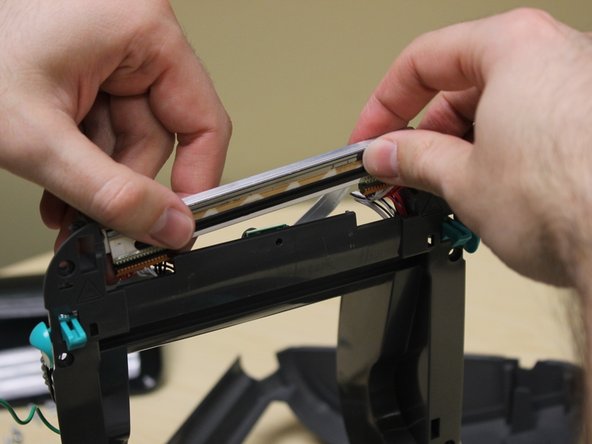
- Once the edge of the printhead is clear of the plastic tab, you can pull it away from the lid to give yourself more room.
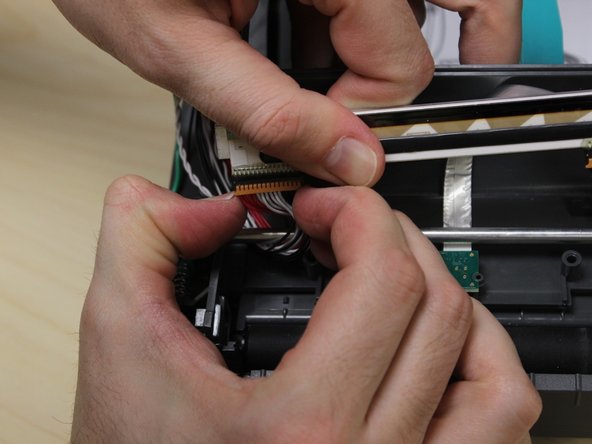
- Gently remove the two cables on each end of the printhead.
- It may be helpful to have the lid closed and latched during this step.